

Welcome to the sapphic table, a series of (hopefully!) unfussy seasonal recipes for your farmers market, your CSA bounty — or your grocery store. Today we’re making apple cheddar scones that are begging to become your new fall tradition.

Aaaaaand we’re back! After the messy disaster (delicious, but still, a disaster!) that was the s’mores brownies in August, I needed to a break. I had to lick my wounds. Humble myself. The waning sun of summer turned into the fiery red leaves of fall and now as we tumble into the overcast grey days and long nights of Midwestern “not quite yet winter,” I knew it was time to come back. There’s no more worthy return to the kitchen than apple cheddar scones.
The story of these apple cheddar scones is that years ago, when I was in my 20s and cocky and believed I could already bake with the best of them, despite barely being two years into being self-taught myself, I tried to bake these and failed miserably. I tried again the next fall, and I failed then, too.
I couldn’t figure out how to keep the classic buttery crumbled texture that is iconic to scones and requires butter to be cold when baking, while also manipulating the dough enough to hold its shape, which quizzically requires the butter to be warm enough to be malleable? Ok so simultaneously cold and warm butter, got it.
Then there was the problem of the apples, which require a pre-bake in the oven so as not to leak apple juice all over the scones while baking — though, again, warm from the oven apples? That will melt the butter in your dough, when the goal is cold butter. Plus, I never could learn how to peel an apple in any way that makes sense, despite peeled apples being traditional in most baking.
I didn’t give up. The next fall (now, my third), I took to research.
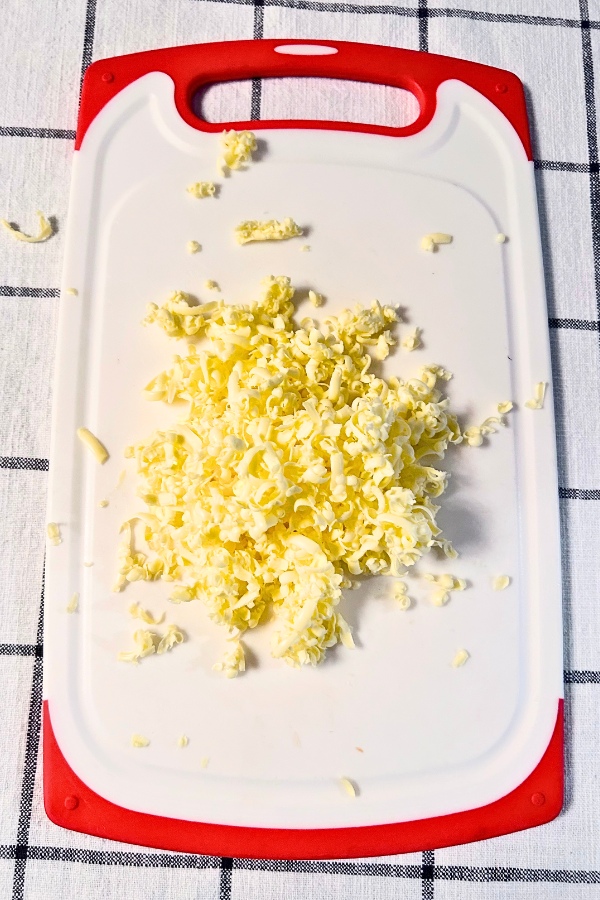
I learned that the trick to keeping butter cold enough for the delicate crumb of scones, but also in small enough pieces that it’s malleable, is to freeze it first. Then shred it using a cheese grater (who knew!?!?) and refreeze those shredded butter pieces until you need them. It turns out that unless you’re making a whole ass pie, apples do not need to be peeled in order to still be delicious in baked goods. If you roast your apple chunks the night before and put them in the refrigerator overnight, they will keep their texture and will be cool enough as to not ruin the DELICATE butter – plus with that business out of the way, you can now make the rest of the scone batter in about 15 minutes. Add another 30 minutes for baking and you can be eating fall perfection in about the length of two sitcoms or less than one Beyoncé album (and yes, this is how I measure my time).
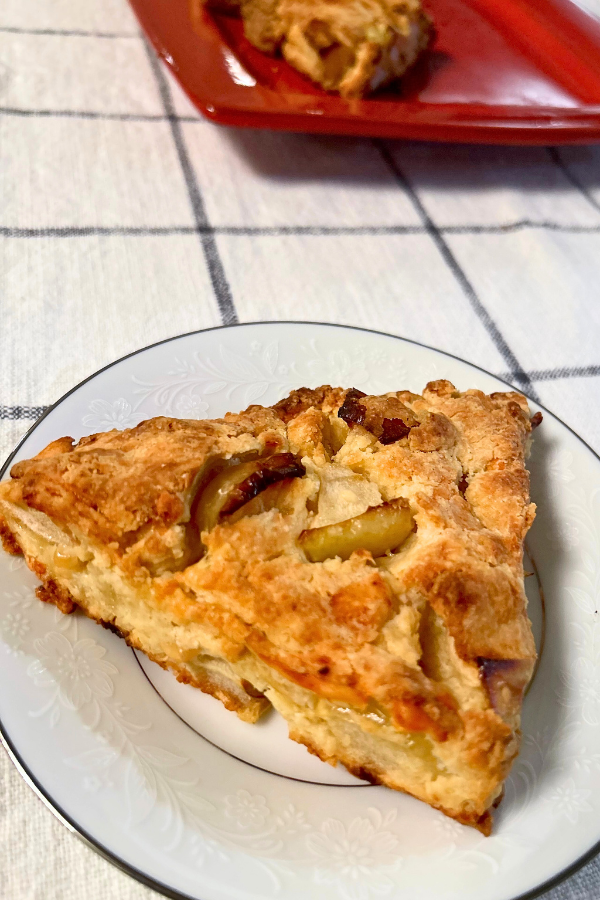
The first time I baked these scones successfully, that’s when I felt good calling myself a baker. They are tender and shaggy. Every bite comes with sweet chunks of baked apple and cheddar that makes its presence known without overwhelm. These deserve to be a gay classic, like oversized flannel and journaling your feelings.
These scones are my Mount Everest, and I learned how to conquer them from Smitten Kitchen. In the comment section of that post, I learned the frozen shredded butter trick that’s adapted here in the main recipe. I also, as mentioned, cut out peeling the apples because no one has time for that. I’ve lowered the amount of sugar to better balance against the cheddar. For the same reason, I got rid of the sugary lid on top. I lowered the amount of baking powder and I streamlined the directions for maximum ease. That’s about it!
Apple Cheddar Scones, Because We Deserve a New It Girl
Makes six scones
Ingredients for Apple Cheddar Scones
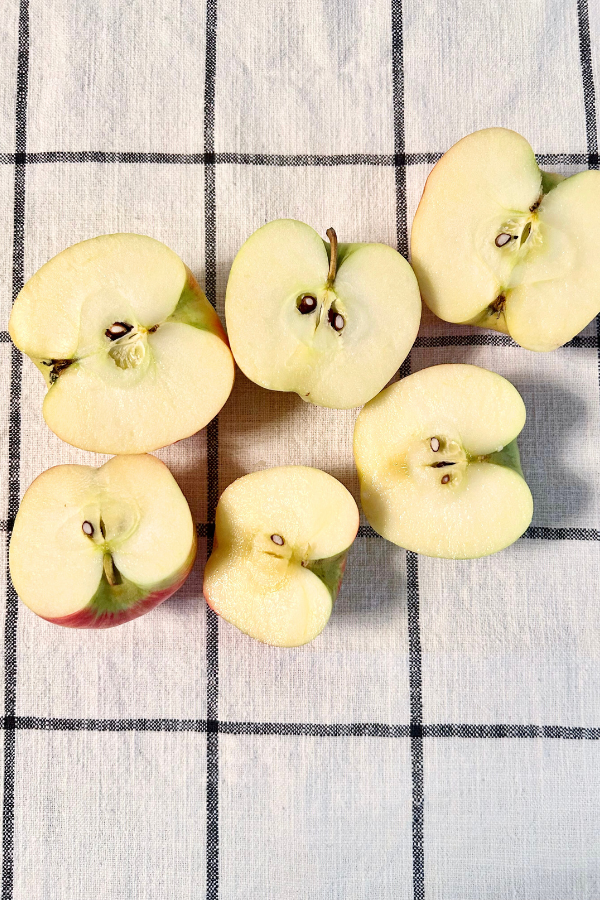
1 pound apples of your choice (for me this came to two medium sized apples)
1 1/2 cups all-purpose flour
2 tablespoons sugar
1/2 tablespoon baking powder
1/2 teaspoon salt
6 tablespoons unsalted butter
1/2 cup sharp cheddar, grated
1/4 cup heavy cream
1 large egg
Directions for Apple Cheddar Scones
Prep the Night Before
Pre-heat your oven to 375 degrees. Line baking sheet with parchment paper or lightly oiled aluminum foil, spray, whatever is your favorite “keep things from sticking to a baking sheet” situation.
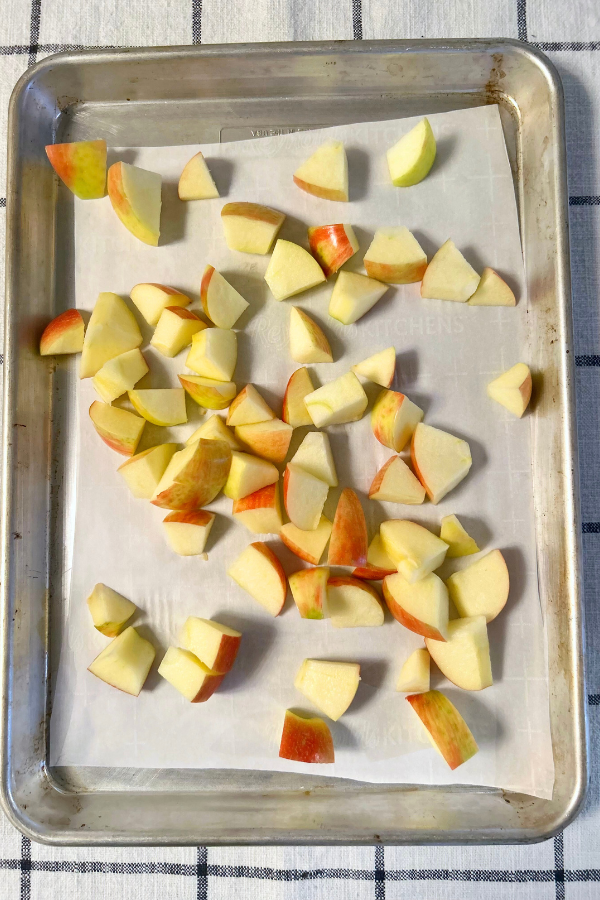
Cut each apple into 16 chunks (yes, I realize this seems fussy but it allows for the “right size” chunks so that you don’t have to re-smash them later. I handled it by cutting my apples into quarters, then each of those quarters… also into quarters).
Place apples onto your prepared baking sheet in a single layer and bake them for 20 minutes. They should feel dry to the touch and half-baked, potentially with a little color on the edges (though this is not necessary).
Let apples come to room temperature and put them in the refrigerator overnight. If I’m tired, sometimes I’ll put them in the refrigerator while still slightly warm and it works out fine. Sometimes I cover them for their fridge sleep, sometimes I don’t.
Place your butter in the freezer overnight.
The Next Day
Once again, pre-heat your oven to 375 degrees. Line baking sheet with parchment paper or lightly oiled aluminum foil, spray, whatever is your favorite “keep things from sticking to a baking sheet” situation.
Take out your frozen butter and grate it using your cheese grater. It will start to melt surprisingly quickly underneath your hands, so feel free to switch butter sides all around so that you’re always holding the coldest part as you go. Collect your butter shreds and put them back into the freezer.
Grate your cheese. Add grated cheese to your frozen butter. Return them both back to the freezer.
In a large bowl, mix together flour, sugar, baking powder, and salt. From here, you will want to move very quickly because remember — our only goal is to keep everything as cold as possible. That’s how the scones will bake into tender deliciousness.
Add your frozen butter and cheese mixture to your flour mixture. Toss everything together a few times until the butter and cheese are evenly coated with flour and no large clumps of butter or cheese remain (small clumps are fine, we love small clumps).
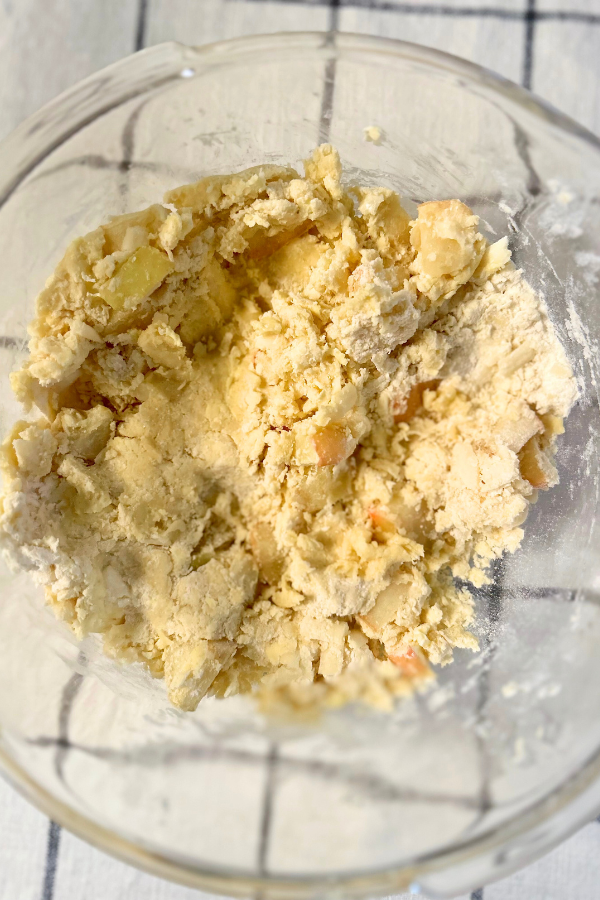
Add the cream and egg to your mixture. Sometimes I’ll quickly pre-beat the egg and cream together, just to make it easier to mix in, but this is not necessary. Mix everything together and add in your apple chunks, then mix again. Scrap off any batter from your fork or spoon into the bowl. Your mixture will probably still feel or look dry. This is because the cold butter hasn’t done its thing yet, but don’t worry. No matter what you do — do not add more cream because you think it needs it! I have learned from this mistake too many times. Don’t be like me.
If your mixture looks dry, instead it’s time to get your hands dirty! The warmth your hands should take care of it. Put clean hands into the batter and knead and/or “punch down” into the batter a few times (careful not to smush your apples too badly!) until the mixture just comes together into a dough, a few remaining dry crumbs is fine.
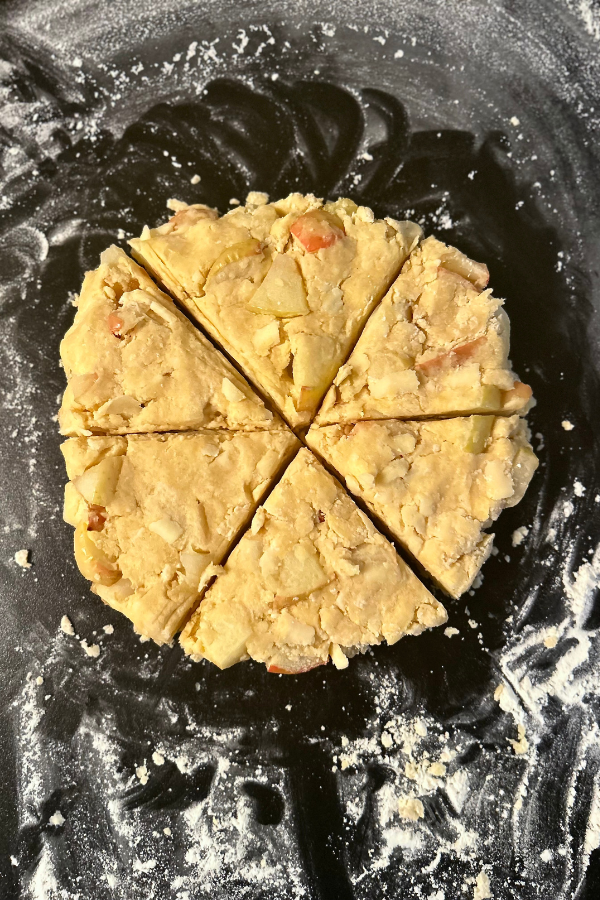
Generously flour your counter top. Scoop out the dough with your hands and place it on top. Using your hands, pat the dough into a roughly 6-inch circle. The size of the circle ultimately matters less than the width of the dough itself. You want the edges of the dough circle to be about 1 1/4 inch thick (I make a rough measurement by comparing it my nail bed. If you have short nails, the dough should be as tall as the top of your thumb nail at all places).
Cut your circle into 6 wedges. Using a spatula or running underneath them with a knife (in case they are stuck to your counter), transfer the scones to your prepared baking sheet. Leave 1-2 inches between each scone.
Bake until scones are firm in the middle and golden at edges, about 30 minutes. Carefully lift them off of baking sheet (use a spatula if needed) and let them cool for 5-10 minutes.
Eat!


Comments
Ooh these look magnificent and I was JUST thinking I wanted to add something else vegetarian to my Friendsgiving table – so perfectly timed!
i am not a scone girlie, try as i might. BUT, i live with a scone girlie, so i’m going to have to try making these for her. i’m proud for 20 something Carmen for not giving up!
These sound SO good