Hello beautiful, and welcome to How To Own It, where store-bought fashion meets DIY crafts. Each week I’ll be exploring an aesthetic theme, showing you some of the best ways to wear it and how to make it for yourself.

This week I want to talk about the fine print. Actually I want to talk about the tiny parts that make up fine print. Sometimes we get so caught up in words that we overlook what words are made of: letters! When I was a kid it was totally normal to have the alphabet separated out and used decoratively, on walls and blankets, in pasta shapes and cereals. Now it seems we barely think about the letters; even as I’m typing this I’m not considering the individual keys my fingers are hitting. Let’s get back to the basics, shall we? Skip the clothes with sassy sayings and head right for some letter print.
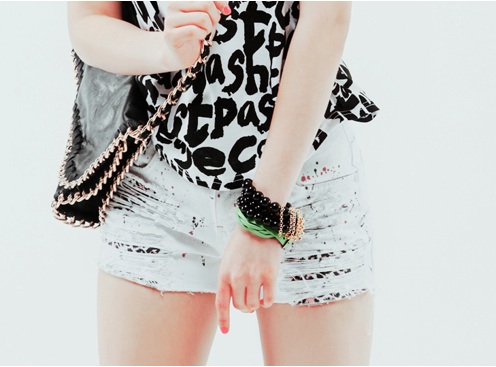
via mikeila on weheartit
I’m kind of a font nerd, so when I noticed the sudden influx of letter print clothing, I was really into it.
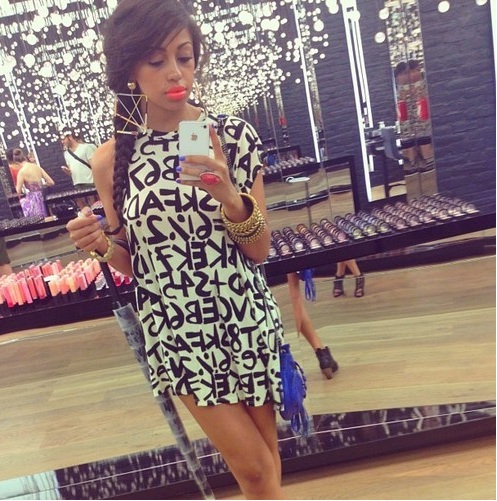
via blandina goncalves on weheartit
This stuff is selling fast — some clothes I found for you a few days ago were all sold out by the time I tried to put them in this post! So, if you like this you should get on it while you can. Here are some cute things to get you started:


DIY Letter Print
Making this look at home is incredibly simple. You can buy letter stencils at the crafts store, or make them yourself (which is what I’m going to do because it’s too cold to run errands).
You will need:
Paper
Poster board
A favorite font
An X-Acto Knife
A black item of clothing
A paint brush
White fabric paint or acrylic paint
1. If you have a printer, simply print out some letters in the size you want. If you don’t have a printer, set up a word document with the alphabet in the size you want your print to be. Not all of the letters have to be the same size. I’m using Times New Roman in bold, size 300. Use your computer as a light box and trace the letters.

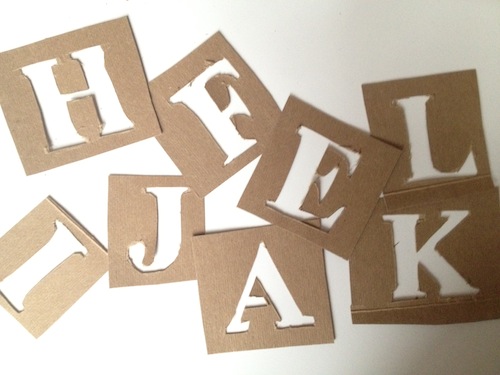
2. Attach the paper to something thicker like poster board or thin cardboard. With an X-Acto knife, cut out the letters so it makes a stencil.

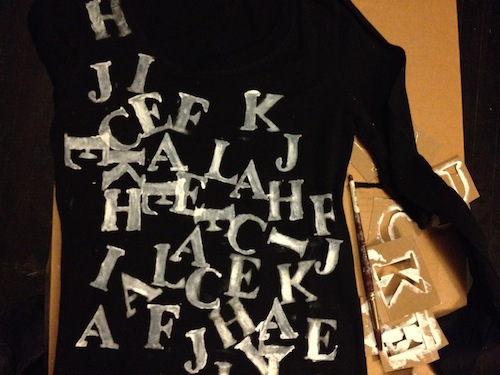
Cut a square around each stencil so that you have individual letter stencil cards.
3. Using a dry paint brush, begin to fill in the stencils on your black item of choice. You don’t have to make the paint perfectly even.
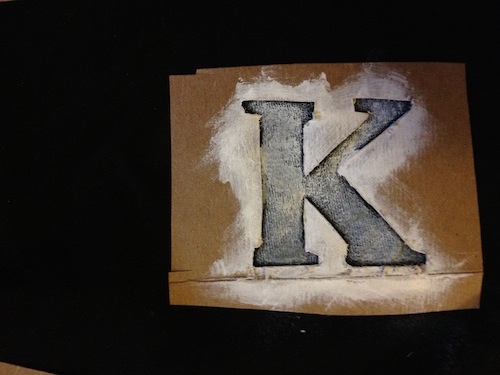
4. Add as many letters as you want, wherever and as densely as your heart tells you to. I like the way this looks applied sporadically rather than neatly, like the letters kind of spilled on to the shirt.
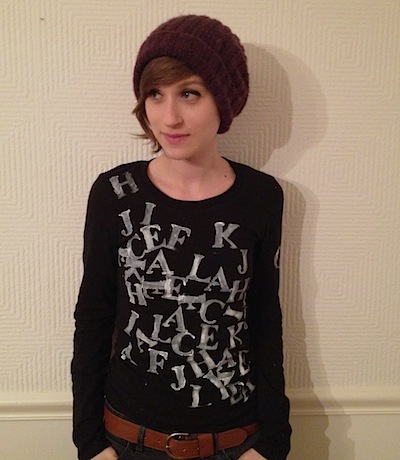
5. Let it dry and try to act casual while you force someone to take a picture of you in your new shirt.
Want to know how to own a look? Email [email protected] or tweet to @Gabrielle_Korn.
Header by Rosa Middleton

Letter print gets me turned on. I’m just sayin’!
turned on more like kerned on
This is too much pun…someone should bring in the serif or at least the deputy serif
You are honestly the cutest and most talented, and it hurts meee
blushing!
It never occurred to me that I could use my laptop as a lightbox. Genius!
A tablet would work even better, assuming you have one!
I wish!
I am a Mac lover and right now there is a little tear in my eye
You are ultra cute. –Random Person on the internets
I cosign this message. – Other Random Person on the internets
How to Own It is becoming my favourite segment on this site. Crafts, pretty clothes AND a picture of Gabrielle being cute at the end???
yay!!
I now need a letter print skirt in my life. Neeeeeed.
Can’t wait to try this!
What a cute idea! I think stenciling clothing is a super fun way to personalize a wardrobe. Also, I’m kind of a perfectionist and I’ve found that a good way to adhere the stencils to the clothing is to make the stencils our of freezer paper and iron them onto your article of clothing–that way they don’t move while you’re filling them in with paint!
You are just tooooo amazing!!! I’m going to try this (& several of your other tutorials!) ASAP. Thank you!!