

Welcome to the another installment of Make A Thing, where we make handmade gifts for people. Or ourselves. Who doesn’t need something special in their life? Join in on the DIY fun and avoid the unnecessary consumerism of the world (and I promise you’ll save a few dollars while you’re at it).
Header by Rory Midhani

CLICK HERE FOR ALL OF THE MAKE A THING TUTORIALS EVERRRRRRR!
Shrinky Dinks. I’m going to say that name about a million times because it’s hilarious. Shrinky Dinks. What a misunderstood medium. I never had these as a kid, probably because my mom thought it was ridiculous to buy shrinking plastic I’d play with for twenty seconds (very wise, that woman). I was introduced to the magic of Shrinky Dinks when I was around sixteen and bought them at midnight in Wal-Mart to make with my friends while we were eating Funfetti cake. Party animals!
Shrinky Dinks have officially grown up. Gone are the days of pre-printed clowns or whatever terrifying image the Art Director of Shrinky Dinks thought we wanted. I’m instantly a sucker for anything tiny and anything that masks all of your mistakes by shrinking to a third of its original size. I favor Shrinky Dinks for jewelery personally, but I’m also making some Christmas ornaments out of them this year.
For the purposes of this tutorial, we’re going to be making fairly simple Shrinky Dink earrings.
Ruff ‘n’ Ready just sounds so dirty.
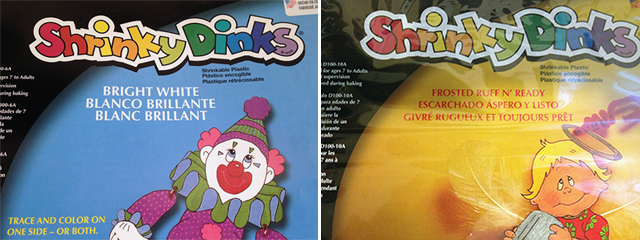
Let’s talk Shrinky Dinks basics here. I like the Bright White (creepy clown front) and the Frosted Ruff ‘n’ Ready (creepy angel front). Bright White smears easier, so it’s best for fine permanent markers. Ruff ‘n’ Ready is great for acrylic paint and stamps, but it is see-through, so if your design doesn’t cover the whole thing you’re going to see the earring blank behind it and it looks funny. There’s also Ink Jet Shrinky Dinks which looks super cool but they didn’t have them in stock and I’m too frugal to spend $12 on magic shrinking plastic, you know? Choose wisely!
Supplies Needed: Shrinky Dink plastic (I bought mine at Michaels, it’s in the stamp aisle, but you can also find it online or at most craft stores), an oven, permanent markers or stamps or acrylic paint, scissors or a shape puncher, parchment paper, Mod Podge (optional), super glue, jewellery findings — ring blanks, earring blanks, pendant bails or whatever you’d like.
Level of difficulty: Shrinky Dinks are made for children, so… I think you’ll be okay, little buddy.
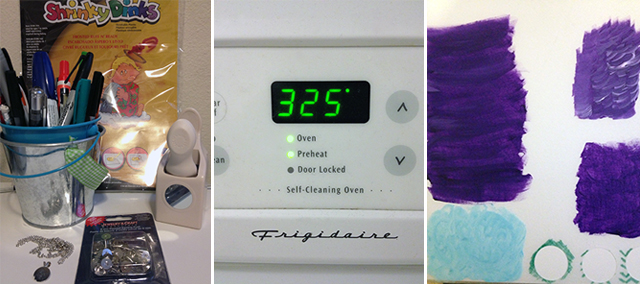
1. Preheat your oven to 325°.
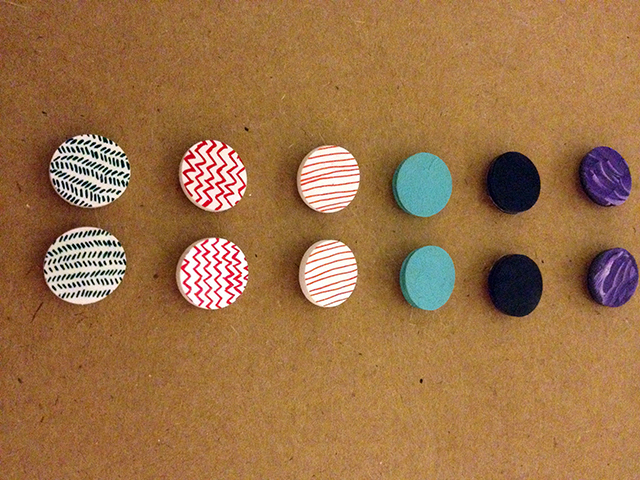
2. Draw or paint or stamp on your Shrinky Dinks plastic pages. If you’re using Ruff ‘n’ Ready (the name kills me), color on the rough side. Go bananas with it. I did some wonky chevron, some assymetrical herringbone, some not straight lines, and some random globs of paint. It doesn’t have to look that great, but just don’t smudge it because smudges become 329% more noticeable when they shrink.
Left: Martha Stewart makes good craft stuff / Right: Unbaked versus baked
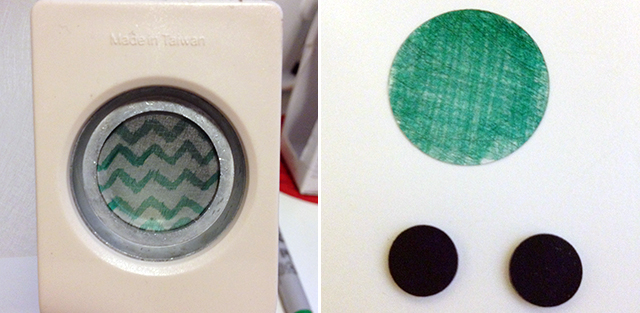
3. Cut them out. I like to use a shape puncher because I’m lazy and I feel it necessary to have matching shapes for earrings and I have zero abilities to cut in straight lines with scissors, much less perfect circles. Maybe you’re really good at tracing circles and cutting them out. Go ahead and do that. I envy you. For reference, my shape puncher is a little larger than a quarter and my earrings shrunk down to smaller than a dime. They really take their name seriously.
3 1/2. If you are making something like a keychain or ornament, now is the time to cut a hole for the string.
4. Place them on parchment paper, colored/”ruff” side up, on a cookie sheet and put them in your preheated oven.
5. If your oven has a window, perfect. You get to watch the magic happen. If not, wait for about 2-3 minutes and then peek inside. Your Shrinky Dinks will do nothing for a long time, then curl up and shrink and flatten out again. Wait for about thirty seconds after they unravel and then take them out, pressing down on them with parchment paper to flatten them out.
6. Let them cool down for about fifteen minutes. If you painted them, put a layer of Mod Podge over them for added protection, because they’ll scratch easily.
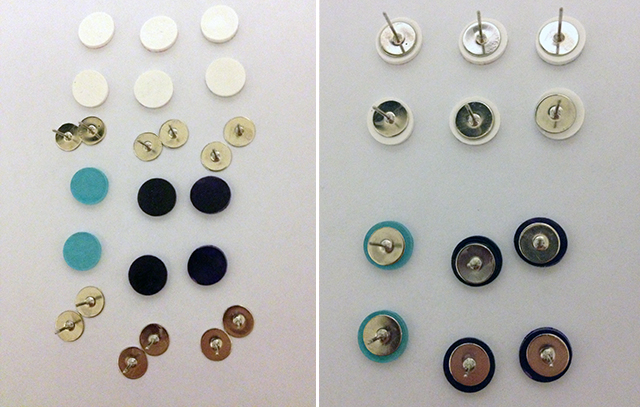
7. Use the super glue to stick them to the earring blank or ring blank or bail or whatever you’re getting at here.
You can see how bad I am at drawing straight lines, especially on that wonky chevron print. It’s rustic, okay?
8. Tah dah! Dang, those are some pretty sweet Shrinky Dinks you got there.
I’ve made necklaces, vegetable garden label sticks, keychains, rings and earrings out of Shrinky Dinks. They’re tough and they hold up, I can promise you that. No one has to know how easy these were to make. It can be our secret.

Yes. doing this.
I didn’t learn about shrinky dinks until high school, when we made them in geometry to illustrate scaling.
Did You Know!
You can also use overhead transparency paper. You have to scuff it up a little with some fine sandpaper so that the colored pencil or whatever will stick, but it works and is probably cheaper.
I looooove shrinky dinks! And arts and crafts in general! Though I most definitely sympathize with the whole straight line/even circle dilemma.
you can also use those clear plastic salad/to-go containers some places have! and draw on it with sharpies!
Yeah, you can just use #6 plastic! (http://www.curbly.com/users/chrisjob/posts/2252-diy-shrinky-dinks)
yes! I found this tip on pinterest and am totally planning on making charm bracelets for my students this Christmas!
The “Make A Thing” articles make me very happy!
My friends have incredibly different styles/tastes and I’m not very crafty so I usually end up overextending my budget trying to purchase thoughtful gifts…I now have a ton of options! I’m so excited to give hand-made personalized gifts this year!
And these actually seem on my level as far as crafts go :) Success.
<3 I also claimed my wonky heart cookie-cutter I made in 8th grade metalworks/woodshop was rustic looking, hah. Adjectives fix everything.
ugh please give me a pair of these for xxxmas hansen, i’ll send you a lock of eli’s hair in return
I adore these.
I’ve been wanting to make some rad Shrinky Dink necklaces and such for a while now. Definitely gonna have to try out earrings, too.
I think this confirms we are the same person.
Pingback: 25+ Cute But Easy Shrinky Dink Ideas for Mother's Day - LalyMom