

Baby, it’s cold outside. Or at least it is here in the northern hemisphere! And I’ll bet some of you have festive or new year plans that revolve around forest cabins, country cottages, lakeside huts, seaside caravans or other cute holiday hideaways that involve leaving central heating and wifi behind and roughing it for cosy winter thrills.
So. You’ve finally arrived after getting completely lost on unmarked dirt tracks, you’ve dumped your bags, you’ve raced around the garden/lake/woods and it’s time to pop that bottle open and get cosy by the fire. Yay! Whether it’s hearthrug sex, board games or a lengthy discussion about social justice you are gonna need to get that baby lit.
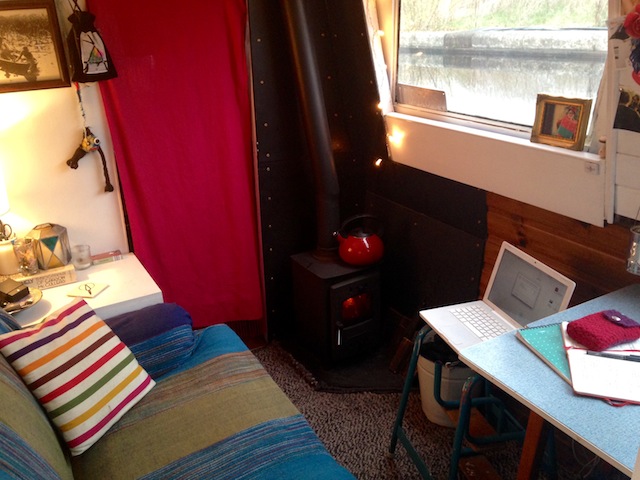
I live on a boat which is heated entirely by a multi-fuel stove — I literally do this every day from October to March and I like to think I’ve got firebuilding down to a fine art. I thought I’d share my method with you so you can be the coolest cat in the cabin and build a perfect cosy fire for everyone to gather around. I also want to say right now for the record that I hate Scrabble. But I love brandy and sexytimes, so.
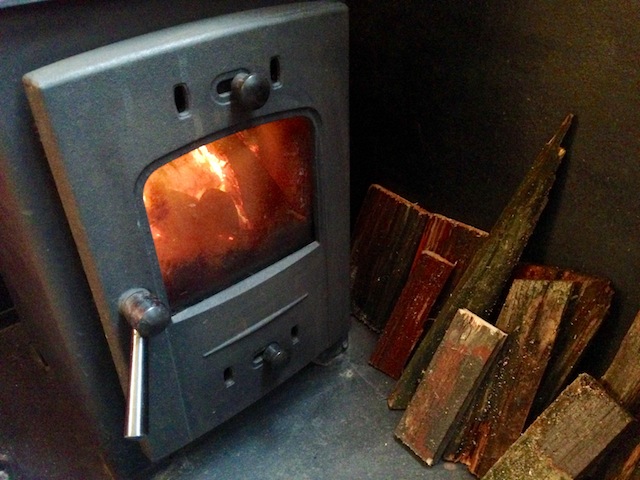
I’m doing this with a little iron stove, but the basic principles work fine for an open hearth or outdoor fire too.
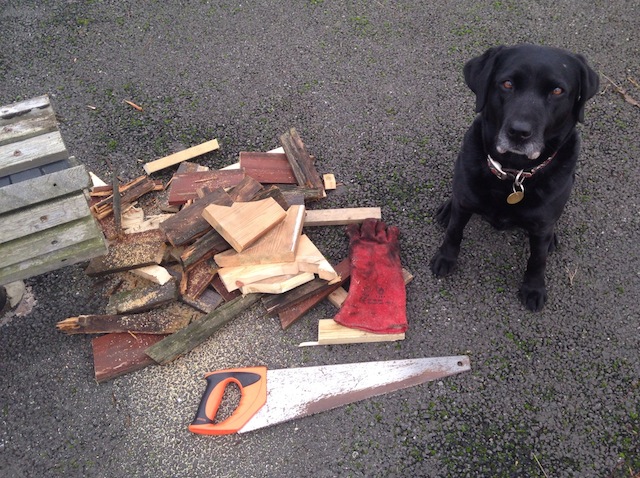
Billie’s special job is to find waste wood on nearby building sites and saw it up.
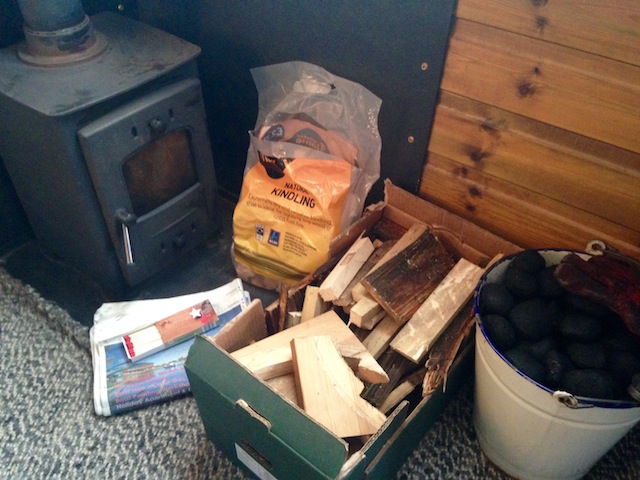
You will need:
- Newspaper
- Small wood like twigs and sticks (kindling)
- Slightly-bigger-wood
- Firelighters (optional but recommended)
- Your main fuel: coal, or bigger logs
- Matches (preferably nice long ones to protect your wee fingers)
Basic principles:
- Fires need three things: oxygen, heat and fuel.
- Wood burns from above, coal burns from below.
- Air flow is king.
- Fuel must be dry. Don’t try burning green (live) wood, this will result in smoke and misery.
1. Start with a clean grate
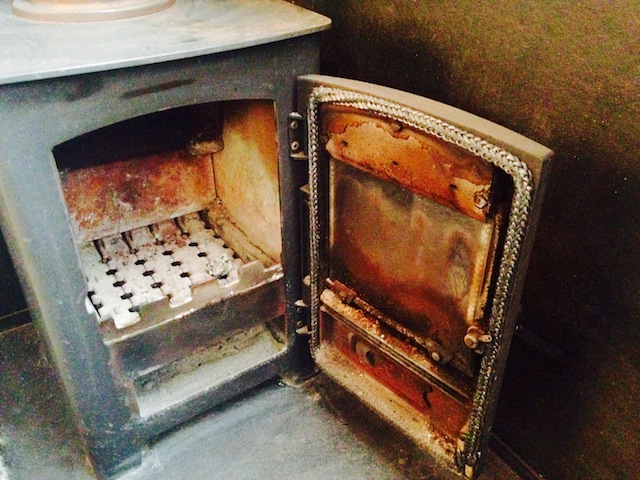
No shortcuts here! Clean out the grate, including the pan under the grate if there is one. Air flow is the most important thing for a hot, happy fire and it starts right here.
2. If you’re gonna be using coal, lay a few lumps now
You’ll put more on later but coal is slow to get going. A neat little pile right at the start will give you a head start.
3. Paper balls
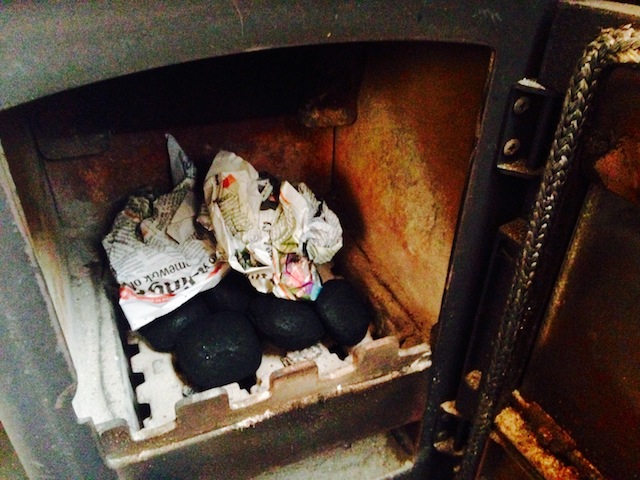
Everyone has a different way with their newspaper bunching — my ex swore by ‘little snails’ where he’d twist big sheets of paper over and over til they curled up like snail-shells. You do you. Screw up some paper however you like and arrange this on your coal/grate.
4. Kindling cone
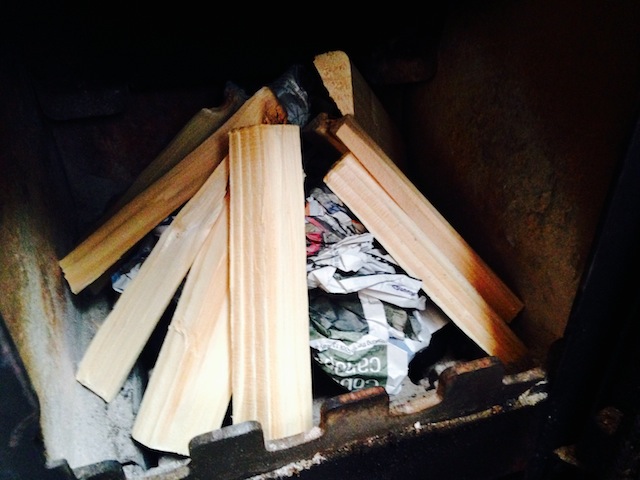
There’s an art to arranging your kindling so that air can flow all around it and it all catches at the same time, which is what you want. Lay your twigs and sticks vertically all the way around your newspaper so it forms a conical kind of shape.
5. Firelighters
If you’re using firelighters (you don’t have to but man do they make life easier!) nestle one or two at the top of your fire now.
6. Light it!
Light the firelighters, or a loose edge of paper. This is where you need to be quite attentive, to ensure everything gets going. Don’t assume your paper will all go up in a merry blaze right away. You might need to re-light or gently blow on the fire to help it get a hold. Crouch right down and blow gently into the bottom of the fire, where you can see smoke or glowing and you should be able to rouse up some flames.
7. Add things
When your kindling has started properly burning, find a couple of next-size-up pieces and lay these gently on top. Don’t smother your fire! Be really careful as you do this so that you don’t put the flames out — if neccessary, support the new pieces with more kindling. Watch to make sure these catch light.
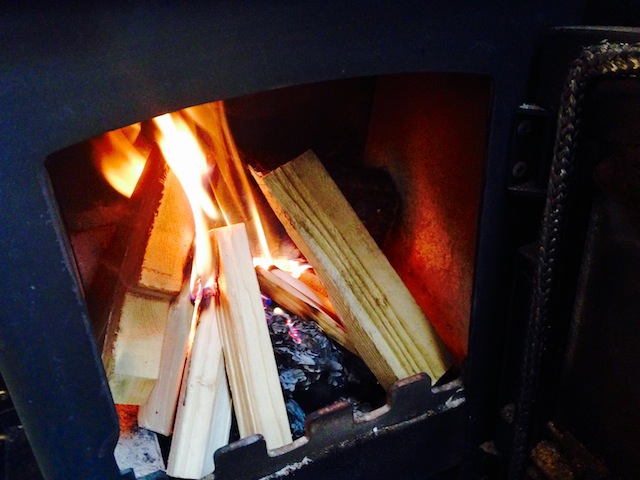
If you’re using a stove, close the door now, but leave the vents fully open.
8. Add more things
As the fire builds, you can keep adding larger and larger bits of wood until you have a proper good blaze going. If you’re using coal, wait til your wood is burning well, then add a few lumps at a time (without smothering flames) til they start glowing too. Then you can chuck a whole load on!
Stove vents: If you’re using a stove, you can adjust the vents to control the heat output. Open vents = more air flow = hotter fire/burn through fuel quicker. Half-open vents = less air flow = mellower heat and slower burn. Closing the vents entirely will shut your fire down.
If cats only did what you told them to do, this cosy fireside scene would be complete. Oh well.
9. Mulled wine/hot chocolate/brandy/Scrabble/reading/sexytimes
You are now temporarily released from your duties to enjoy other fireside activities! Just keep an eye on things and refuel when you need to.
Enjoy, and have a glass for me!

Fun fact: my housemate calls sexy times “scrabble” – it’s quite a handy code and means there’s a lot of giggling when family members suggest a game of scrabble.
My uni friends and I used to use “playing Scrabble” as a euphemism too!
Wait. Are you my housemate?
Nope, but I find it heartening that there are other people out there who use really dorky euphemisms :)
where was this when geneva and i stayed in our cozy cottage last january?! i know firsthand that this article will change lives. thanks, beth!
Haha! Gosh I hope you had a lot of blankets Carmen.. :)
I’m a scout and jesus the amount of fires I have build trying to impress girls. I smelled like smoke, had red teary eyes and once burnt the hairs on my arm off. Guess I can understand why they weren’t that impressed, but damn I got good at it in the end.
Haha! Right? It’s a good hunter-gatherer skill to have.
Though my GF and I argue *constantly* about the right way to build a fire – she won’t agree with a damn word in this article ;)
Ah! I would love love love to read an article about living on a boat–tiny houses are like porn to me. My last apartment was a little less than 200 sq ft and it was tiny tiny heaven!
I was taught to make snails when I was young :)
me too! i saw tiny boat and also that you’re in manchester so i wonder if you’ve encountered ellen macarthur’s book about her little boat in Plymouth. would be cool to hear more about your boat life. also i learned how to make a rocket stove from a fellow straddler which i use for bike camping and now i wonder if any boaters use rocket stoves. thx for the article.
Googling ‘Rocket Stove’ as we speak…
OMG I actually have one of those. Just a wee one, for camping :)
And if you live in an apartment without a cozy fireplace, you can crank up the heat and light a nice-smelling candle. :) Scrabble, hot cocoa, spooning, and/or sexytime also optional.
Your houseboat sounds lovely though.
I am the fire-killer in my household, so this is hugely helpful. Question: if you’re burning logs, do you put them on the bottom right away like you do with the coal, or later on, after the kindling is going good? (This may be the secret as to why I’m a fire killer – my dad taught me to put the logs in later, but I can never find the right “okay, kindling looks good, put the logs in now” ratio, I just smother everything to death)
I can’t believe the one place where my fire-starting needs are answered is Autostraddle, this is so great XD
Hey @girafferiffic – I wouldn’t put big logs on first – with wood I find it’s better to gradually build to the big stuff. Don’t go from kindling to logs as it will all go out, you need a decent supply of middle-sized stuff, and when that’s going, then add one log, wait for it to really get burning, and then you can add more :)
Basically each larger thing burns for longer, but takes longer to get going – so stepping up the sizes of wood this way helps to ensure each larger thing catches.
(Okay I just read that back and it doesn’t make much sense…hopefully you’ll get what I mean!!)
That actually makes perfect sense! Thank you! I will give it a try and hopefully practice will make perfect!