

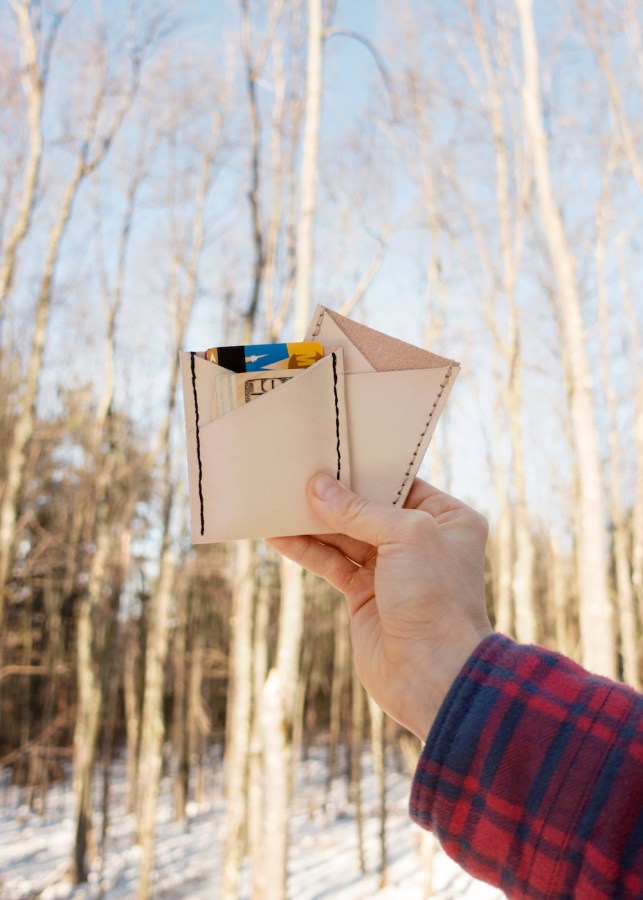
At last year’s A-camp, we hosted a leather key fob workshop, aka Ring of Keys, and this year we will be building on those skills by making a simple leather wallet. Whether you wait to make this baby at A-camp X this week or make it at home with this tutorial, this wallet is the perfect size for all your essentials and won’t weigh you down while you’re romping around.
As you make this wallet, you’ll learn how to add shape to leather, create holes for stitching, and use waxed thread to saddle stitch. At A-camp X, we will be using optional letter punches to add initials or your favorite phrase, such as my favorite combination of letters from last year, “BUTT STUFF.”
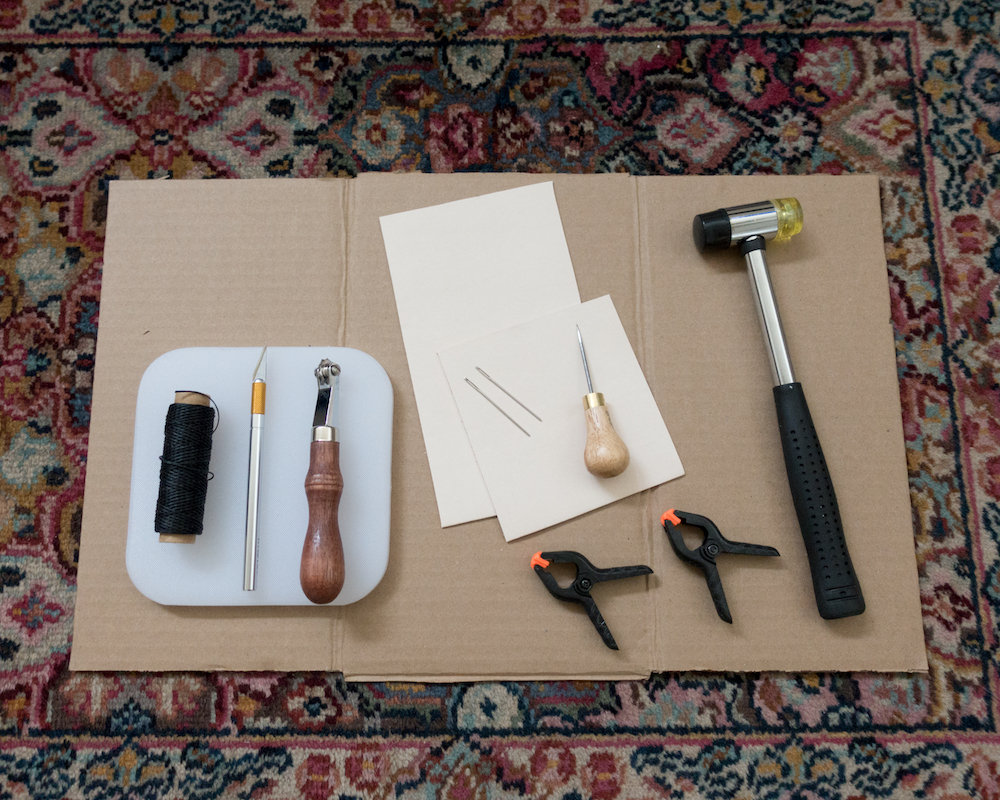
Supplies:
-
- Leather: approx. 9″ x 7″ inches of 2-3oz veg tan tooling leather
- Hammering Surface: Poly tooling board or a soft block of wood
- Cutting Surface: Cardboard or a self-healing cutting mat
- Clamps: Binder clips work great too!
- Thread: Strong braided waxed cord
- Rubber mallet or hammer
- Leather Needles
- Stitch Spacer
- Exacto Knife
- Cork-backed ruler
- Awl
Prepare the Leather:
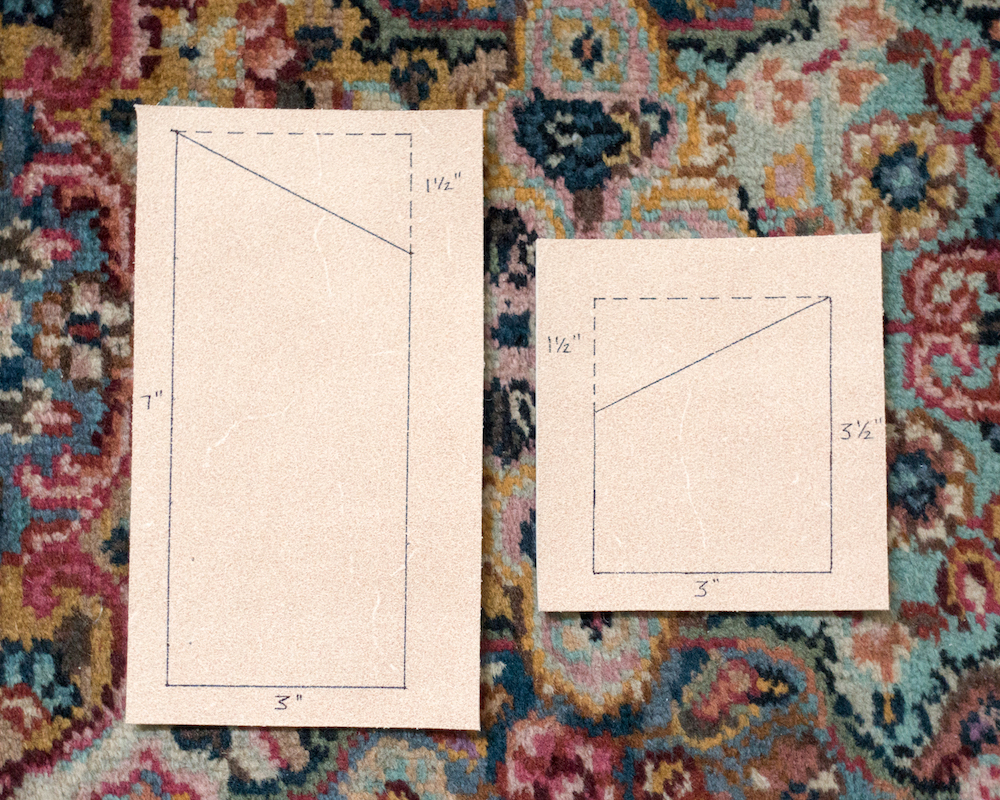
- Trace the following dimensions directly onto the wrong side of the leather with a pencil.
- Body: 7″ x 3”
- Pocket: 3 ½” x 3”
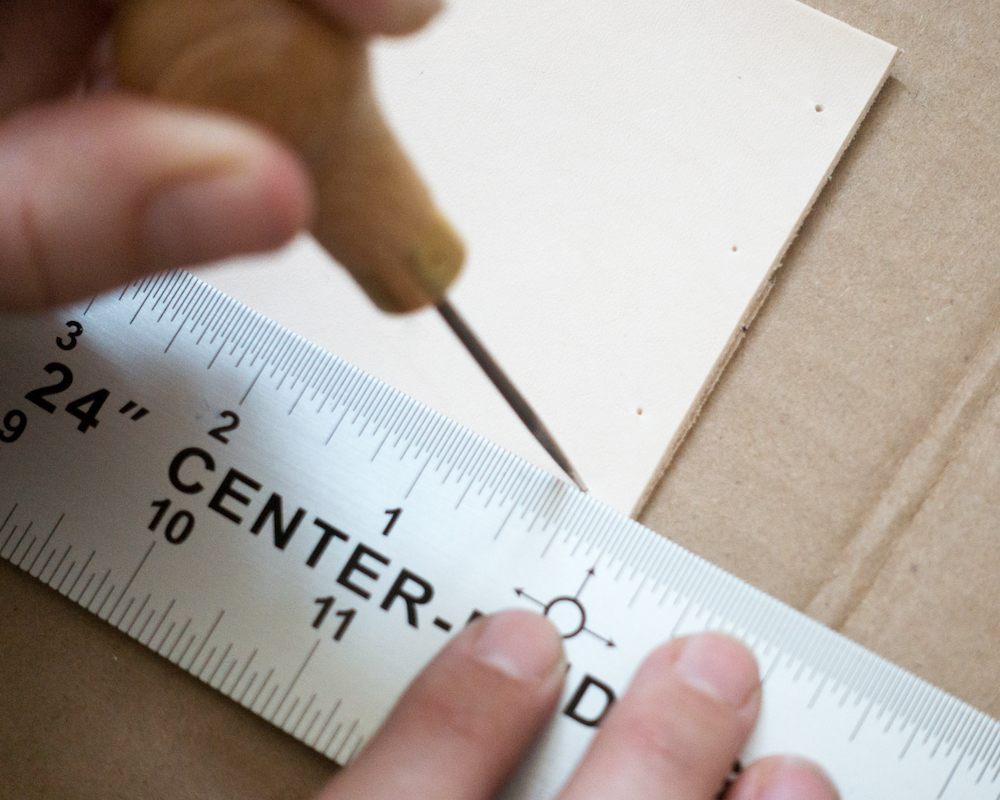
Create the diagonal line on the body piece by measuring 1 ½” down from the top-right corner and mark. Connect this mark with the top-left corner of the body piece. This is now your diagonal cutting line.
Create the diagonal line on the pocket piece by measuring 1 ½” down from the top-left corner and mark. Connect this mark with the top-right corner of the body piece. This line is now the diagonal cutting line.
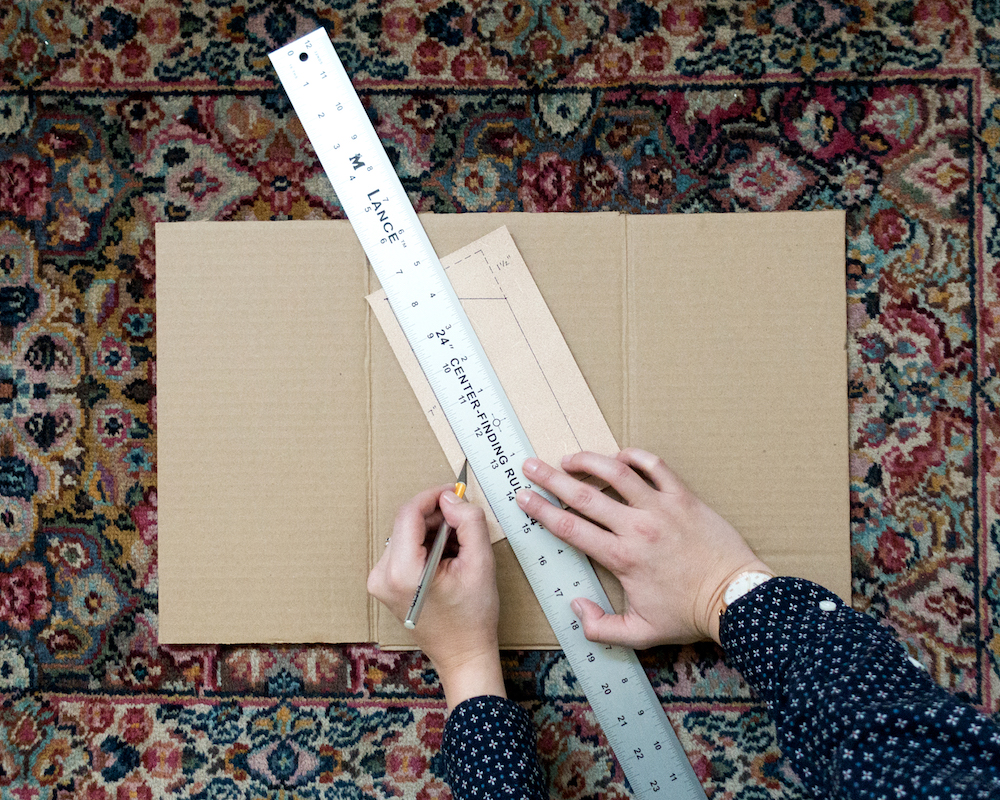
- Place the leather on top of a cutting surface and use an exacto knife and ruler to cut the body and pocket pieces out.
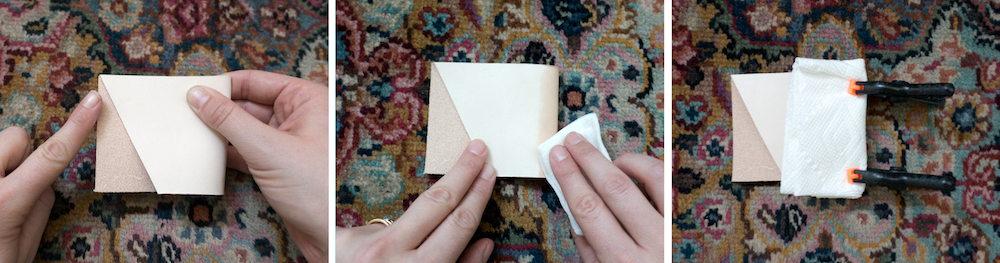
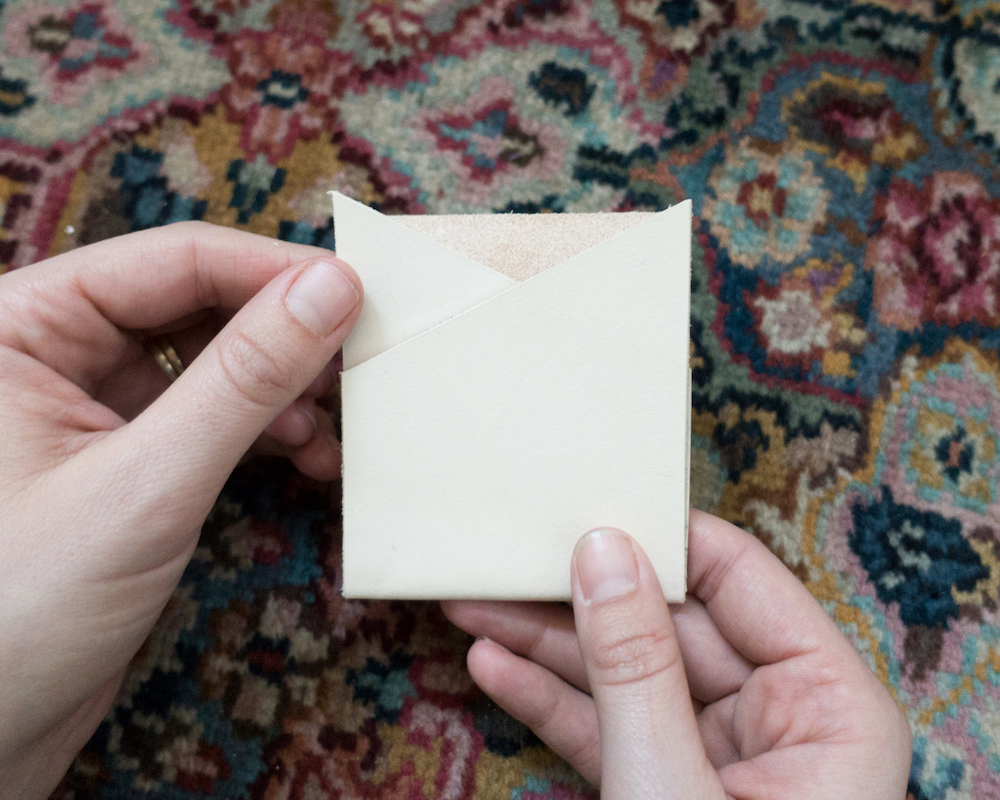
- With wrong sides together, align the diagonal point of the body piece to the opposite corner of the body (fold it like a hamburger bun, not hot dog).
While holding the wallet fold in place, lightly dampen the fold on both sides.
Wrap the fold in either scrap leather or a paper towel and clamp in place. The scrap leather or paper towel will keep the clamps from making marks in your wallet.
Let the wallet sit and dry for approximately 5 minutes
- Remove the clamps. On the back of the wallet, measure ¼” in from each long edge and make a few marks with the awl.
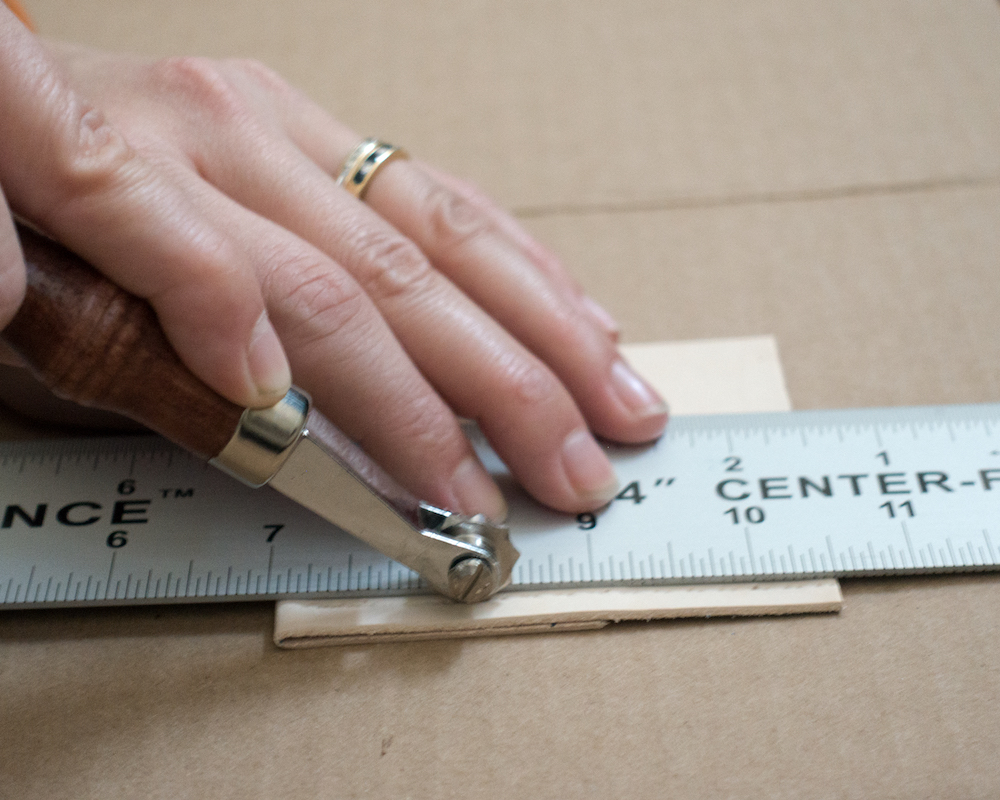
Align the long edge of the ruler with the ¼” marks and trace along the ruler with the stitch spacer. Use a good amount of pressure as you roll to make even stitch markings.
- Insert the pocket piece into the wallet body. Clamp one long side of the wallet to keep all the parts in place and set on a hammering surface.
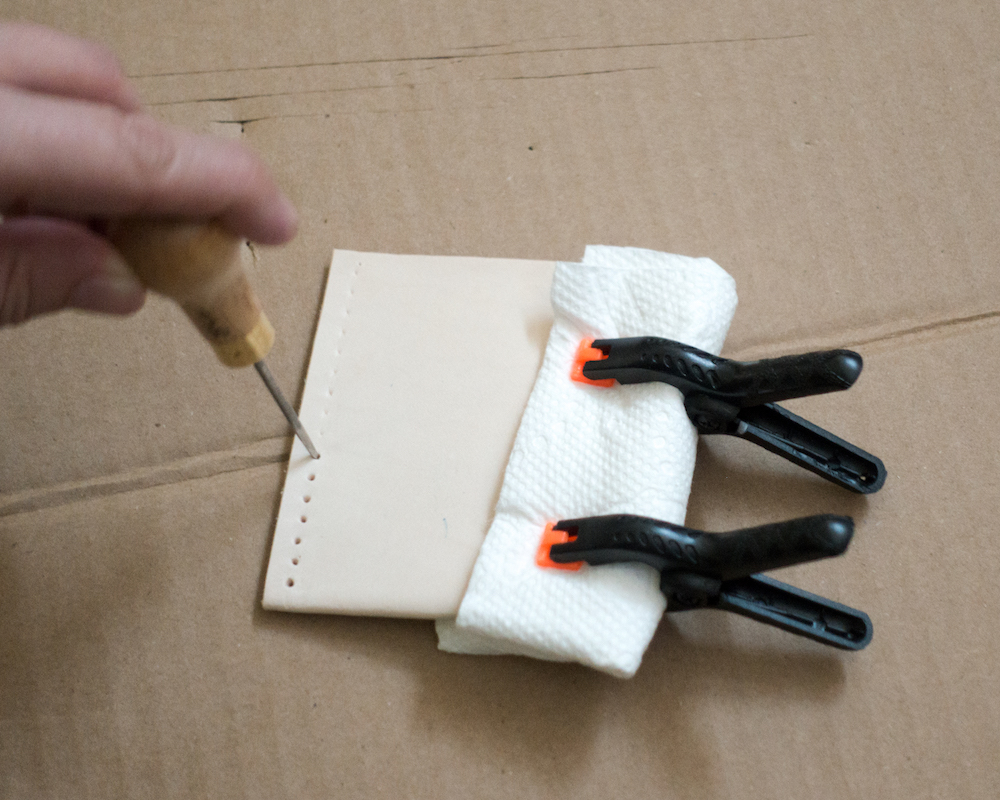
Working from the bottom of the pocket upwards, place the tip of the awl into each stitch marking and use a hammer to punch through all layers.
At this point in the process, you may also choose to barnish the raw edges of the leather. This technique will give your wallet a more professional look, but it is not necessary for functionality. Barnishing requires more supplies and is more advanced but will make your wallet look even sexier.
Get Stitching:
Now it’s time to get stitching! Some folks like to glue the edges in place before sewing or use a stitching pony to keep the pieces from shifting. I prefer to use clamps or just to go rogue; it’s the simplest and will get the job done.
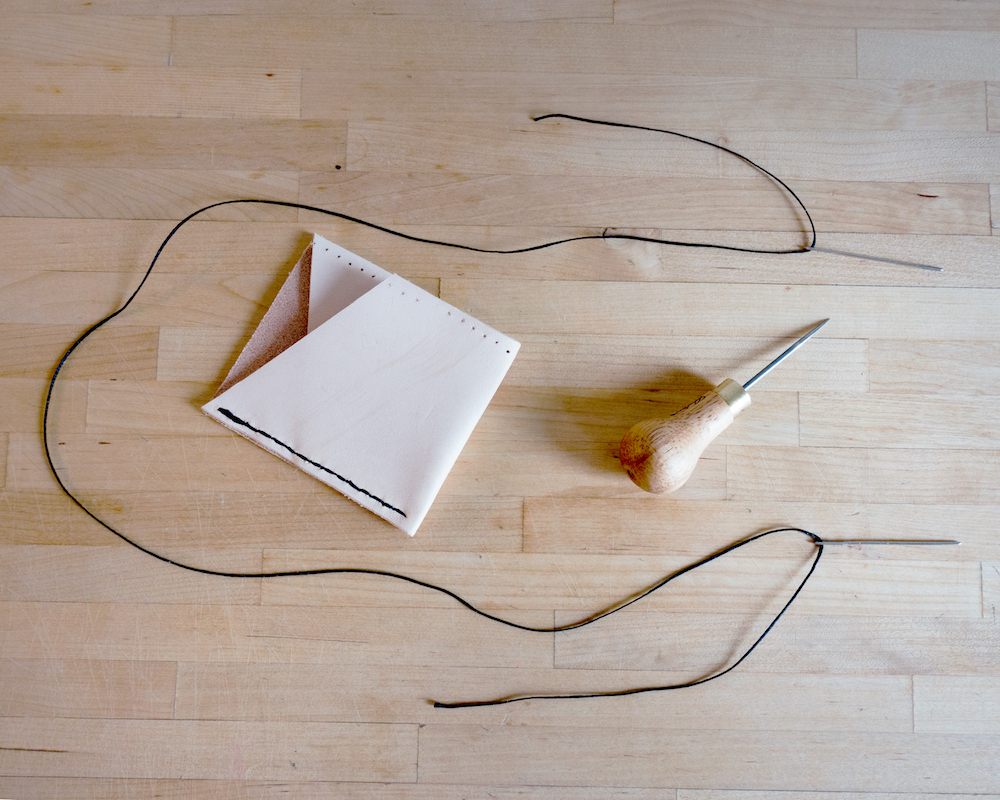
- To begin, cut a piece of thread approximately 4x the length of the edge of the wallet.
Thread one needle through one end of the thread and another needle through the opposite end.
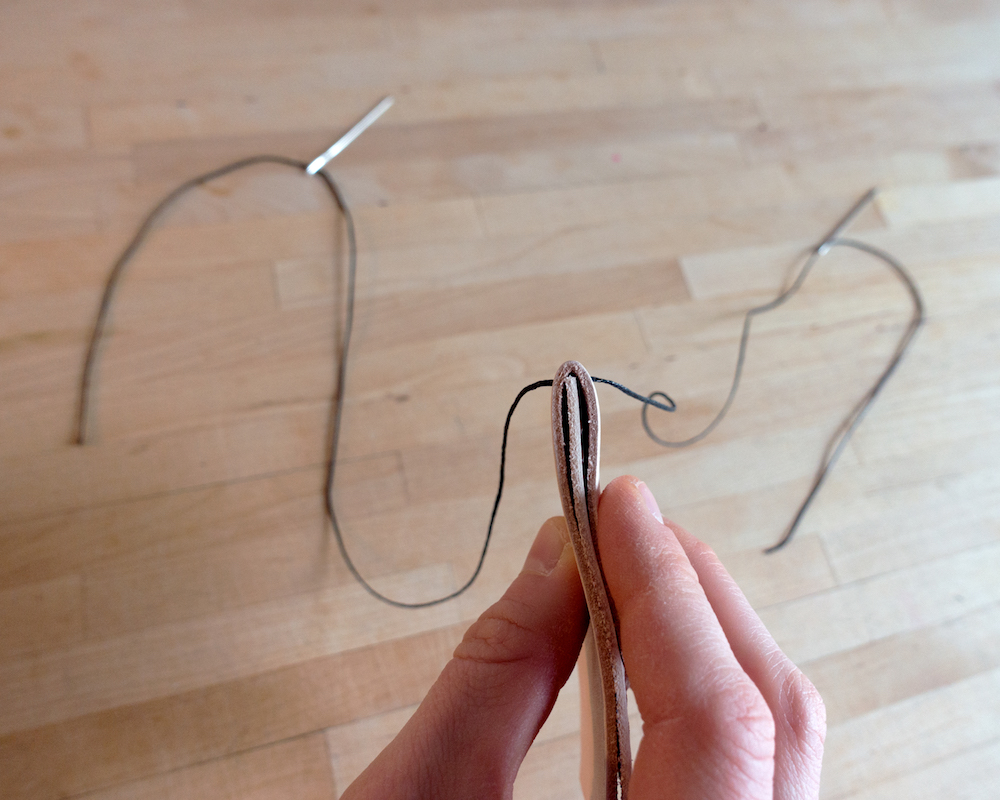
- Insert one of the needles through the hole where you want to start and pull it until the workpiece is in the middle of the thread
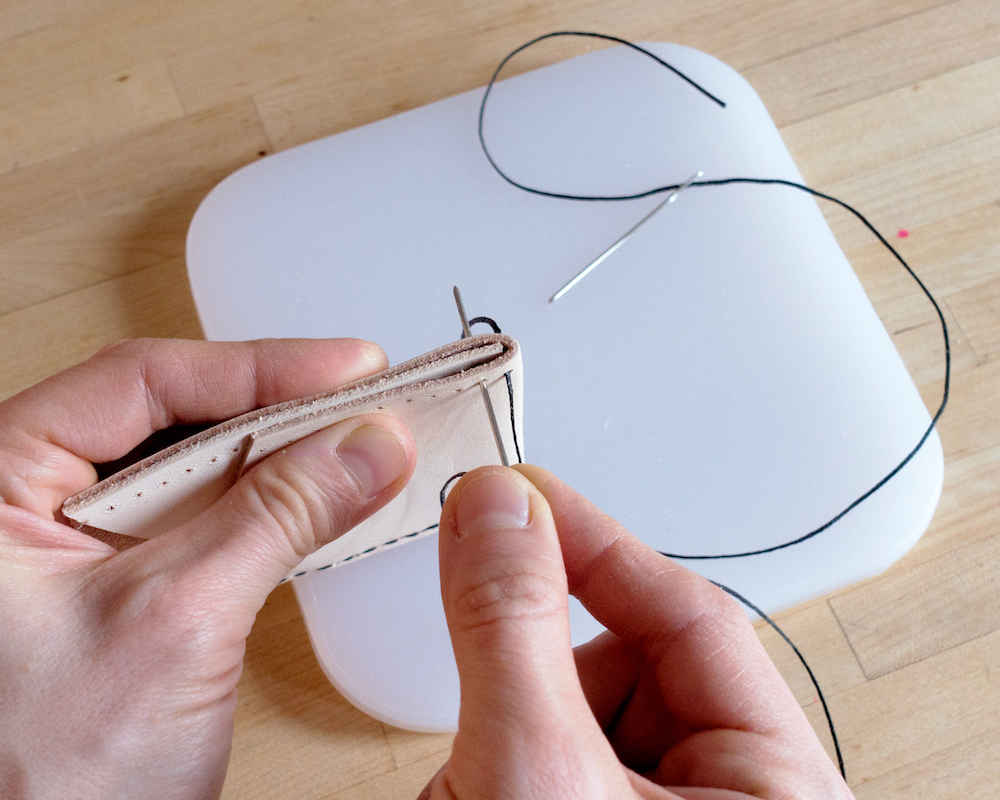
- Take the needle on the front of the wallet and bring it through the next hole. Do not tug on the threads, keep the stitch nice and loose.
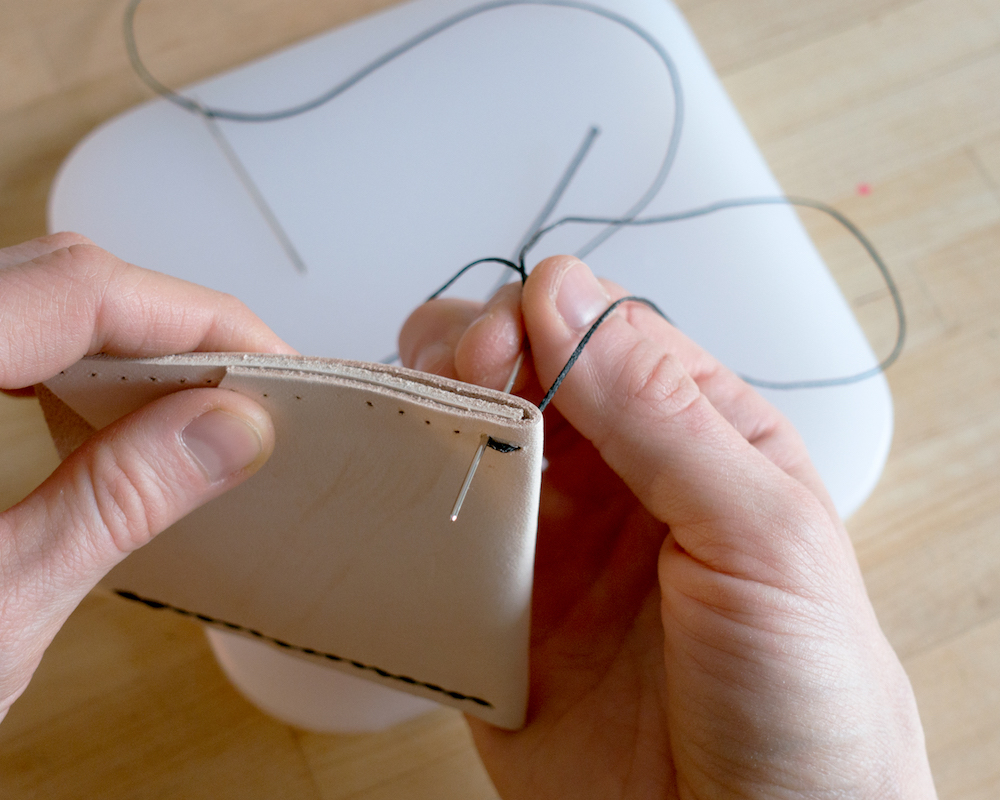
- Take the needle in the back of the wallet and bring it through that same second hole. Now that both threads have gone through the second hold, take a needle in each hand and pull evenly until the stitch tightens. Notice that the needles alternate sides with every stitch. Remember that each needle is going through each stitching hole. Repeat this same technique up the line of stitching holes until you come to an end.

- To finish and secure the threads at the end, reverse the direction of sewing and stitch back over the last two stitches. This backstitch will create a double thickness of thread in the last two holes. If you are having difficulty pulling the needle through, use some pliers.
If you need a bit more help with the saddle stitch, take a look at this instructional video.
- Use the Exacto knife to cut the thread tails nice and close to the leather. Use a lighter to slightly melt any remaining thread.
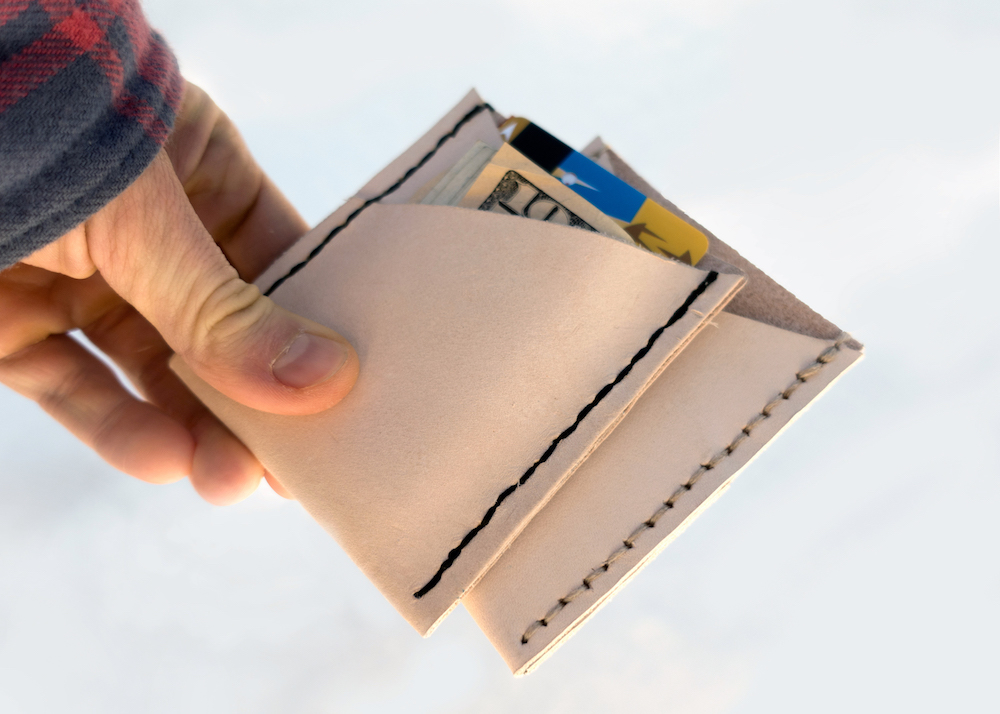
Now go and enjoy your new butt stuff and I’ll be seeing y’all at A-camp X!

I so hope that I get to do this
I kind of misunderstood the last line.
Hey Al,
In an attempt to make a joke, I may have lost you. May I clarify anything for you?