

I feel the need to start this recipe with a disclaimer: pie is a pain in the ass to make from scratch.
I have to be honest with you! I’m not saying it isn’t worth it, I’m not saying it isn’t fun, I’m just saying it is not easy. There are a lot of bakers that like to claim the process of creating a pie where one did not exist before without any shortcuts is simple and can be done with little effort and a smile on your face the entire time. I’m not calling them liars, maybe they’ve figured something out that I haven’t in the last ten years, but the number one holiday meal item that I’ve seen people have complete meltdowns — that turn into family legends in the process of making — is pie.
It’s a lot of pressure to be tasked with baking the most important part of a meal and know you’ll be judged for it. I mean pie is so important to most people at the holidays that ruining it is a bigger deal than drying out the turkey or making the mashed potatoes taste like glue. This is serious business. All that pressure aside there’s also the fact that more than anything else on most menus, It is significantly easier to mess up a pie than it is to succeed at making a perfect one from scratch. I sincerely believe that if more people knew and accepted that fact before jumping into pie making the whole situation would be way more chill. So now that you’ve got that dose of reality and I’ve done such an amazing job of talking up the process and setting a mood of excitement, let’s make some pie!
Despite all the potential for error, I do genuinely think it’s still worth it to make pies. My proudest kitchen moments are the ones that come from making a recipe that really tests my skills and make me want to guzzle wine Olivia Pope style. The feeling of accomplishment I have after getting to the end with something that is maybe not perfect but totally delicious is amazing. It’s kinda like how little kids feel when they make their millionth crayon scribble drawing but still march up to you with a gigantic smile on their face because they know they’ve made a masterpiece. That’s how it feels to make a pie, except everyone is genuinely happy to see someone walk up to them with a pie and not just pretending to like it for your socio-emotional development.
If you make this recipe as written you’ll get to feel extra extra proud because it’s really from cute little round pumpkin scratch. I wanted to make it this way partially because I somehow ended up with three sugar pie pumpkins and needed to get rid of them, but also because most canned pumpkin is an imposter! It’s mostly butternut and other more texturally pleasing squashes mixed with some pumpkin. Rude. I was curious what an actually all pumpkin pie would taste like and thankfully the answer is really freaking delicious. It’s warmly spiced, smooth, just sweet enough, and not likely to last to the round of next day leftovers.
A note before getting started: this recipe is VERY easy to make ahead and I highly suggest doing so, and I’ve included notes throughout about timing for that. Also be sure to read through the recipe a couple of times to avoid missing any steps!
Pumpkin Pie
For the crust:
1 1/2 cups (180g) all purpose flour
1/2 teaspoon salt
4 tablespoons (2oz) butter, cold
4 tablespoons (2oz) vegetable shortening, cold
3-6 tablespoons ice water
For the filling:
2 sugar pie pumpkins (can sub one 15oz can pumpkin)
1 tablespoon molasses
1 tablespoon butter
2 eggs, room temperature
1 cup heavy cream
1/2 cup sweetened condensed milk
1/2 cup brown sugar
1 tablespoon brandy (optional)
1 teaspoon vanilla extract
1 teaspoon ground cinnamon
1/2 teaspoon ground nutmeg
1/2 teaspoon ground ginger
1/2 teaspoon salt
1. Preheat the oven to 400 degrees F.
2. Make the dough. This is the hardest part but once it’s over you will feel like you can do anything.
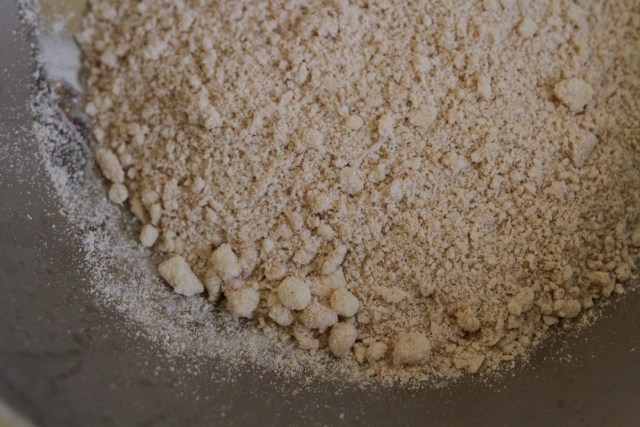
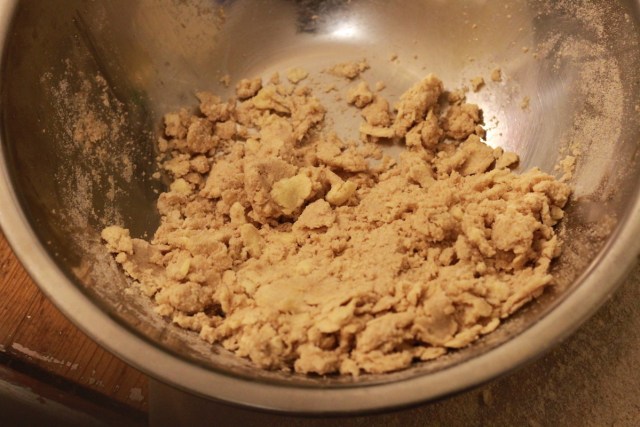
Place the flour and salt in the bowl of a food processor. If you don’t have one, you can use a large bowl and a pastry cutter or two forks for this segment. Crumble the shortening into small pieces.
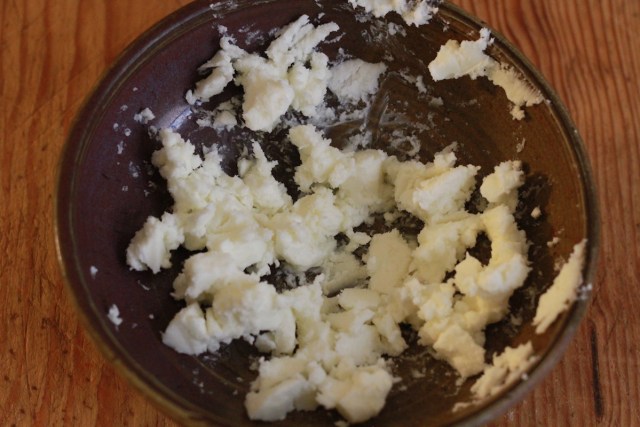
Add to the flour and pulse together until you have small, pea sized pieces. Place in the freezer.
Next cut the butter into thin slices. You don’t want them so thin that they start curling up/immediately melting, just something like this:
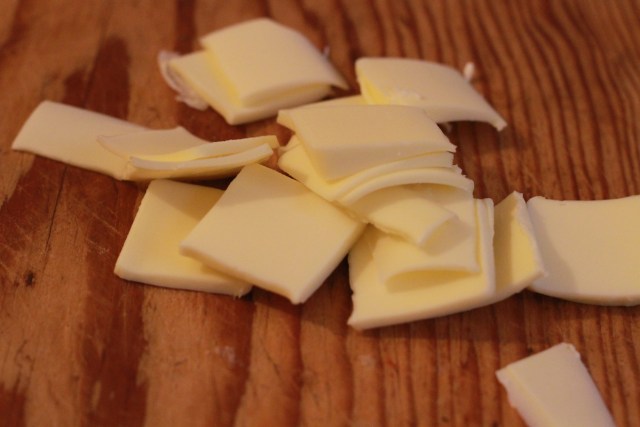
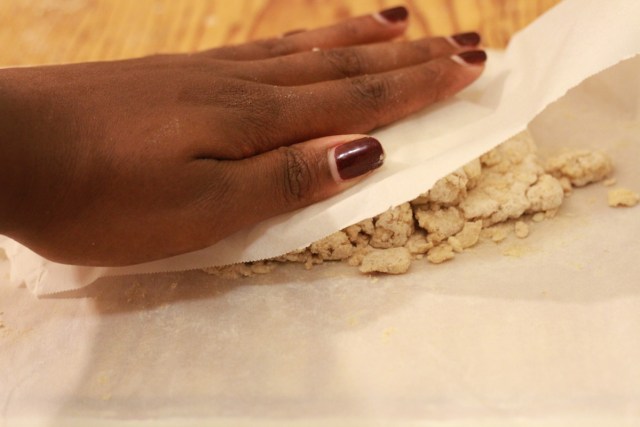
Add the slices to the bowl with the flour and toss to coat then return the bowl to the freezer for ten more minutes. In the meantime place a piece of parchment paper on a large surface and coat it with flour. Grab your rolling and pin and generously coat it in flour as well. After ten minutes have passed, grab the flour and pour it onto the parchment paper. Take the rolling pin and begin rolling the pats of butter into the flour, until the pile is flattened. When it is flat, lift the sides of the paper to bring the pile together again and roll it out again scraping off the rolling pin with a knife and reapplying flour as needed. You should complete this process three times or until the butter turns into thin flakes in the flour. Once your dough looks shaggy and flaky like this:
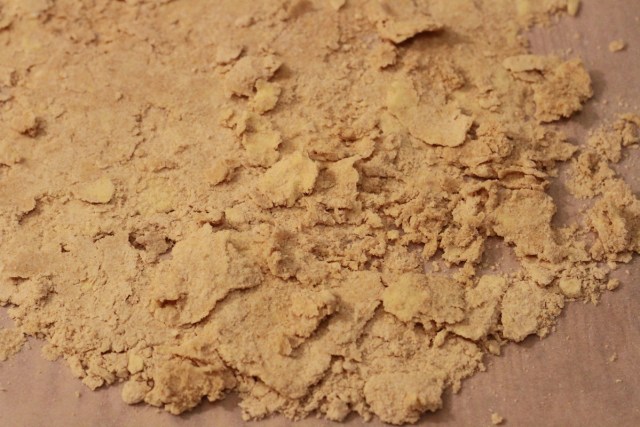
Pour it into a bowl and add three tablespoons of ice water. Stir the dough just until it starts to clump together. If it is still dry add water one tablespoon at a time until it comes together.
Once its ready, pour the dough onto the parchment paper again and use it or your hands to fold the dough over onto itself four to six times, just until it is a smooth disk.
Form it into a ball and then wrap in plastic wrap. If you are making the dough ahead of time place it in a freezer safe bag. Thaw it in the refrigerator a day ahead when you’re ready. If you are making the dough the same day or one day ahead, refrigerate for at least an hour or overnight. Wash your processor because you need it for the filling.

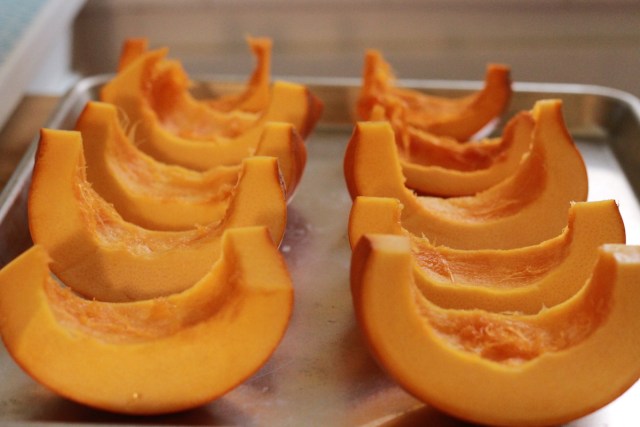
3. Start the filling! Cut the stems/tops off your pumpkins, remove and discard the seeds and as much of the gooey stringy insides as possible. Next cut the pumpkins into wedges, about 6 each, and place on a baking sheet lined with aluminum foil. I forgot the foil and had to soak and scrub my pan for an hour, learn from my mistakes.
Melt the tablespoon of butter and whisk in the molasses. Spoon or brush this mixture over each pumpkin wedge until fully coated then place in the oven and roast for 20-30 minutes. If you’re making the pie the same day, turn the oven down to 375 degrees F when they’re done, otherwise turn it off.
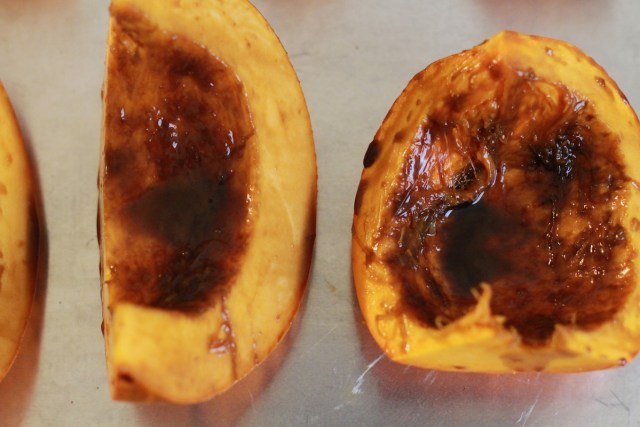
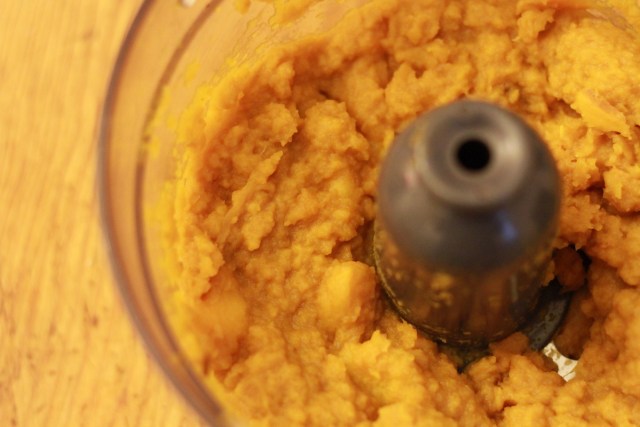
When they’re done you should be able to easily poke all the way through the thickest part of the wedge with the fork. Remove from the oven and allow them to cool for about ten minutes or until they aren’t too hot for you to handle but not completely cool. Now scoop the pumpkin off of the skin. Throw away the skin, and place the pumpkin in your food processor or a high powered blender. If you don’t have either of those things or you do and are just not feeling this extra work, just skip this part and use canned pumpkin! No one will blame you. Everyone else, blend the roasted pumpkin in 1 minute intervals, stopping to scrape down the sides, for 5 -7 minutes until it’s pureed but still chunky. Measure 1 3/4 cups, or 15 ounces of puree and reserve the rest for something like pumpkin pancakes or pumpkin bread!
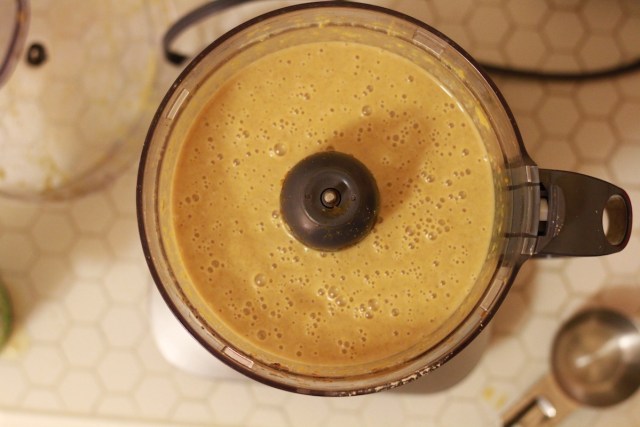
Now put the measured pumpkin back into your processor, add in literally every other ingredient and blend for 3-5 minutes or until the mixture is completely smooth. If you like doing things in stages instead of all at once it goes eggs, then sugar, then cream and condensed milk, then brandy, vanilla, cinnamon, nutmeg, ginger, and salt. The filling can be made a day ahead and stored in the refrigerator. If you are doing this, and I suggest you do because it tastes SO much better when the flavors have time to fool around overnight, DO NOT ADD THE EGGS UNTIL THE NEXT DAY.
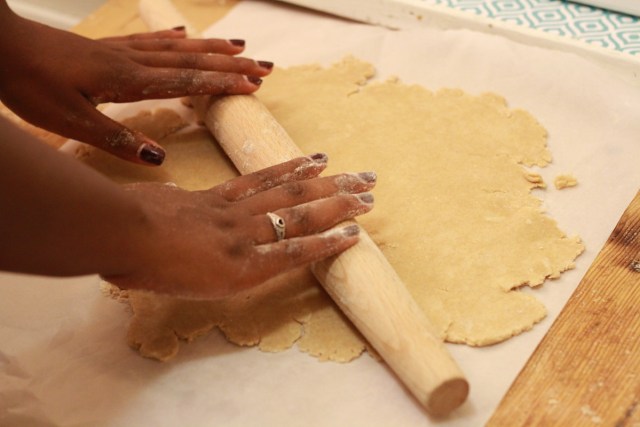
When you are ready to make your pie, preheat the oven to 375 degrees F. Grab the dough from the refrigerator, generously flour a piece of parchment paper or just your counter/surface and your rolling pin (or wine bottle!) and roll it out. You want to start from the middle and push forward, then back, then turn the dough a quarter turn and repeat until it’s large enough to slightly overfill a 9 inch pie plate. I usually turn my plate upside down over the dough to check if I’m there yet and I’m never there when I want to be there. If your dough starts breaking while you’re rolling, it is too dry. Sprinkle a little water over it, pat it in softly, and try to roll again. If it is super sticky and can’t be rolled without clinging to the rolling pin for dear life, you have the opposite problem and need to sprinkle on a little flour and make sure your pin is floured well. Full disclosure, I accidentally used whole wheat flour when making the dough you see pictured here and it was a STRUGGLE. I’ve made this dough a million times using the correct type of flour and it goes very well, I promise. When the dough is rolled out enough, carefully roll it onto and around the rolling pin, then unroll it into your pie pan.
Press the dough into the pan, then google fun ways to make the crust look cute and do them! I usually do the crimp thing which is what I attempted to do here but the accidental whole wheat dough was not interested in my plans and if I tried to make it happen the butter was going to start melting and that’s not good. Things will go better for you because you will do as I say and not as I do.

Now add the eggs to your filling if you haven’t yet, put it into your pie shell, and put that baby in the oven for 50-60 minutes. I suggest checking to see if your crust is browning too quickly about 30 minutes in. If it is, cover the crust with aluminum foil and then finish baking. The pie is done when the edges are firm but theres still some jiggle in the middle when you shake the pan. It will continue to cook when you take it out of the oven so don’t leave it in until it’s fully set!
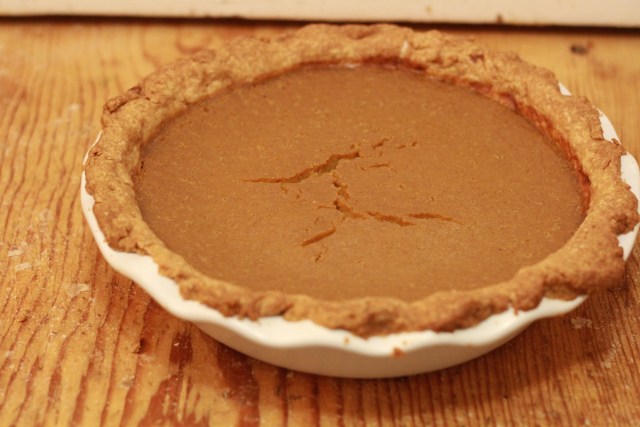
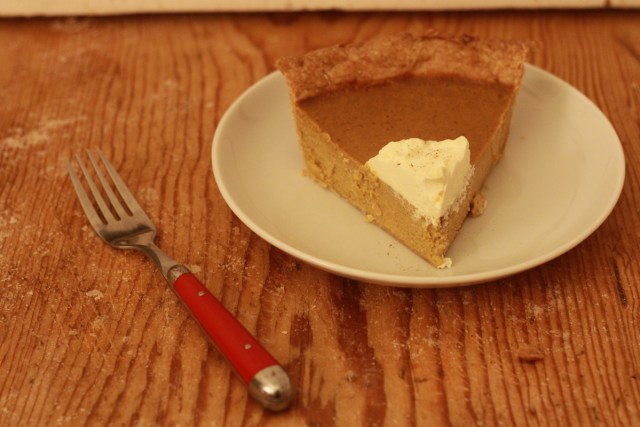
Ideally your pie won’t crack while it cools, if it does, and many do, that is okay. Let it cool on a rack completely, then cover it with whipped cream and no one will know!
Serve, and be very very proud of yourself.


Comments
I love your column; great reads and great recipes.
One time I read this pumpkin pie recipe that suggested pressing the pie filling through a sieve before pouring it into the crust. We were v skeptical but the pie came out with a very very smooth texture, so I use that tip for my pumpkin pies now.
Thanks Rey! That’s a great tip and I’ve done it before as well. I just hate washing sieves/extra dishes in general so i’ve taken to roasting first which gets rid of the excess water that causes canned pumpkin to be not so smooth!
Interesting, thanks for the additional info!
Also I’ve been craving pumpkin pie all weekend, HMMMM.
This looks so good! I’d love to make it, but I’m not sure we have sugar pie pumpkins available here. (In the Netherlands) Any suggestions on what kind of pumpkin might be a good (or reasonable) substitute? I’ve never had pumpkin pie, so I won’t even know the difference ;)
Hi Yasmin, if you see any small pumpkins at the store those will work, it just can’t be the large ones because they’re too watery and fibrous. If you can’t find pumpkin you can either use canned pumpkin or sub sweet potato or butternut squash!
This sounds awesome! I’ve wanted to try pumpkin pie for a while, so maybe I’ll just directly start with making my own.
If anyone attempts to make a vegan version of this, I’d love to hear about it! :)
Hi Sarah! I left tips on how to make this vegan under a comment on our Facebook page :)
Wonderful, thank you!
Wait where did I get Sarah? Is that even your name? Lol sorry, haven’t had my coffee yet.
Haha, yes, it is. Enjoy your coffee!
You could just cut the cold butter up into small pieces and work both the butter and shortening into the flour/salt with your fingers. Add the water and form the ball. Refrigerate for at least 30 minutes. And you’re done. A little flour on the surface to roll it out. You can pulse the stuff in the food processor but I find it easier and quicker to clean a mixing bowl than a food processor.
I look forward to trying this recipe though.
Can silver and gold level A+ subscribers get sent a slice as a subscription perk? You know, just wishing out loud.
I second that
I so admire people that can cook like that
I remember the first time I ever made pie filling from scratch was a thanksgiving where I really wanted to make pumpkin pie, except I had no concept of how many pumpkins we needed so we ended up with about 6 pies worth of filling (for about an 8 person gathering.) As an adult reading that there are pumpkins specifically for pie filling needs is blowing my mind and also connecting a lot of dots for me so thank you for that.
Sounds like you’re making the pie crust too complicated, just use all butter (very cold) and pulse it all in the food processor a few times until the pea sized pieces show up. Then add water and voila.
Quotes seen recently on a friend’s fridge:
“People who love to eat are always the best people.” – Julia Child
“And we must have a pie. Stress cannot exist in the presence of a pie.” – David Mamet
I Love this series so much !