I’ll be the first to admit that I’m not the best at taking pictures. I can paint, draw, and sculpt ’til the cows come home, but something about photography just eludes me. I also don’t have a fancy camera to take pictures with.
However, seeing as I like making things and telling you about it, I figure it’d be nice to learn a thing or two about photography. So far, I’ve made absolutely no progress, but I have made this fancy light box from that I saw on 17 and Baking a few years ago. It diffuses the light and creates a nice, blank background so that you can stage your stuff for a good shot.
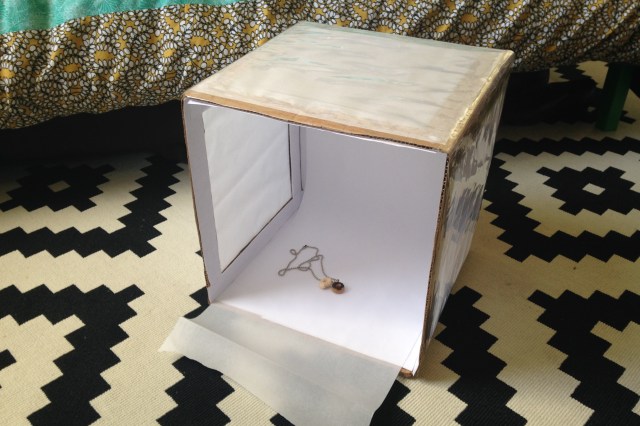
You Will Need:
- A cardboard box
- White printer paper
- White tissue or parchment paper
- Glue (something like Aleene’s tacky glue)
- Clear packing tape
- Two paper clips
- A ruler (wider is better)
- A box cutter
- Something to write with
Instructions

Do you see how distracting my floor is? This is why I need a light box
- The first thing you need to do is cut the flaps off the top of your box.
- Now you’re going to cut windows in three sides of your box. Make these easy guidelines before you cut — measure twice, cut once and whatnot. Pick an edge, any edge, line your ruler up against it, and draw a line. Do this on all four edges of three sides of the box. The side you don’t draw on will be the bottom and the side across from the de-flapped side will be the back.
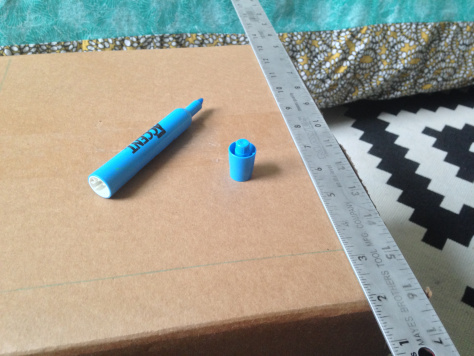
- Are you ready for the F word? Good, because this part is all about finesse. Corrugated cardboard can be tough to make a clean cut through, but I’ve got a secret. First line the ruler up just like you did to draw lines, except this time drag the box cutter along the line. Just enough to get it through the first layer of cardboard, okay? Now get rid of the ruler and cut through the rest of the layers. Ta-dah! You have a nice smooth edge. Do this with the 11 remaining cuts until you have three windows.
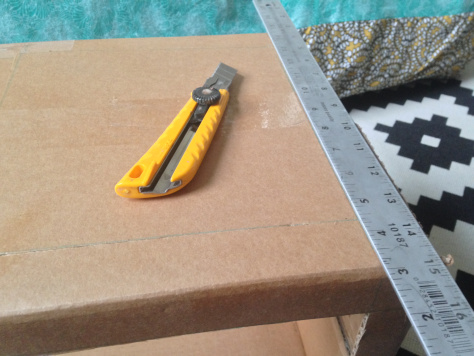
- It’s time to cover the inside of the box. Cut and tape white printer paper so that it fits inside one of the remaining two whole sides. Spread glue all inside one of the whole sides, spread it around with your finger to get rid of bubbles, and place the paper inside. If you had to tape pieces together, just remember to glue the paper tape-side-down so that there’s nothing shiny inside your box. Do this with the other whole side.

- I bet you’re thinking that the little strips left behind when you made the windows are going to be a pain and a half to cover. Well, think again. Remember how you measured the window strips using your ruler? All you have to do is cut ruler-width strips of paper and glue them in.
- Cut pieces of tissue or parchment paper large enough to fit over the windows but small enough to fit over a side. Glue the tissue paper to the outside of the box.
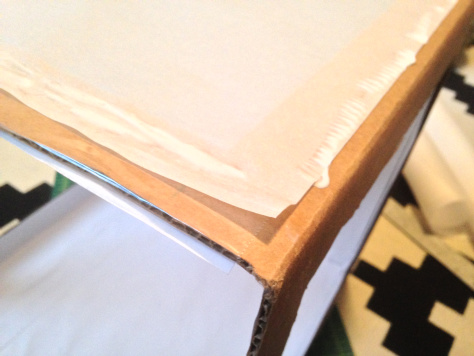
Ugly, yet effective
- If you’re going to use this for more than one project (and you should), you can reinforce the delicate paper covering the windows. To do this, use clear packing tape to tape entirely over the outside of the tissue or parchment paper.

The shine from the tape won’t affect the inside of your box
- Last but not least, make the backdrop holder. Tape paperclips in the top inside corner so that you can slip a long piece of white paper inside, kind of like the backdrops Lifetouch used to bring with them to school on picture day.
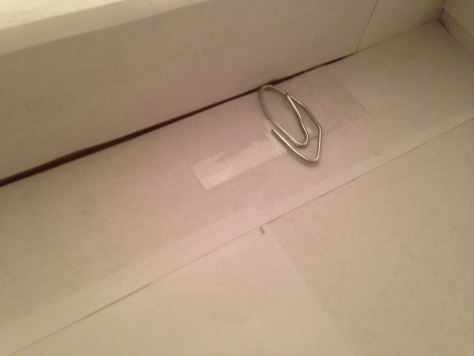
Do you like this ugly paperclip? I made it myself because I could only find one giant one
- Take a picture!
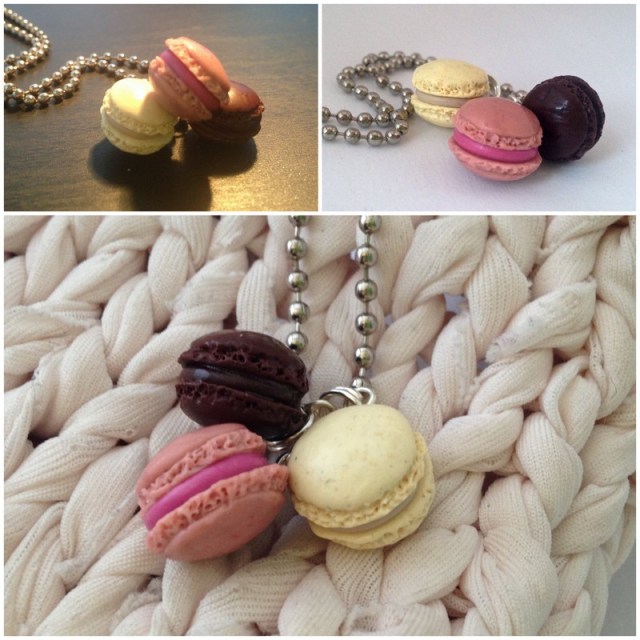
top left – on my desk; top right – in my light box; bottom – in my light box with a scarf



So what kind of lighting setup do you have for the box itself? Do you prefer cool light, warm light, or something more neutral on the kelvin scale? I am still learning about lighting, but right now looking at a puffer box to use with the on board flash and this has given me an idea maybe I can make my own, if I find a box compact enough.
i’ve just been using good old fashioned sunlight. i bet a for real photographer would know more about lighting, though! and/or maybe you could teach me
I guess that depends on what you are shooting, time of day, and angles. I am still learning about lighting and lighting accessories, which is part of the reason why I asked. Thank you.
I’ve made this before, and can vouch for it as a really manageable and very satisfying project! And I’m not a super crafty person.
Oops, I just noticed that the background of this photo has a framed picture of babyfemme!me. WELL THEN.
yay! i love your weirdo little pink bunny pic
Somehow I was expecting this to require some hard to locater and/or expensive material, but I think I have everything I need already in my apartment!
Somehow I was expecting this to require some hard to locate and/or expensive material, but I think I have everything I need already in my apartment!
Did you put the lightbox inside a bigger lightbox to take those nice pics?