
A patch that you’ve made and sewn on yourself — especially if it’s sewn with dental floss — is a badge of honor professing your ideals, feels, and crew. With all these punks walking around with decked out denim jackets, it’s time that I teach y’all how to make your own block printed patches.
Block Printing is a catch-all term that refers to printing with any block whether it’s wood, linoleum or rubber. There are lots of steps to block printing including, design, carving, and printing and you can spend more or less time on each step depending on how you’d like your patch to look. We’ll start with the basics including how to carve a rubber block with your unique design, the inking process, and how to print onto fabric with one color.
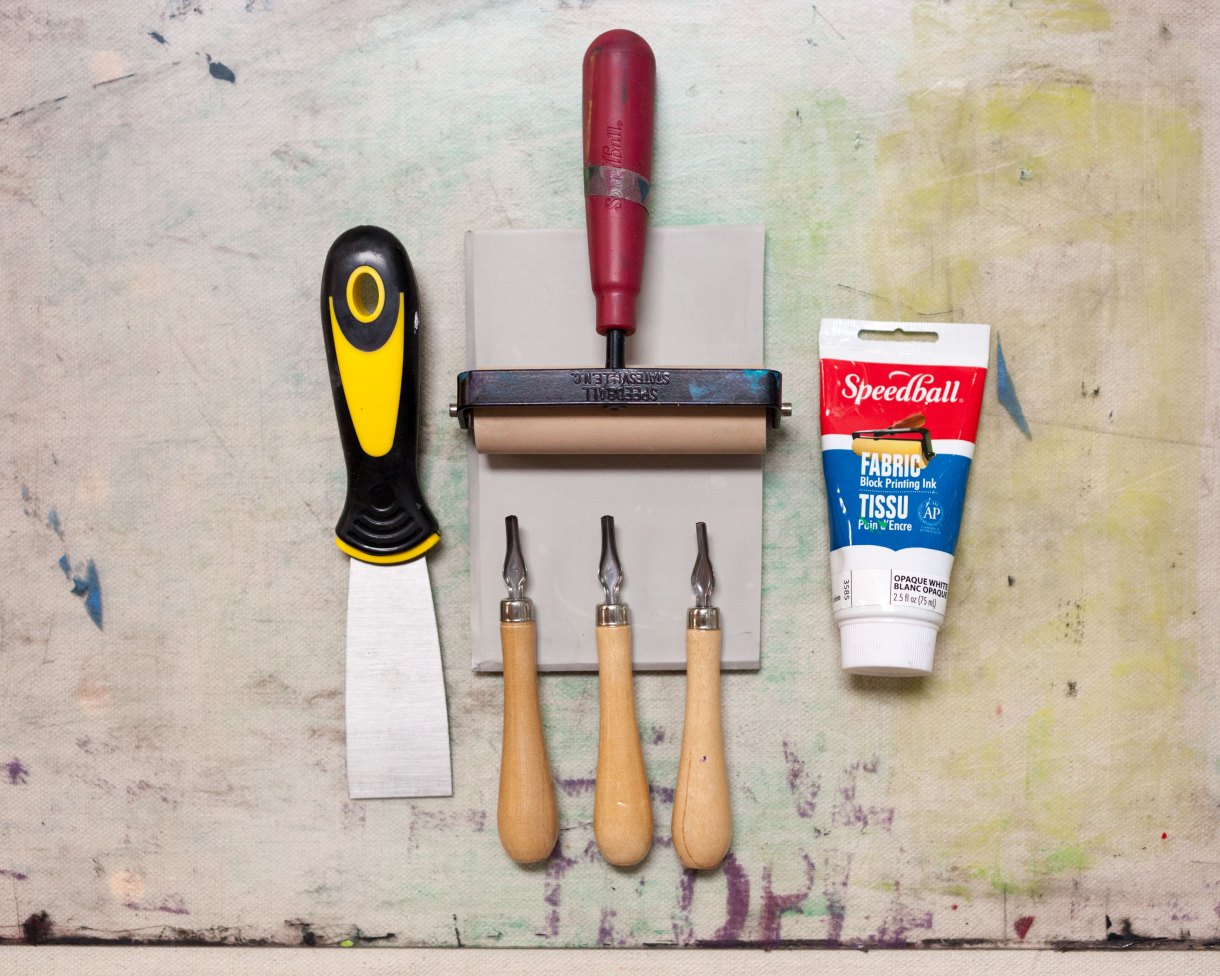
You’ll Need:
- Carving tool
- Rubber Block
- Fabric block printing ink
- Soft rubber brayer roller
- Soft conte pencil
- Glass or plexiglass to roll out ink. Try using glass from a thrifted frame.
- Fabric: Start with something opaque and thick.
- Tracing paper
- Other materials may include an ink spatula, rulers, tape, drawing paper, pencil, or clean rags.
Designing Your Patch

Begin sketching out a few versions of your design on a scrap piece of paper. Block printing is a constant play between negative and positive space. The marked area could eventually be carved away or carved around.
Trace the general shape of the patch onto a piece of tracing paper and draw your final design within the border with a Conte pencil.
You may also draw directly onto the rubber block. Keep in mind that lettering should read as a mirror image on the rubber for it to be read correctly after printing.
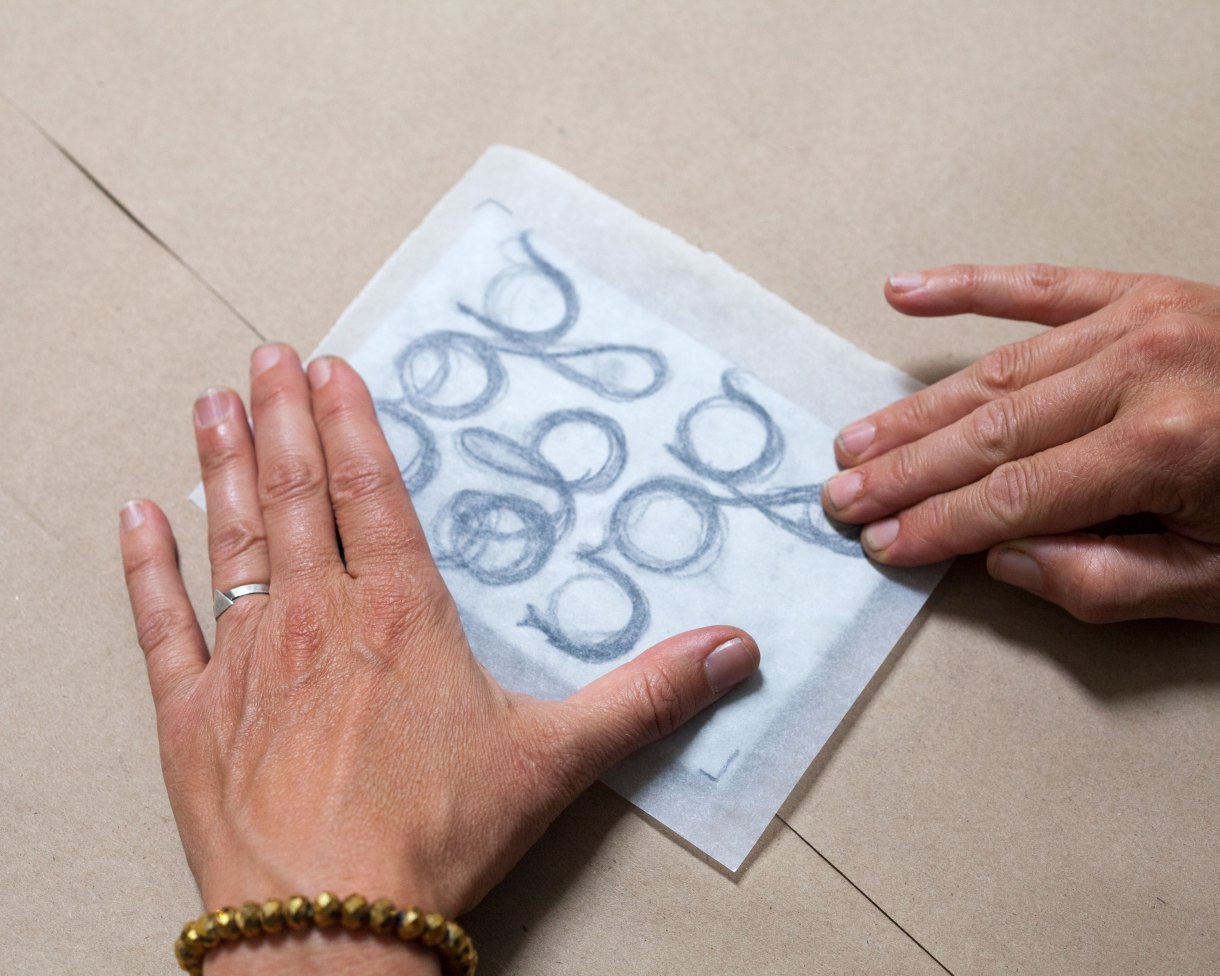
Align the marked side of the tracing paper with the rubber block. Align and place the tracing paper onto the rubber block. Use one hand to hold the paper steady and rub the graphite markings with your other hand in circular motions. This pressure will transfer the graphite to the rubber block.
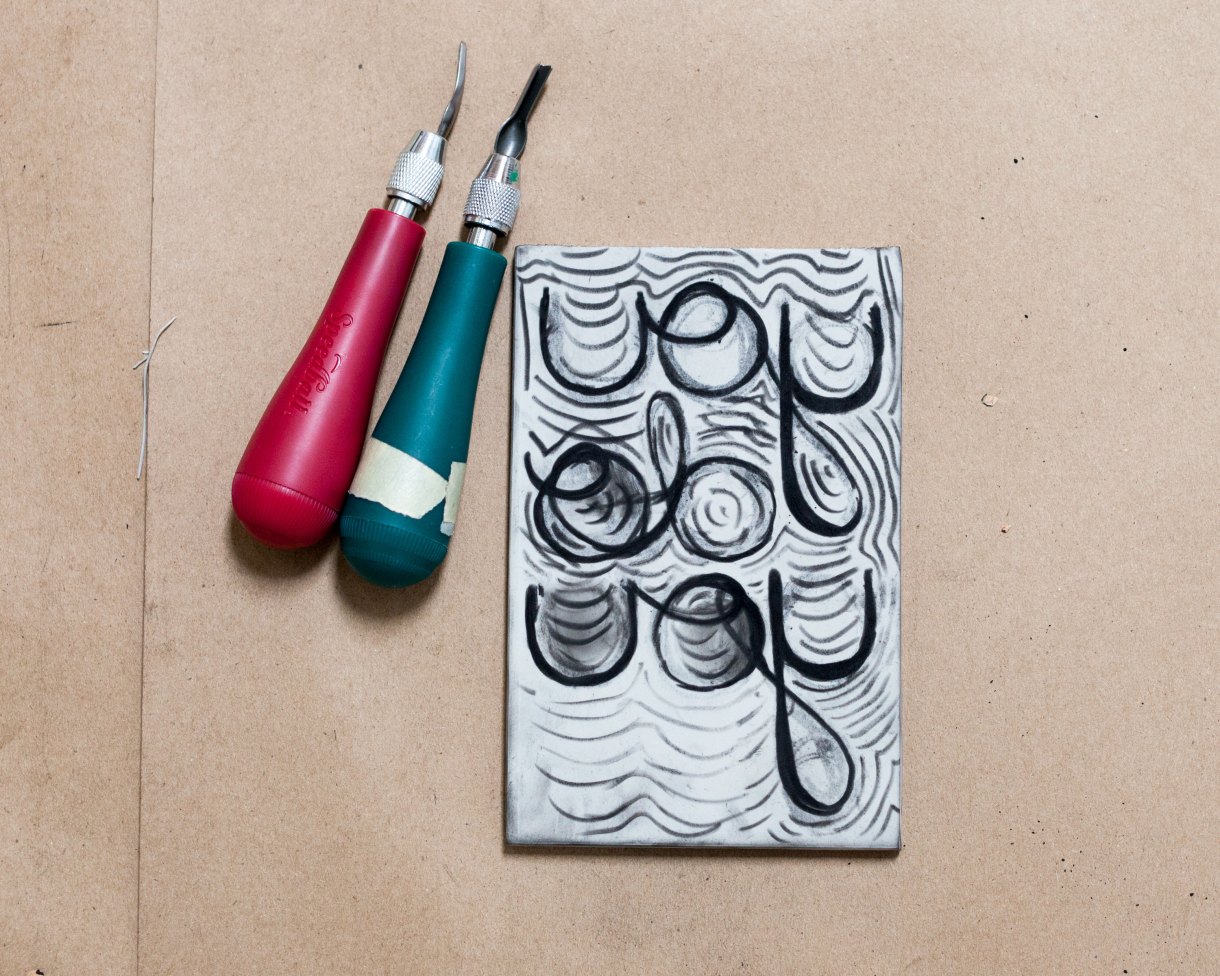
After transferring the drawing, make some carving direction decisions. Try making “carving notes” directly onto the rubber block to keep you from straying. These markings can echo the shapes or be one directional. In the example above, the carving is echoing the lettering. Unless the block’s carving is extra-deep, these carving lines will most likely be printed a bit as well. Take advantage of the “noise” that is created by this texture when designing your patch.
Choose a carving tool tip. The larger tips will carve away more and create less noise, and the smaller tips are perfect for delicate areas.
Carving
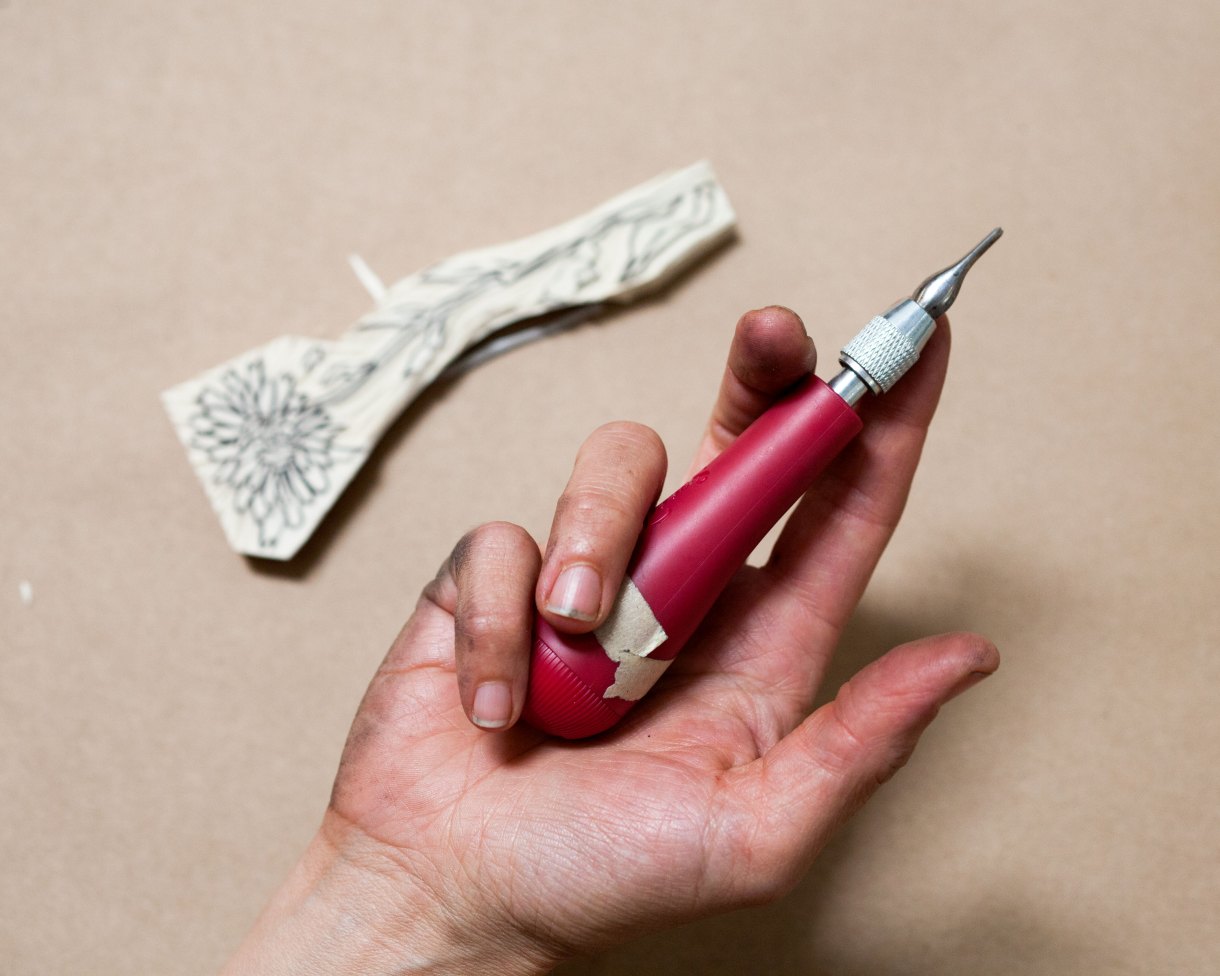
Now it’s time to carve! The way you hold the carving tool in your hand will make a big difference in how smoothly your shapes are cut out. You’ll be hacking away at your rubber for a good while, and your hands will thank you for positioning the tool correctly.
Flip your palm towards yourself, place the tool “U” side down into your hand. Place your index finger right above the knife and wrap the remaining fingers around the handle. While carving, your index finger will lead the way while the other fingers will keep a tight grip on your tool.
(Is it just me or is there at least one completely sexual-sounding sentence in every craft piece I write?)
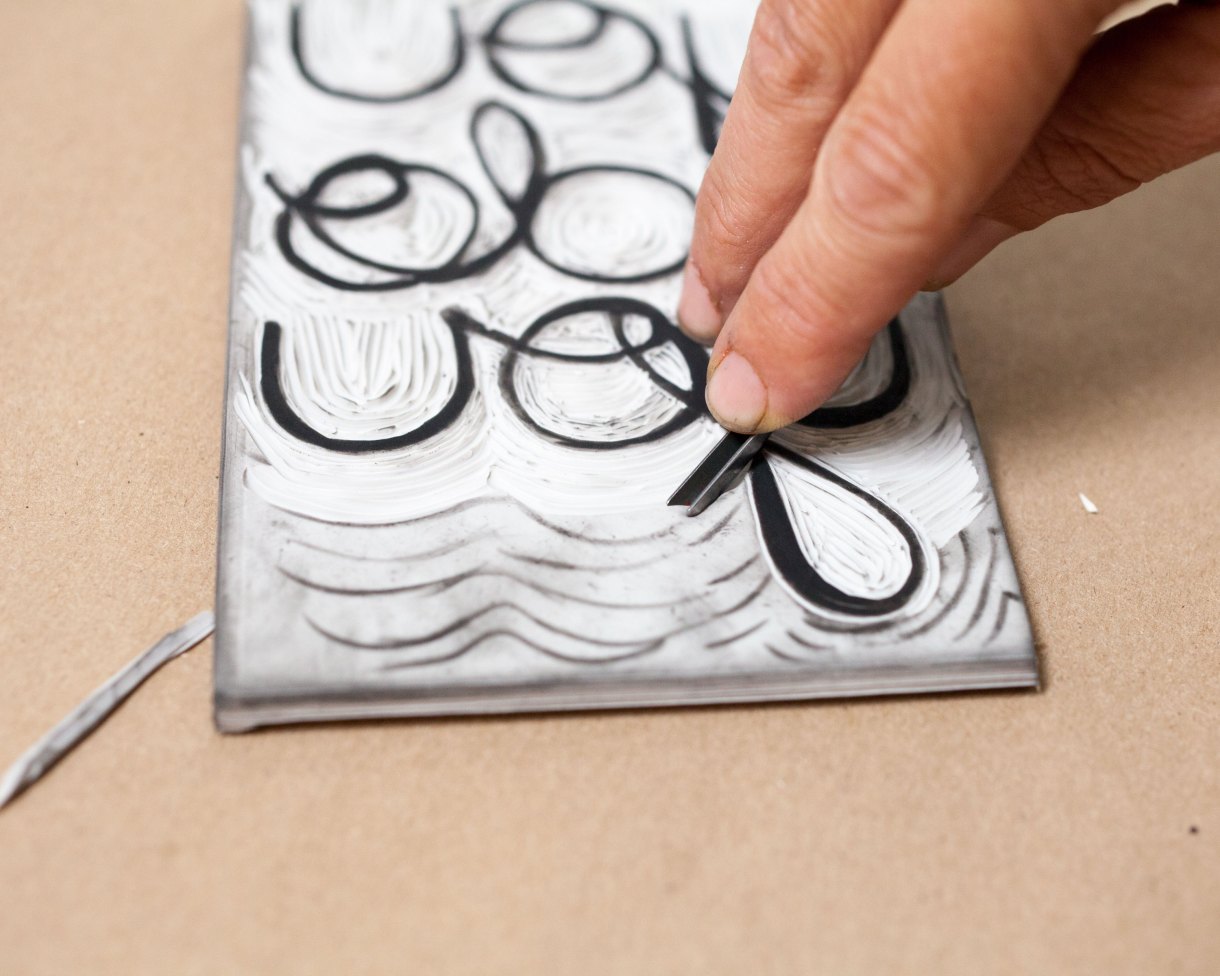
There’s a sweet spot with carving somewhere at 45 degrees that will give you a perfect amount of control while still removing a good amount of rubber. Use your middle finger to anchor yourself on the rubber for even more control. While carving, use a straight and scoop method. The scoop at the end will cut the rubber into a separate piece instead of just making long rubber noodles.
These cuts are permanent decisions. Let yourself commit; it’s healthy and okay if you change your mind.
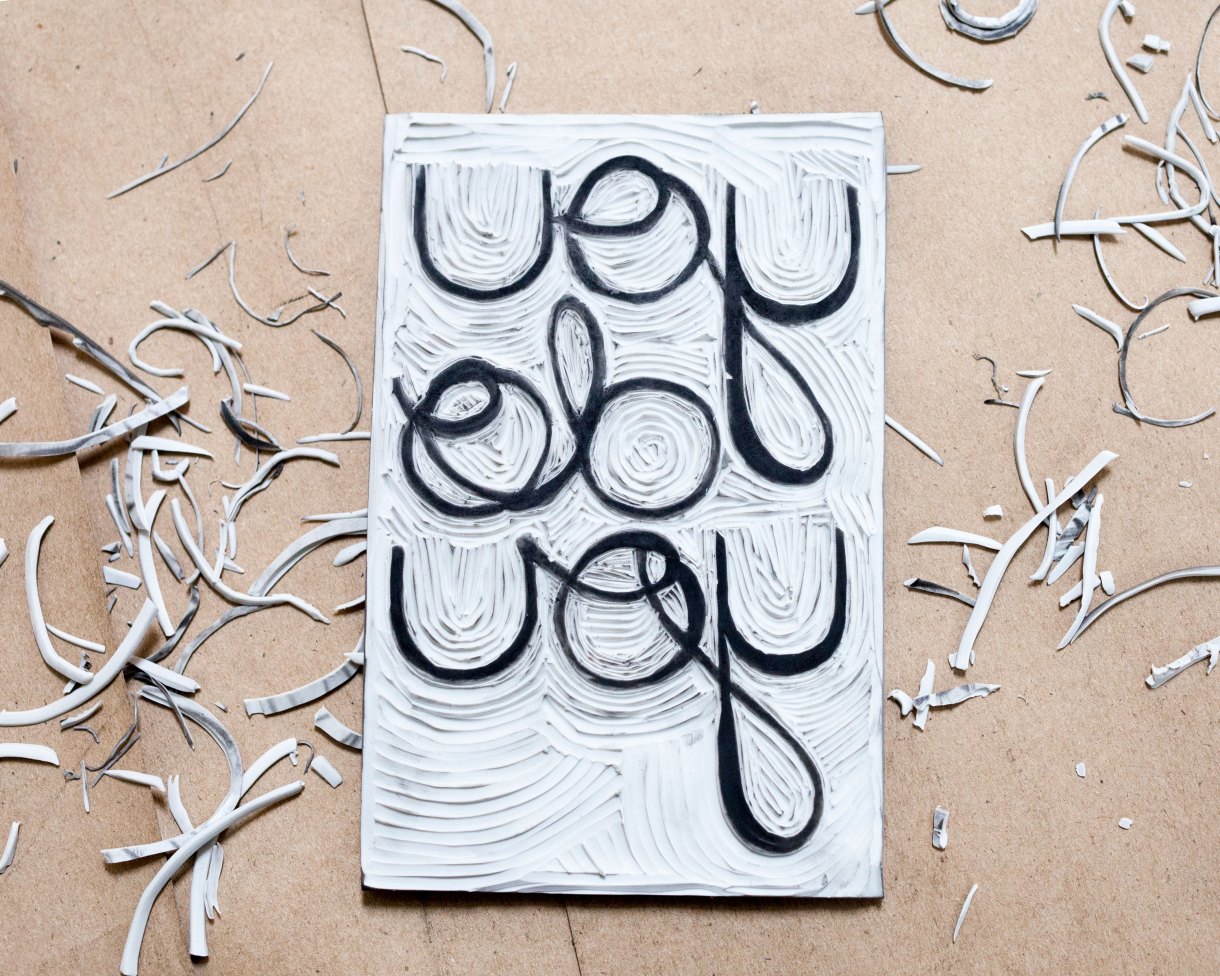
Printing Your Patch
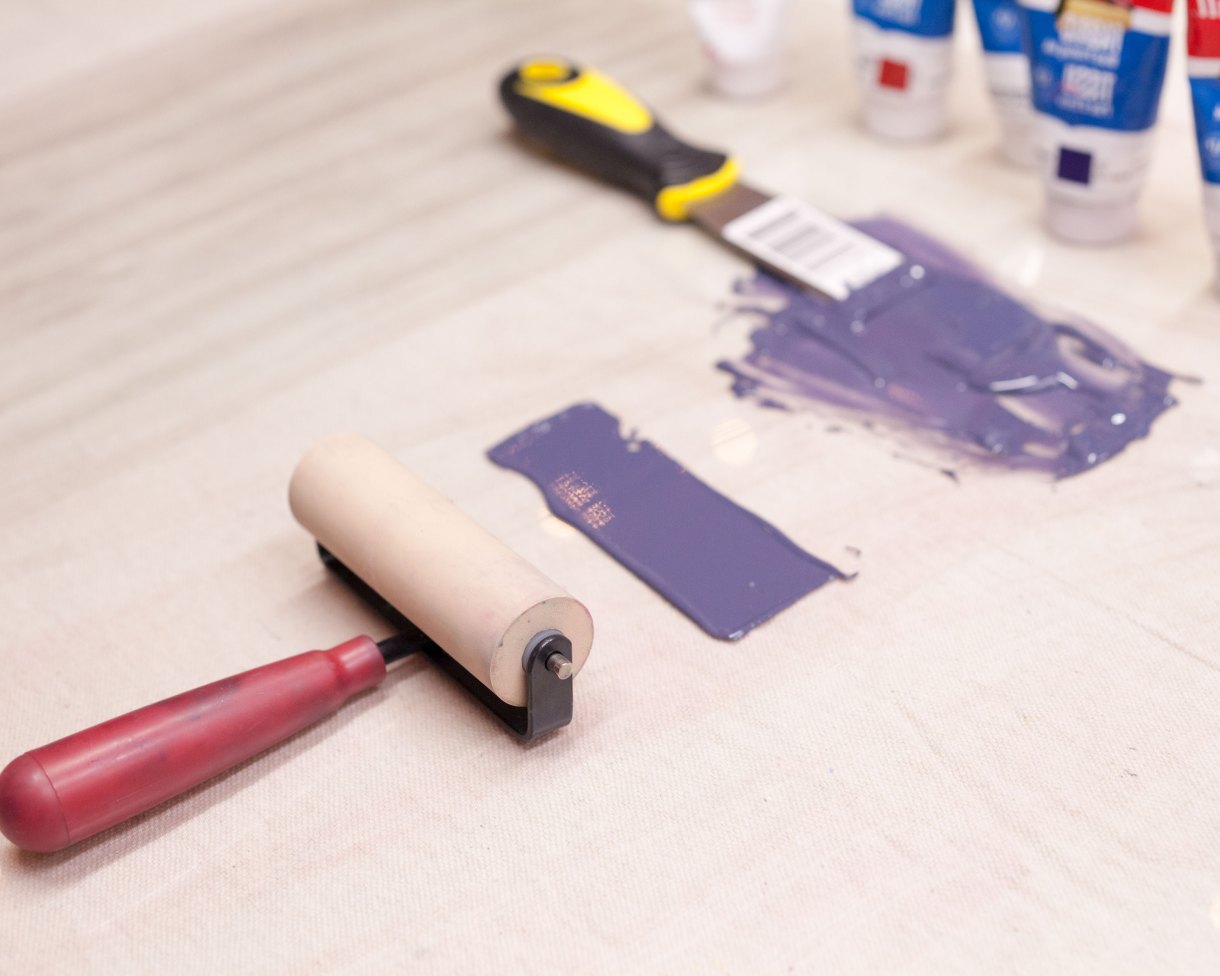
Squeeze some ink onto your piece of glass and use a scrapper to make a rectangle of ink that is the same width as your roller. Creating a strip of ink versus just a splooge will help get an even coating on the roller.
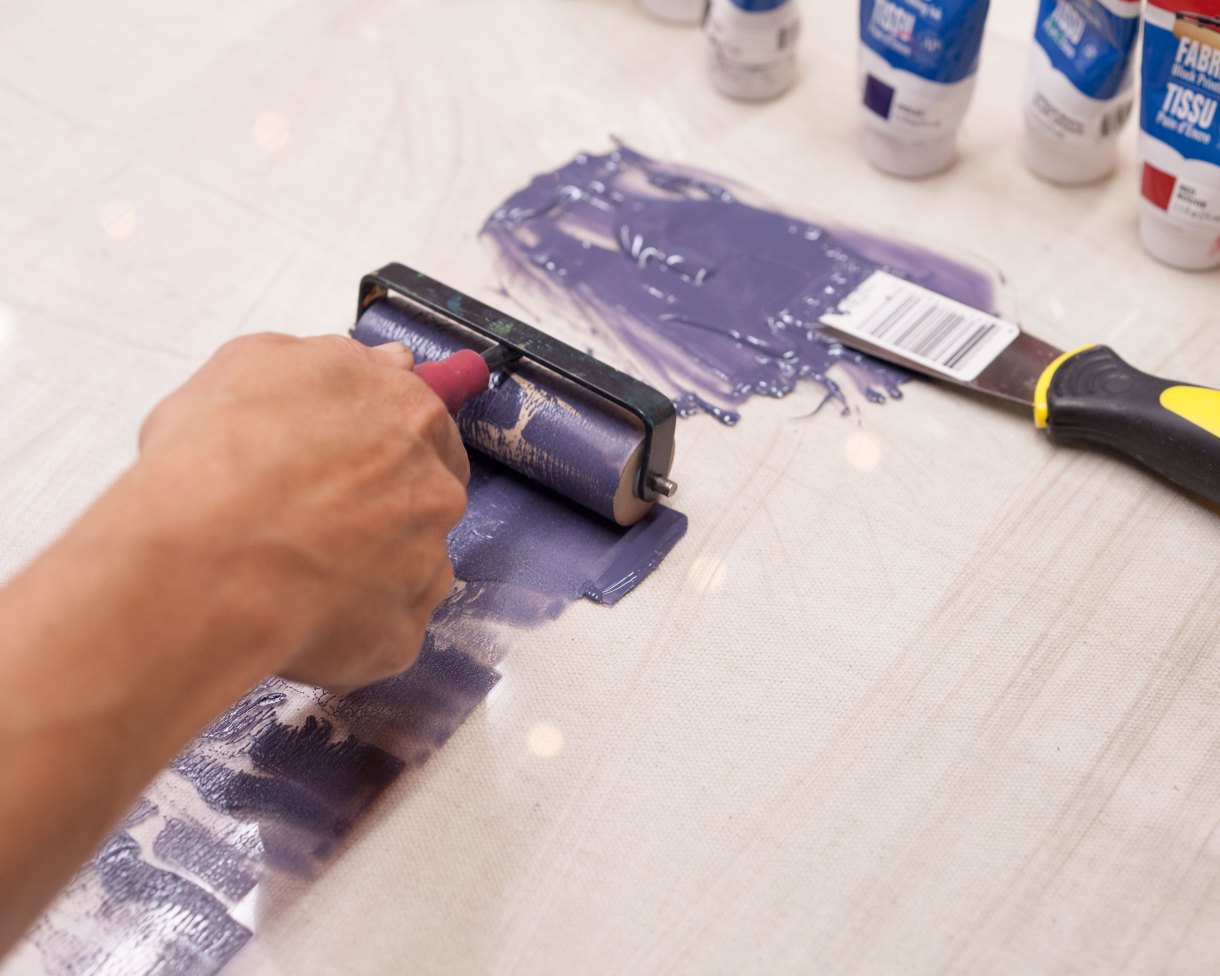
“Charge” the roller with ink by rolling the roller up and down, then letting the roller hover above the glass while it stops spinning, and repeating the up and down motion. Do this a few times.
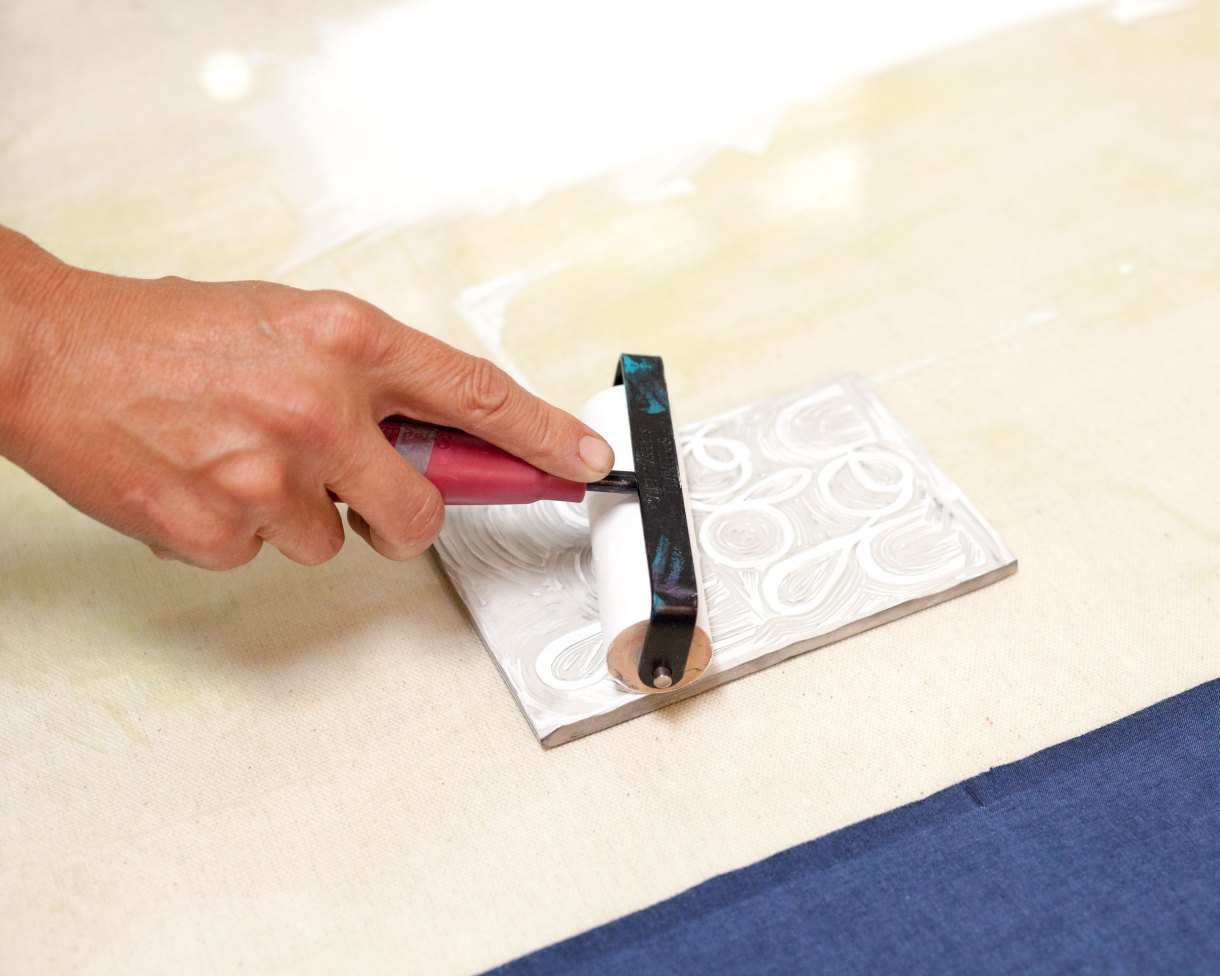
To get an even coat of ink on the block. Roll the roller across the rubber block up and down and then from left to right.
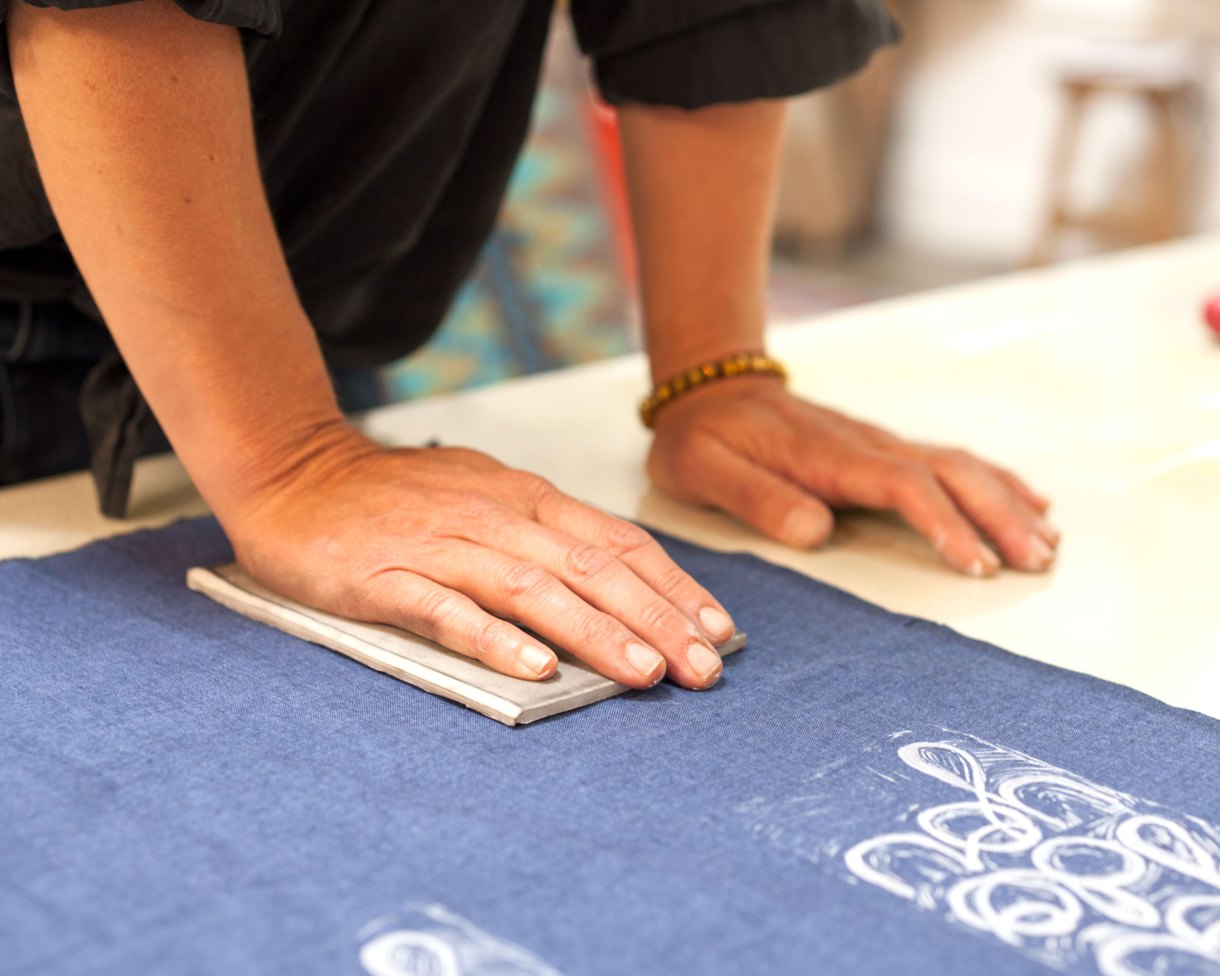
Place the block right side down onto the fabric and add pressure to the block with your palm. Moving to different sections to ensure an even print.
(Testing your printing methods and ink amounts on paper before your fabric is wise.)
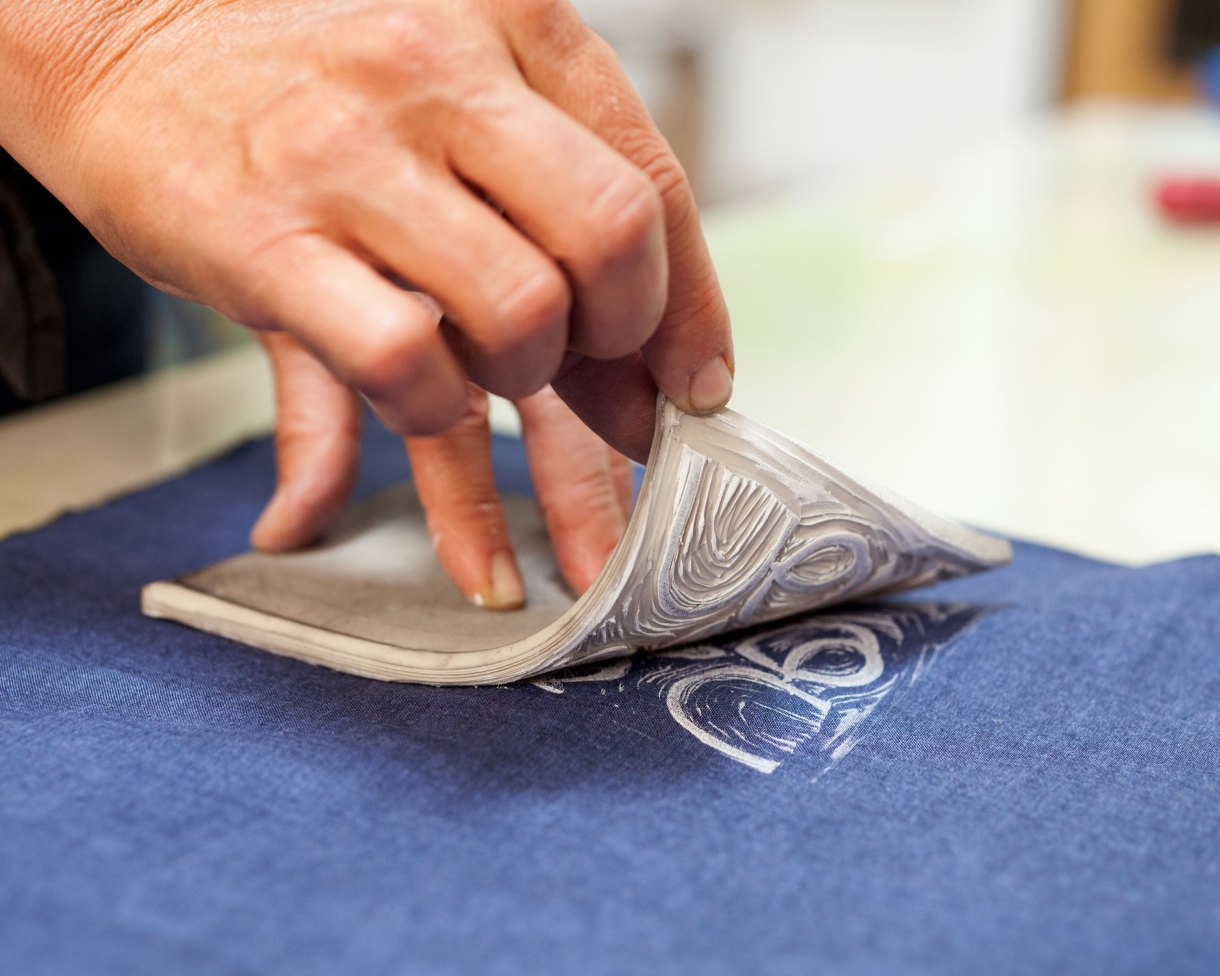
Before completely removing the block, hold one section of the block down and peek to make sure that the ink has transferred. If not, add more pressure throughout the block one more time.
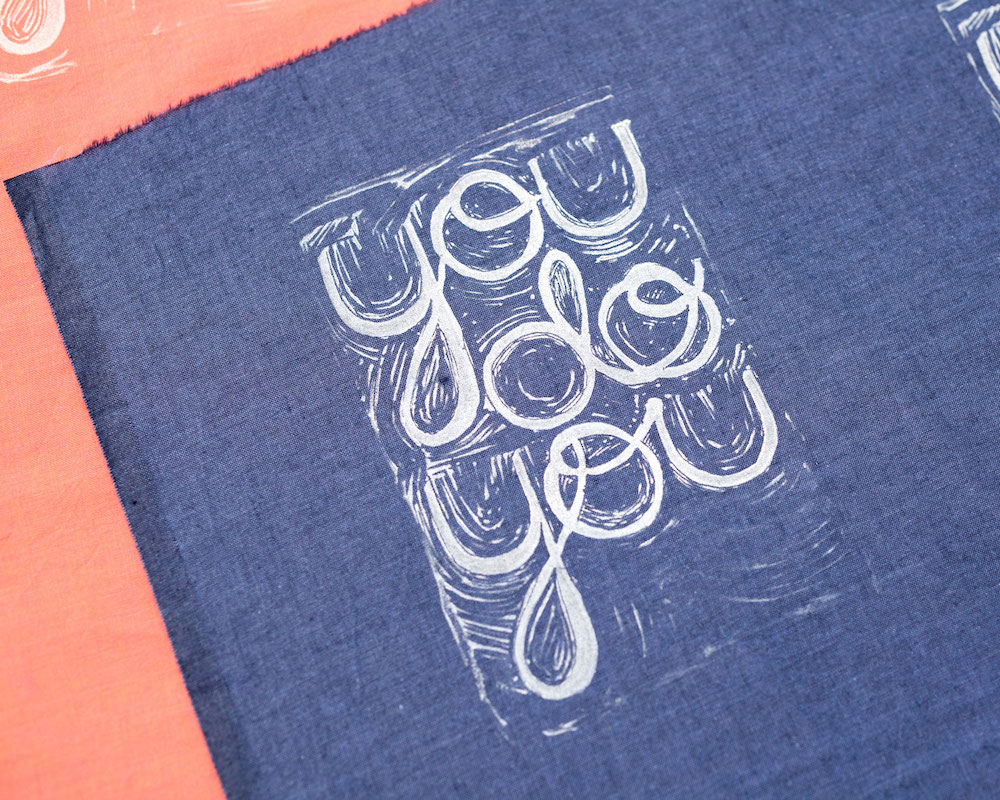
Peel the block off of the fabric, and you made a patch! Let the ink dry for at least one day before messing with your print too much. To be safe, let the oil based ink dry for at least a week before laundering.
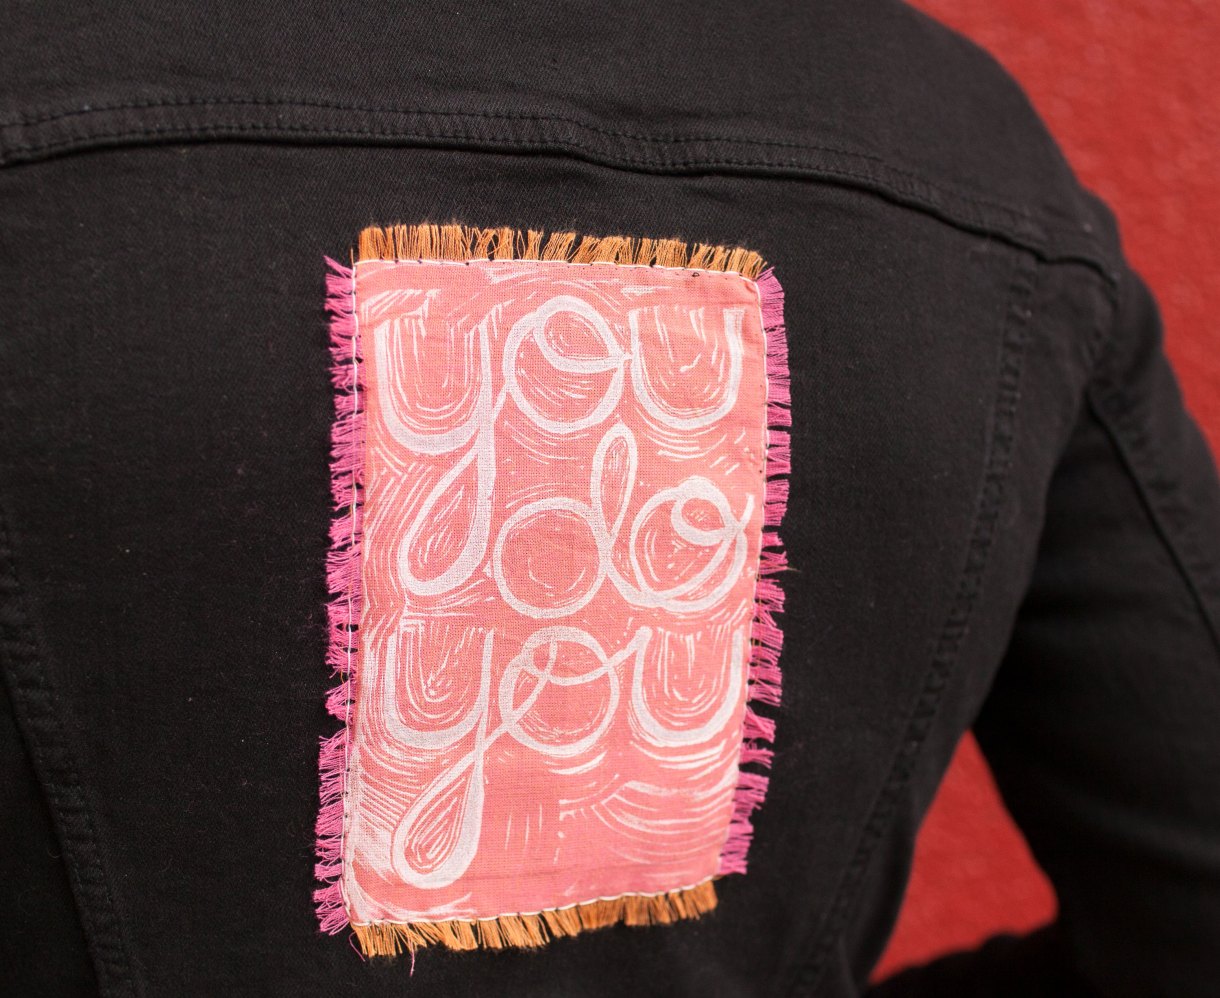
Now alls you’ve got to do is find an item to sew your siiick patch onto! If you’d like to sew your patch on with a backstitch as I did, you can learn how to here.

This is like the PERFECT project for a rainy day. And we have lots of those lately. I have the cutest frayed jean jacket in mind, too.
Man! I need to invest in block printing, I love how this looks!
My past DIY patch-work has always been acrylic paint on scrap fabric, heat set with an iron. Not a terrible option but definitely a one and done type of deal.
Oooooo I am so excited to give this a go
I think I need to try this. Maybe something that shows how Im not cis and proud of my Mizrahi heritage. Hmmm
Definitely want to do this at some point!
This is everything I ever needed in a how-to guide. I’ve got a blue jean jacket that I’m trying to figure out how to make super gay and this is definitely going to help! Thanks Katie!
Wow remember that time I was trying to teach myself how to block print? And kinda did it but not really? Look at this! Thank you queer journalism, how did u know?