While the gift-giving season is upon us, you crafty folks may be feeling the pressure to impress all your loved ones with handmade presents. Although it is incredibly thoughtful of you, let’s be real, you don’t have time to make all these things!
Whenever the holiday times come up, I usually pick one easy and quick item to make for most of the people on my list. Last year it was pajamas, which was not as quick as I thought. The year before that, I made a grip of bath salts, which my Grandma is still raving about. But, my go-to, anybody, anytime present will always be an oven mitt. These little suckers take a maximum of 20 minutes to make and with the right fabric choice, can look super fancy and expensive.
Here’s a quick tutorial for making your own oven mitt to gift or keep for your own hand protection needs.
Supplies:
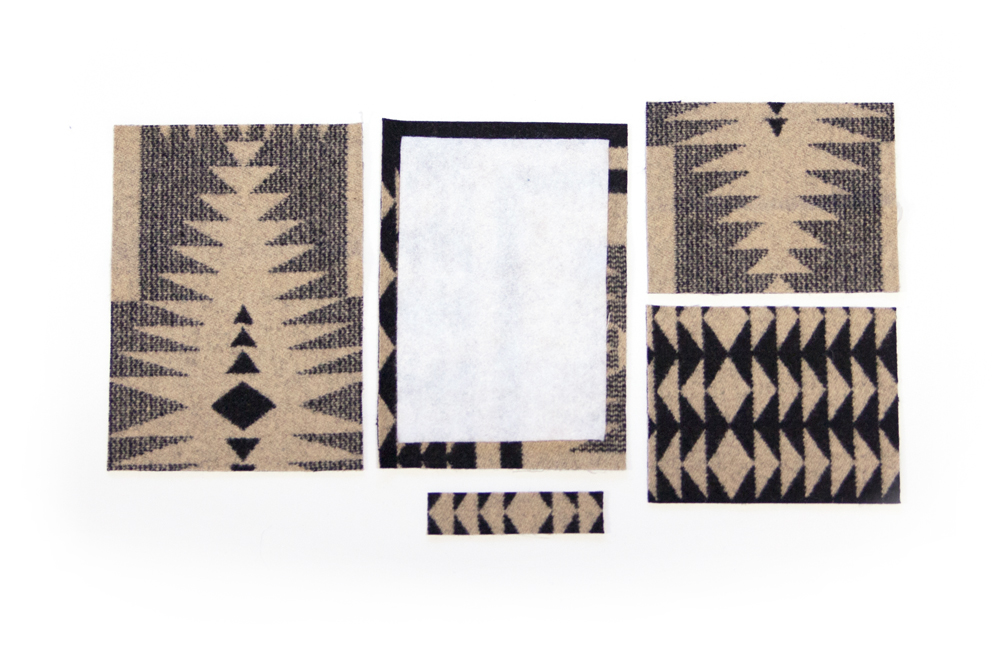
- Body: Two 6”x8″ pieces of heavyweight fabric
- Pockets: Two 6”x4 ½” piece of heavyweight fabric
- Straps: One 4”x1″ piece of heavyweight fabric
- Extra Heat Resistance: One 5”x7″ piece of insulated lining or quilt batting
- Sewing Machine
- Thread
- Pins
- Scissors
- Iron
- Ironing Board
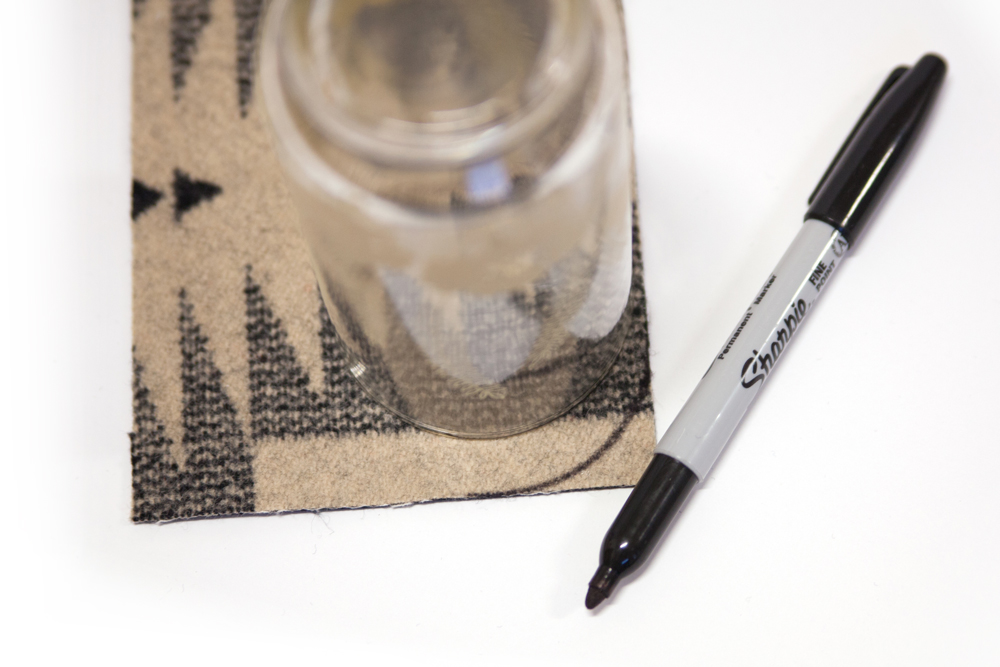
1. Round all four corners of the body pieces by tracing the curve of a glass. Repeat this step on one of the 6″ long sides of the pocket pieces.
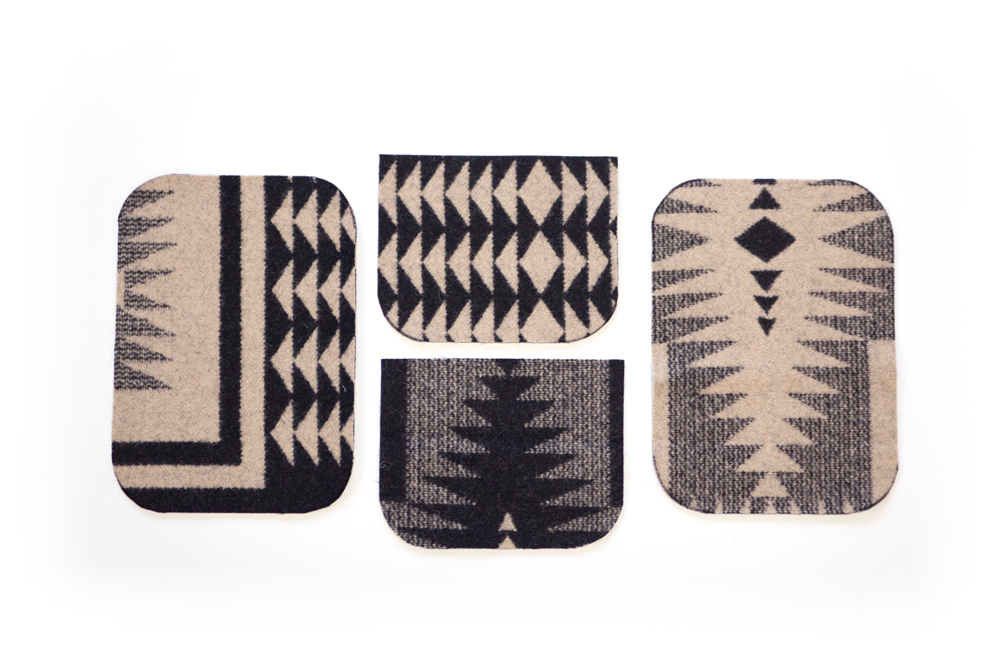
2. Cut along the curved edges of each rounded corner.
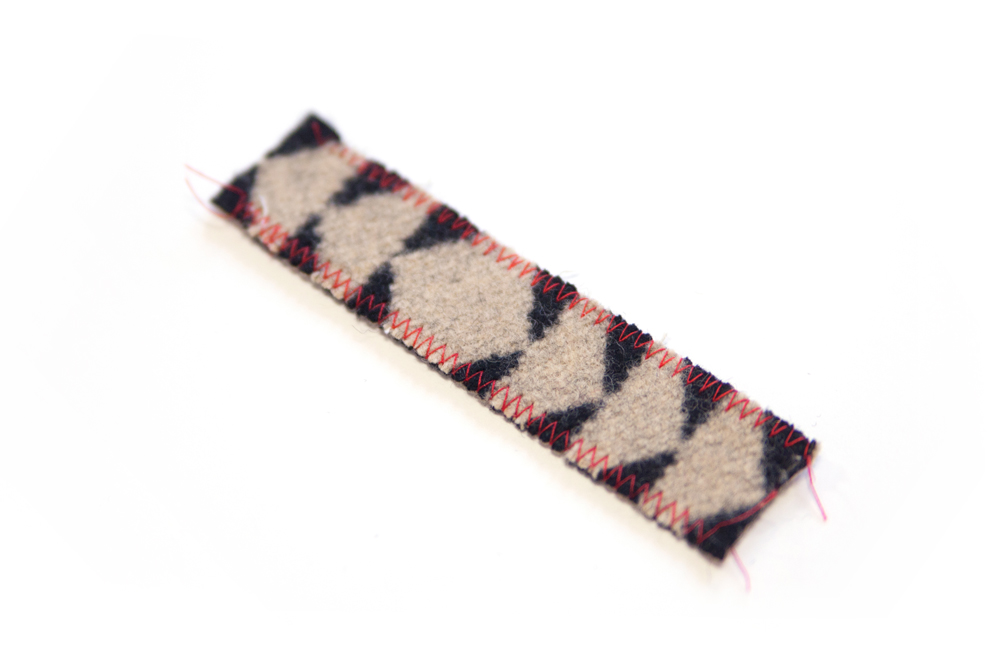
3. Using a zig-zag, sew along the long raw edges your strap piece. This will prevent your raw edges from fraying and looks quite cute.
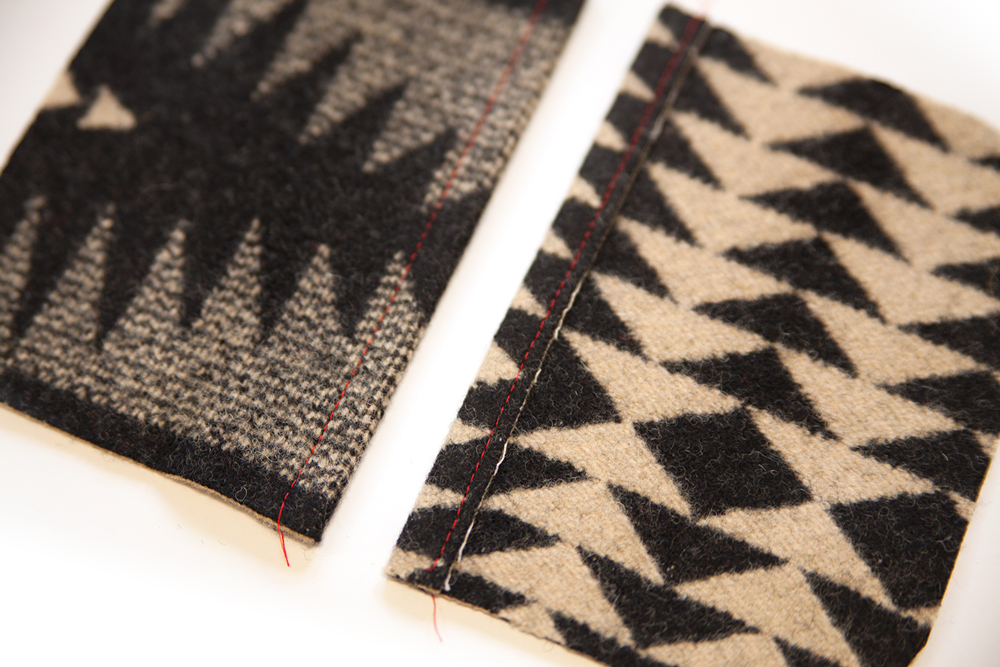
4. Turn the non-curved, long edge of the pocket piece to the wrong side ½” and press in place. Sew the folded edge down ⅜” away from the folded edge with a straight stitch.
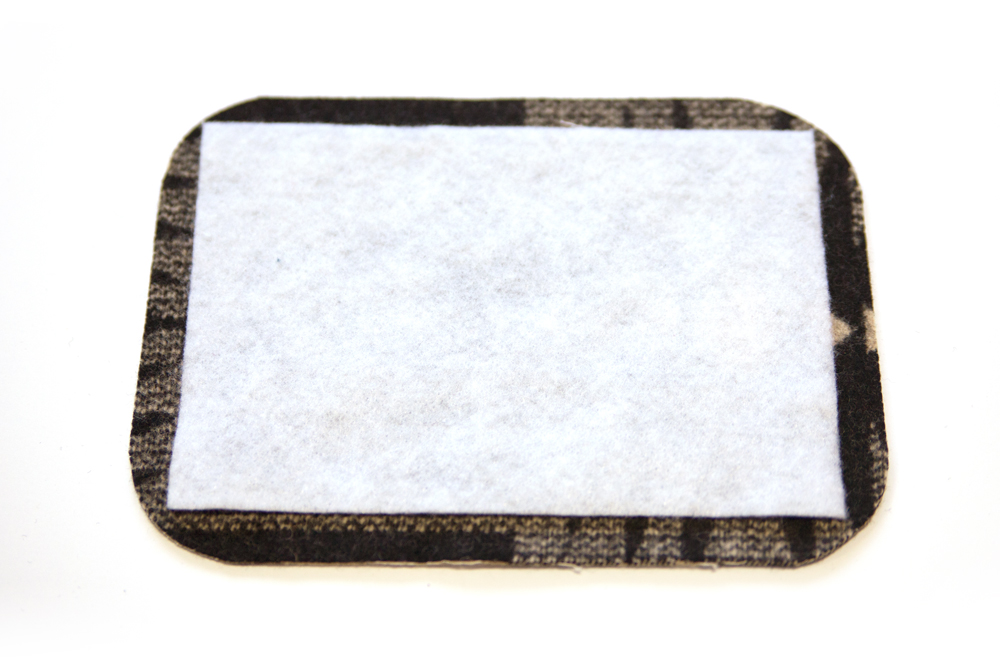
 5. Now it’s time to make a big ol’ fabric sandwich. Start by placing one of the body pieces wrong side up. Center the batting on top of the body piece.
 6. Place the other body piece right side up on top of the batting. You’ve now created a batting sandwich.
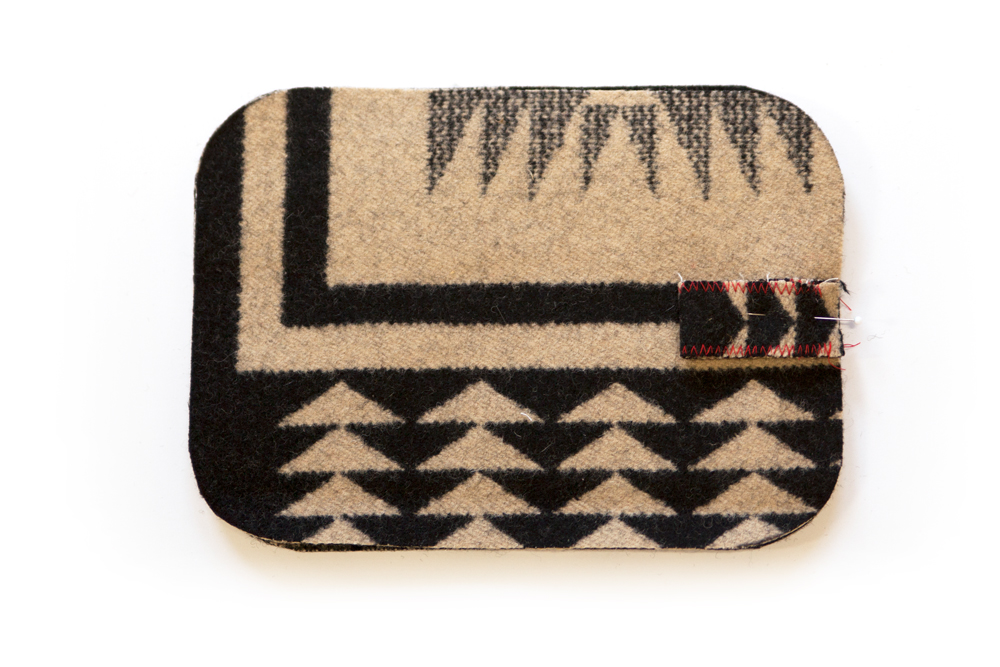
7. Fold the strap piece in half widthwise and align the strap ends to the center of one short side of your batting sandwich.
8. Place the pocket pieces right side down onto the batting sandwich, with the hemmed edges meeting in the center. Pin around the entire circumference of the batting/strap/pocket sandwich.
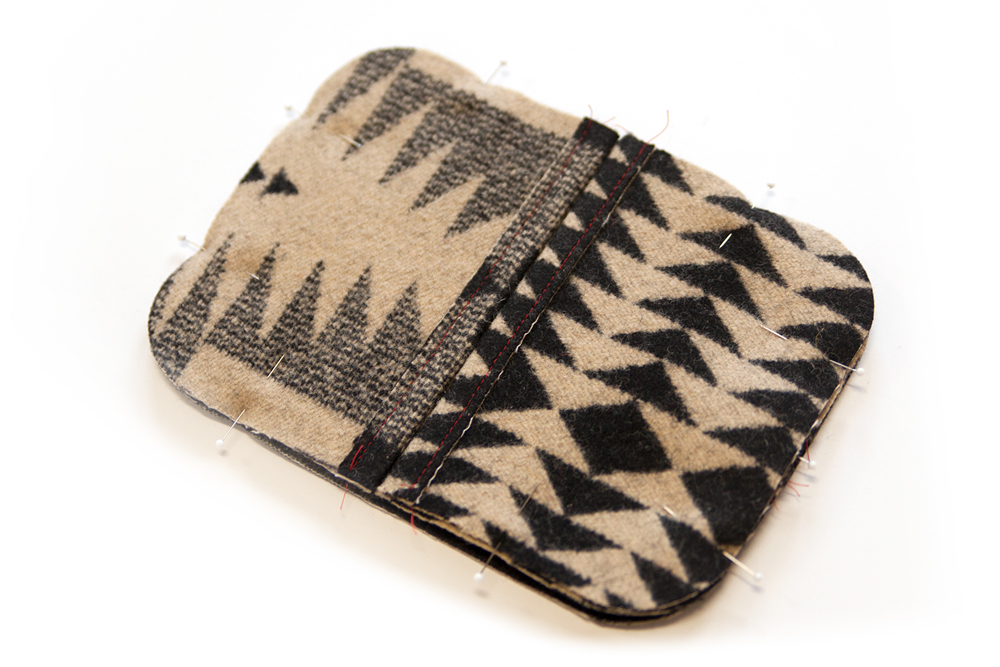
9. Sew all four sides of your sandwich together at ½” seam allowance.
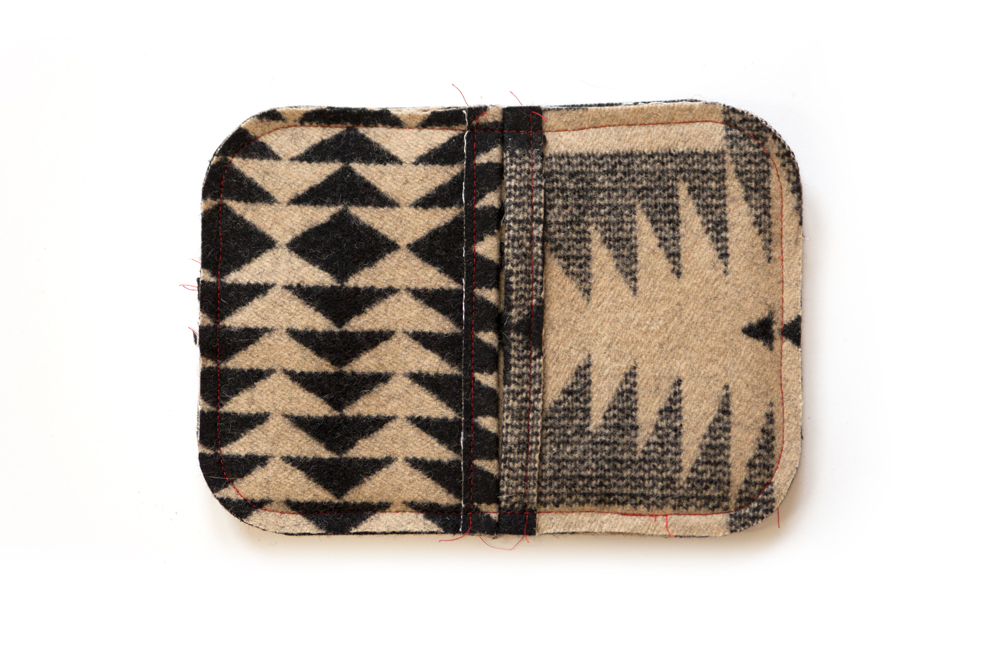
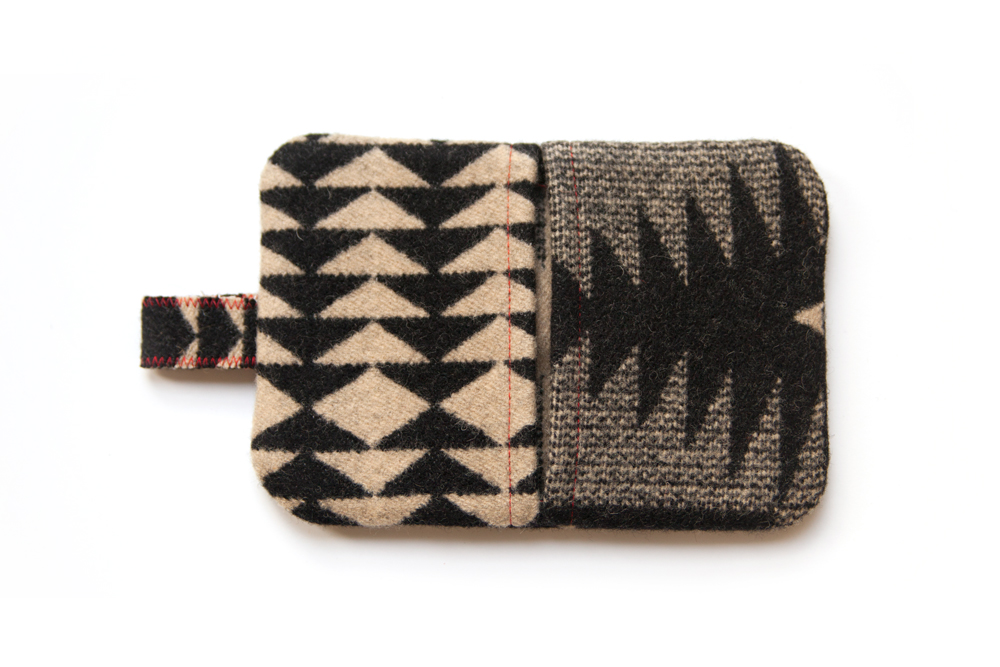
10. Turn the oven mitt right side out.
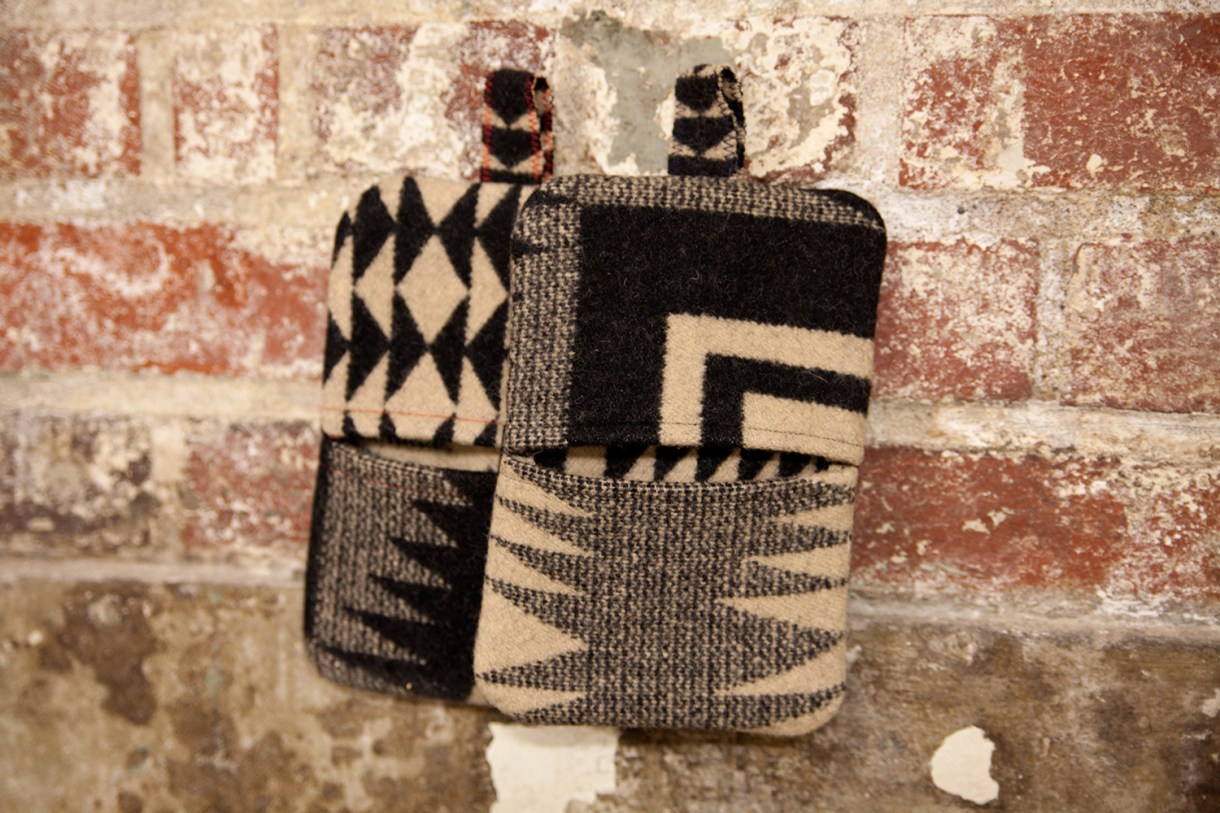
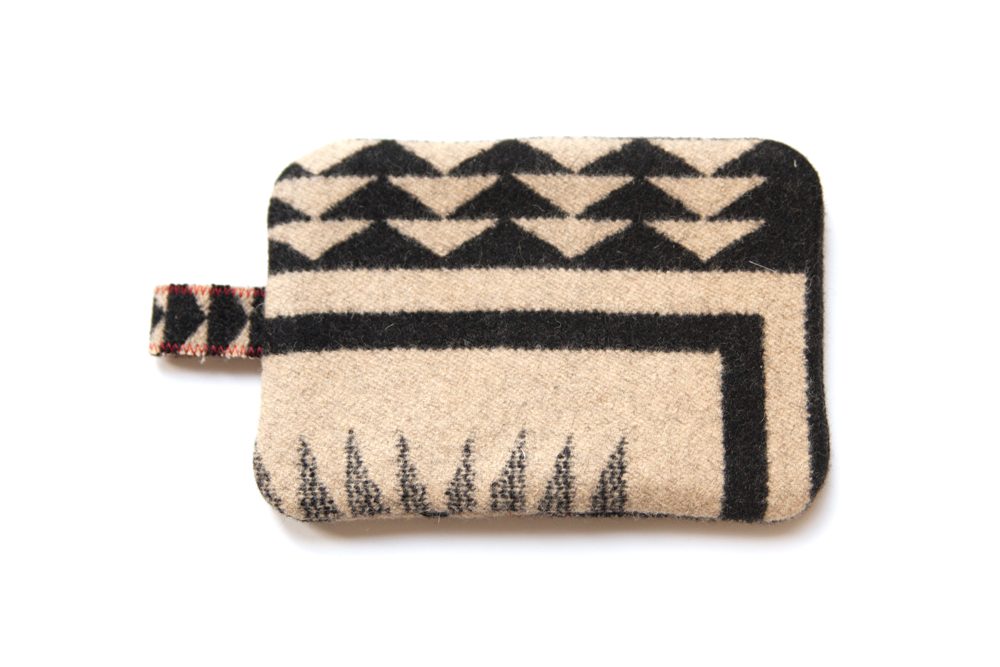
Now you’ve got a sweet little oven mitt!
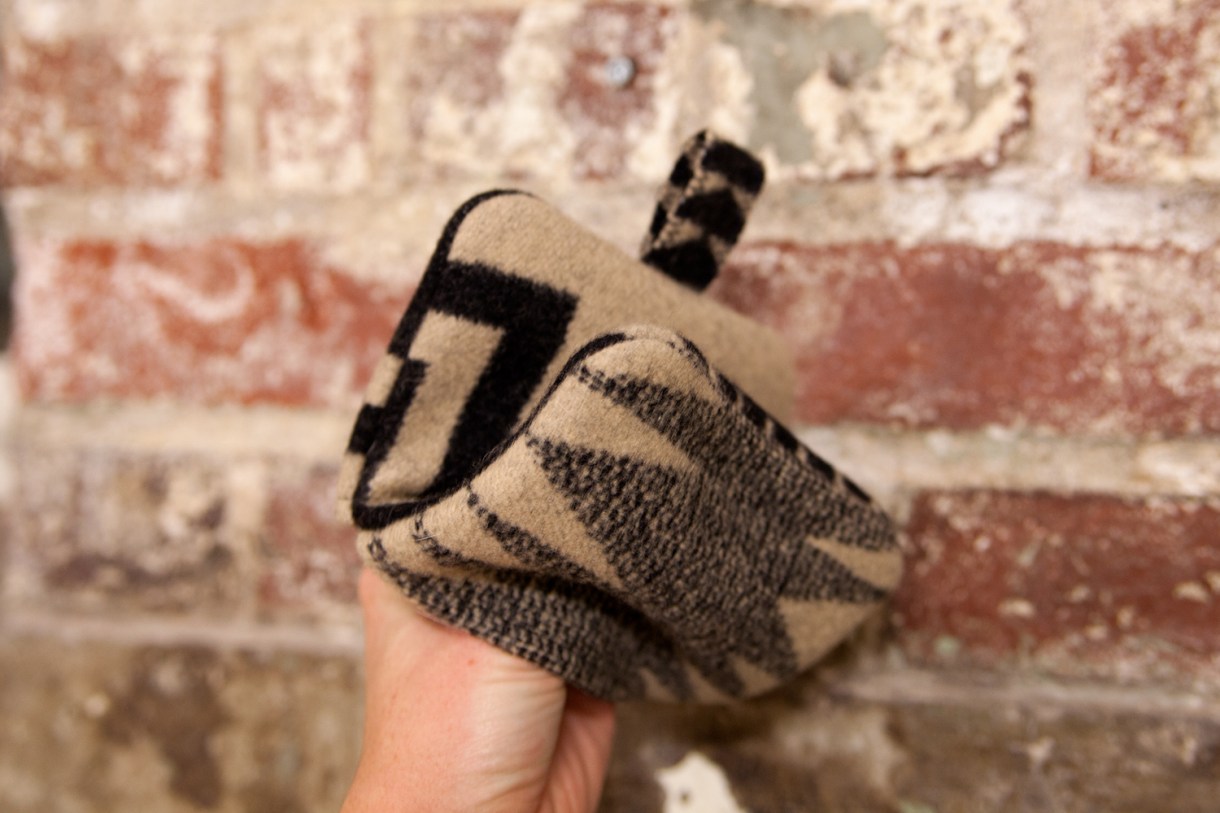
There’s no cute way to take a photo of a hand in an oven mitt, but here we both are… you get the idea!
Now go make a set of two and wrap it with some Holigay cookies and you’re set!
Helpful Resources, just in case.
- Sew You Want to Learn to Sew: All About Sewing Machines
- Sewing Machine 101
- What is Seam Allowance?
- By Gum By Golly: Tasha’s sewing, knitting, and vintage blog.

No thumbs! Genius! I am making oven mitts right now and the thumbs are giving me nothing but trouble. How I wish I had known about this very cute way out of that whole business of thumbs.
SO CUTE. It looks so easy, too, but I need some emotional reassurance that I could really do this. Sewing is…not my strong suit. But this may be easy enough to make me go get my sewing machine out of the attic.
Do it! Try watching a short Sewing 101 video to brush up your skills and I’m confident that you’ll do great. I’m here to, just in case ;)
These are so cute! I don’t have a sewing machine so it probably wouldn’t be as quick for me to make. But it’s definitely a great idea for a Christmas present :)
I really
Really like the fabric you used!
I have a pair of mitts like this that I LUV! I’ve been trying to figure out how to make a bunch as gifts and then you wrote this! Thank you so much! (Might have to print this and put it aside for next Christmas).