We’re making tiny little banners today on the mountain. They are super easy, like ten times easier than you’d imagine. They also require zero crafting ability, so if you can glue and cut things, we’re good to go!
On the mountain, we’ll be using iron-on transfers. We’ll talk about how to adjust this tutorial for iron-on transfers after!
Tiny Happy Banners
Supplies Needed:
+ Felt in two different colors
+ Hot glue
+ Scissors
+ Straws (or if you find a nice twig or a wooden skewer, those would work, too!)
+ Yarn or twine or string, to hang!
Level of Difficulty: We’re doing this craft outside on a mountain. I think you’ll get through it okay, champ.
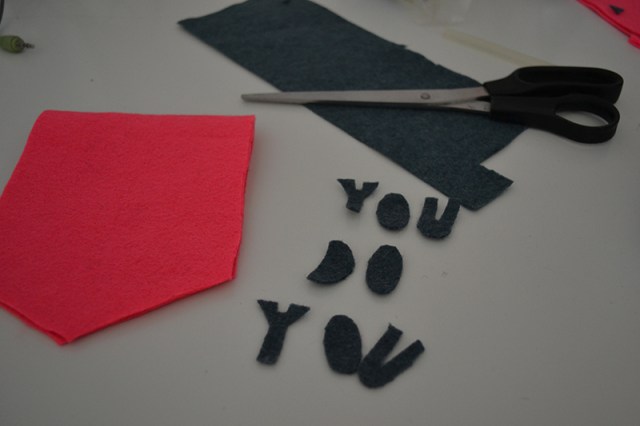
1. Cut banner to shape. I did this by folding my felt in half and cutting it the width I desired, then trimming the bottom to point into a V shape. I also chose bright pink because fuck yeah, bright pink, but this is entirely customizable and you don’t have to be offended by my use of a traditionally feminine color.
2. Your banner can say whatever you want. I made one with Autostraddle’s motto, but these can be as vulgar or as hilarious or as sweet as you want. Trace your phrase onto the back of the felt. Do it. I promise this will save you a lot of headaches and also your letters can come out the same size. Then cut them out!
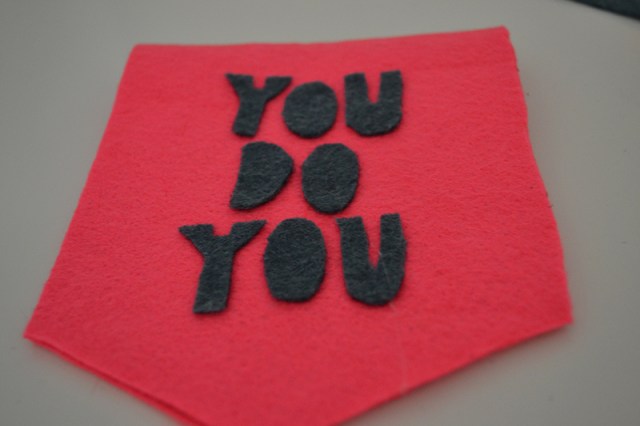
3. Using hot glue, attach the letters to your banner. I recommend starting in the middle of your words and working out so they are even, but who says they have to be even? Go bananas, party animals.
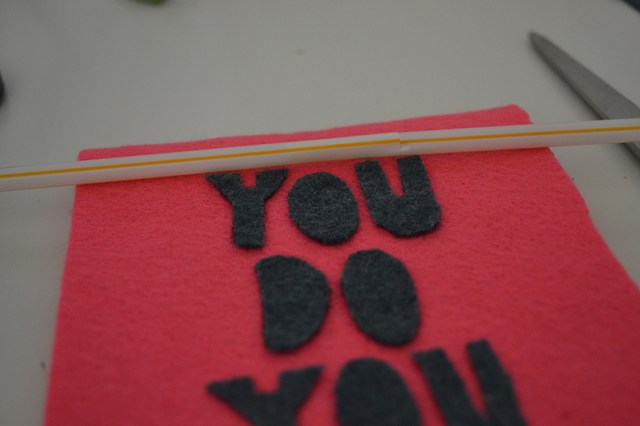
4. Make your banner holder thing (technical term, just trust me). I used straws, but I had to stick them together because they just weren’t exactly long enough.
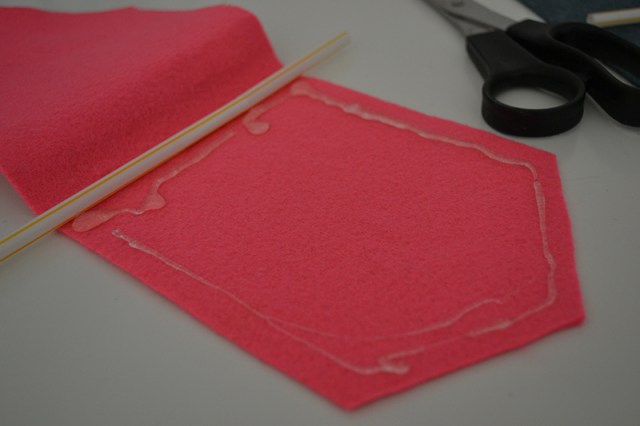
5. Place your straws at the crease and then put glue all over the inside and seal your banner shut.
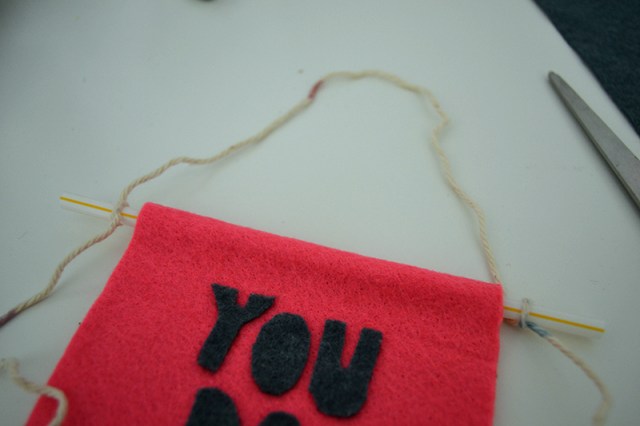
5. Knot some yarn or string around the straw and hang it up so everyone can admire your handy work!

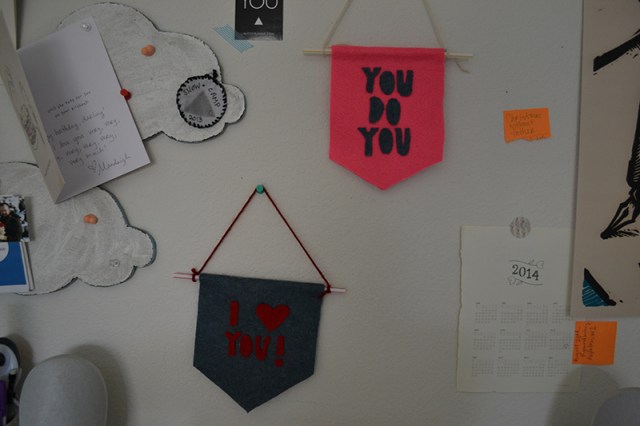
Pretty much just makes the best addition to any situation.
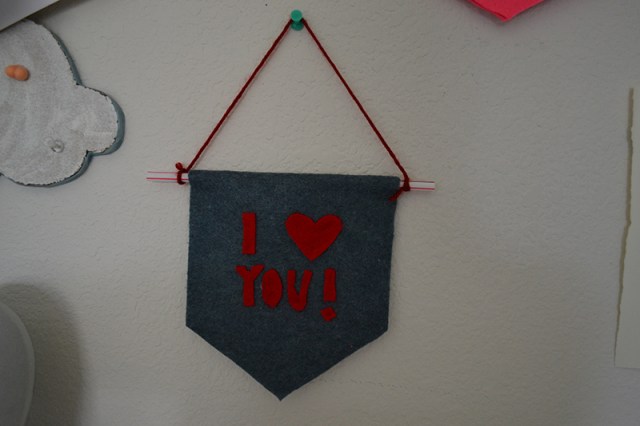
Here’s one I made for my lady friend.
Now, I said we could discuss how to change this for an iron on transfer. You want to use fabric, not felt. Don’t iron felt. You’re gonna have a bad time if you do that.
Iron your transfer on BEFORE you cut your fabric. You want it to be the right size!
You can either hem the edges of your banner, leave it frayed for the wild look or hot glue a border around the edge because sewing is for suckers (you heard it here first). Just be sure to leave a space at the top where you can stick your straw/skewer through.

The image for this on my FB feed is Helena from Orphan Black looking into a fish tank, which amused me because she would totes make happy banners! With things like BEST SEESTRA 4EVA and doll heads attached.
I like this idea though. Maybe I need to make happy banners and then hide them around my room.
Eeeeeee I really love this! I am totally doing this. It’s great because this is also a project that I can do with my son.
MOUNTAIN TIME.
I think I should elaborate. My normal thought process is getting clouded by the fact that even though I was like COOL BANNERS the only thing that pretty much registered was the word MOUNTAIN because CAMP.
I want to make a bunch these with words to describe my mood, so my coworkers will know when to approach with caution. Bitchy is less mean when a flair of whimsy is used, right guys?