Thing Makers! Oh, how I have missed you so much these long winter days. I have taken to hermiting away and not crafting much, but now I feel like we can finally get back into the swing of Making Things.
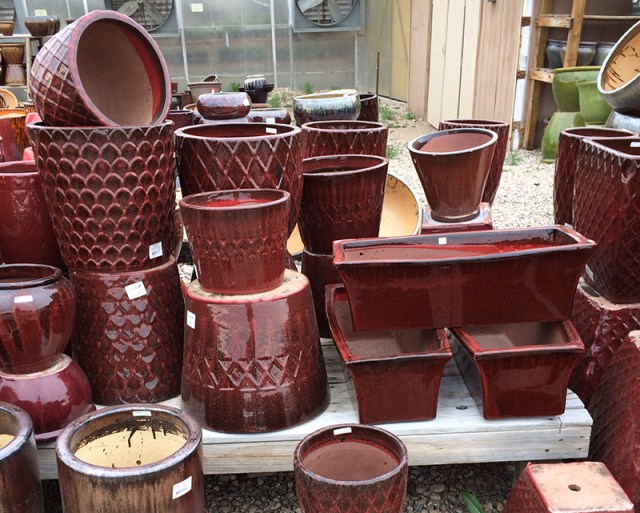
Senior Editor Rachel recently sent me this adorable tutorial about making a two-liter bottle into a cat-shaped pot planter, and ever since, I’ve been hoarding two-liters in order to make a few. However, when I went to the nursery to buy myself a little succulent, I fell right in love with these textured pot planters:
This gave me the idea on making my new little succulent pot planter textured with hot glue. Initially, I was so worried that my lack of being able to use hot glue like an adult (whoa there shaky hands) but it turned out adorable! I’m super happy with it and now I’m going to make a million of them.
Recycled Two-Liter Textured Pot Planter
The best thing about the tutorial is you most likely already have all of the supplies on hand. All I had to buy was the succulent and the spray paint.
Supplied Needed:
+ Two-liter bottle
+ Scissors
+ Sharpie
+ Hot glue
+ Spray paint (I used Rust-Oleum because it specifically said it bonded to plastic)
+ A plant you want to stick in your cute new planter
+ Soil
Level of Difficulty:
Picking out a name for my new plant was more difficult than making this (welcome to the family, Sal the Succulent!)
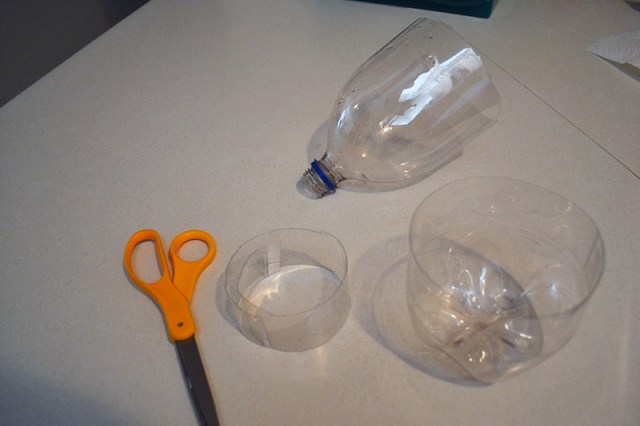
1. Cut the bottom off of your two-liter. I initially cut way too high and then pared it down, trying to level it out. I never got it quite level, but you know what? You’re putting dirt in this, who the fuck cares exactly how level it is. Your plant will obscure unlevel sides from pedantic onlookers anyway.
1 1/2. Make some drainage holes on the bottom of your planter! I forgot this step and had to do it way later which was a pain, but just do it now before you forget, too! A nail and a hammer ought to do the trick.
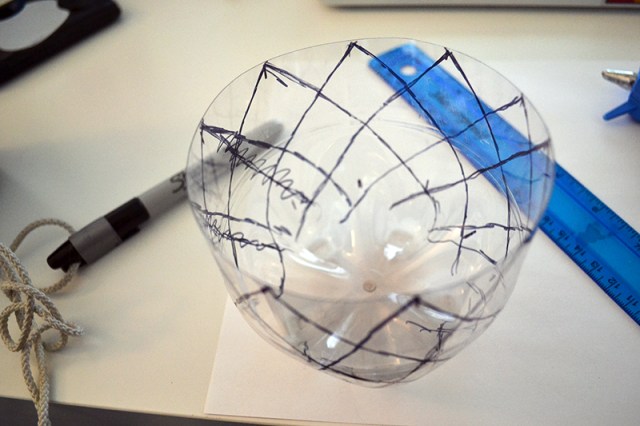
2. Draw out your design before you start with the hot glue. I tried to make mine perfect with a ruler, but ended up just freehanding the diamond shape anyway.
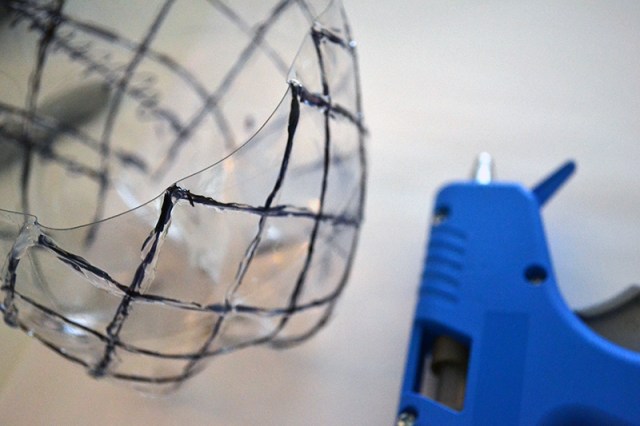
3. Hot glue along the edges. Shaky Hands Hansen sucked at this step, but you know what? Still looks cute in the end. Take heart, readers with shaky hands. Also, if you mess it up beyond fixing, you can just throw it away. It’s just a two-liter bottle. Take a deep breath. Oh, and it’ll melt just a tiny bit at the top, don’t worry, it’s hardly noticeable in the finished product.
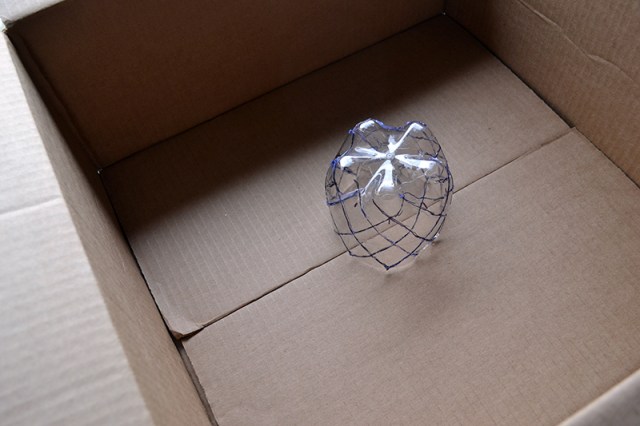
4. Spray paint it!
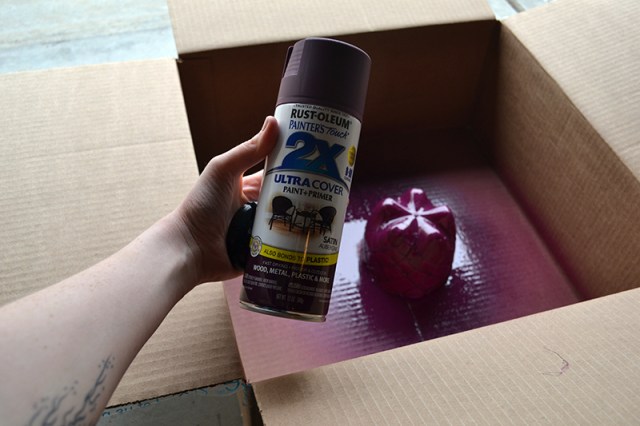
I chose an aubergine color I love a lot.
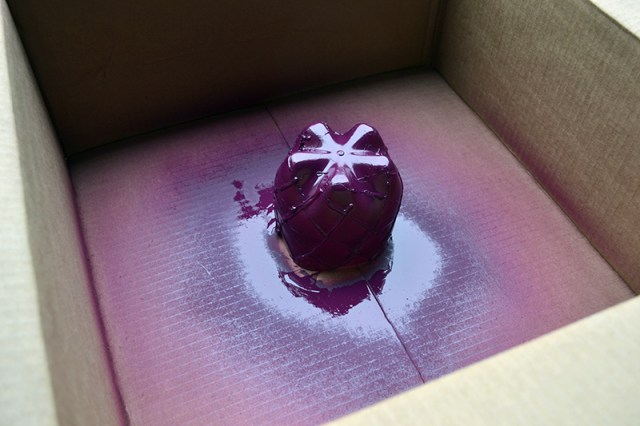
Mine took quite a few coats, and I let it completely dry overnight.
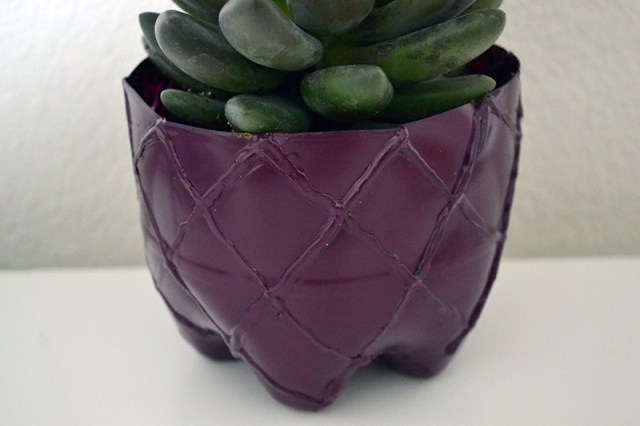
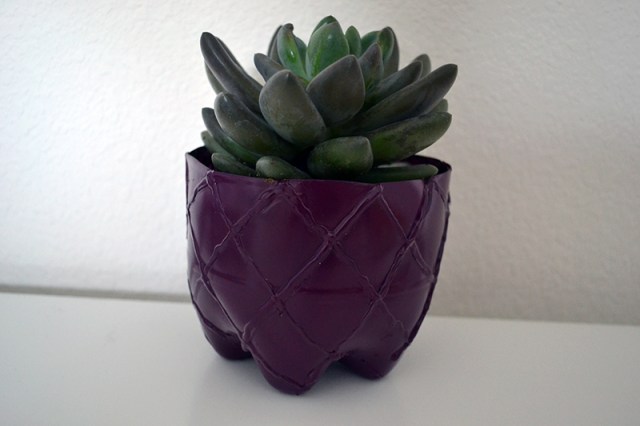
5. Plant your new little plant and enjoy!
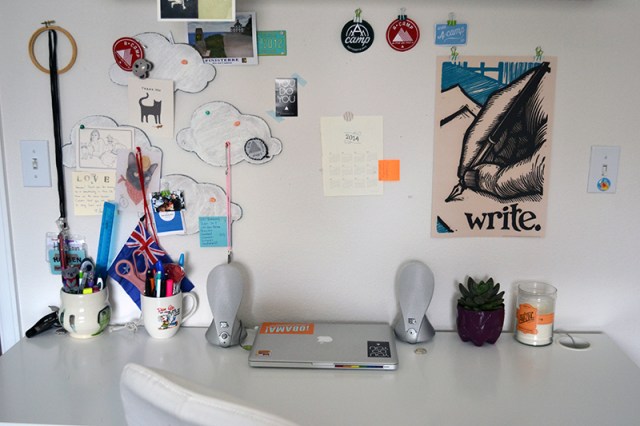
I think he’s a great addition to my desk, especially when Colorado decides to snow in the late springtime and I can’t remember what green looks like.

This is adorable, Hansen! The Chicago wind blew one of my succulent planters off the window sill on Saturday and broke it, so I’m in need of some new pots that are less susceptible to the breezy spring. Of course, this means I’ll have to conquer my fear of glue guns.
My favorite part of this tutorial may be getting a glimpse of your (very neat!) desk. I love the poster!
THIS IS MY NEW FAVORITE THING EVER.
Yay! This combines so many of my favorite things: succulents, that exact color of Rustoleum spray paint (painted my Ikea bedroom furniture that color), and texturizing with hot glue (used this technique to make a Harry Potter wand).
If you put drainage holes in the bottom though, do you put something under it to catch the excess water?
I thought the same thing about the drainage holes. But then I thought, typically succulents don’t require THAT much water, so there’s probably not a super ton of drainage. The holes are still good to have though, since they provide oxygen to the roots and stuff.
I let it hang out in the sink for a few hours after I water it, but you don’t need to water succulents very much, so this depends on what kind of plant you are using! I also let it hang out on a drainage catch (read: the lid of a tin candle) for a day or two and then it doesn’t get a mess everywhere.